
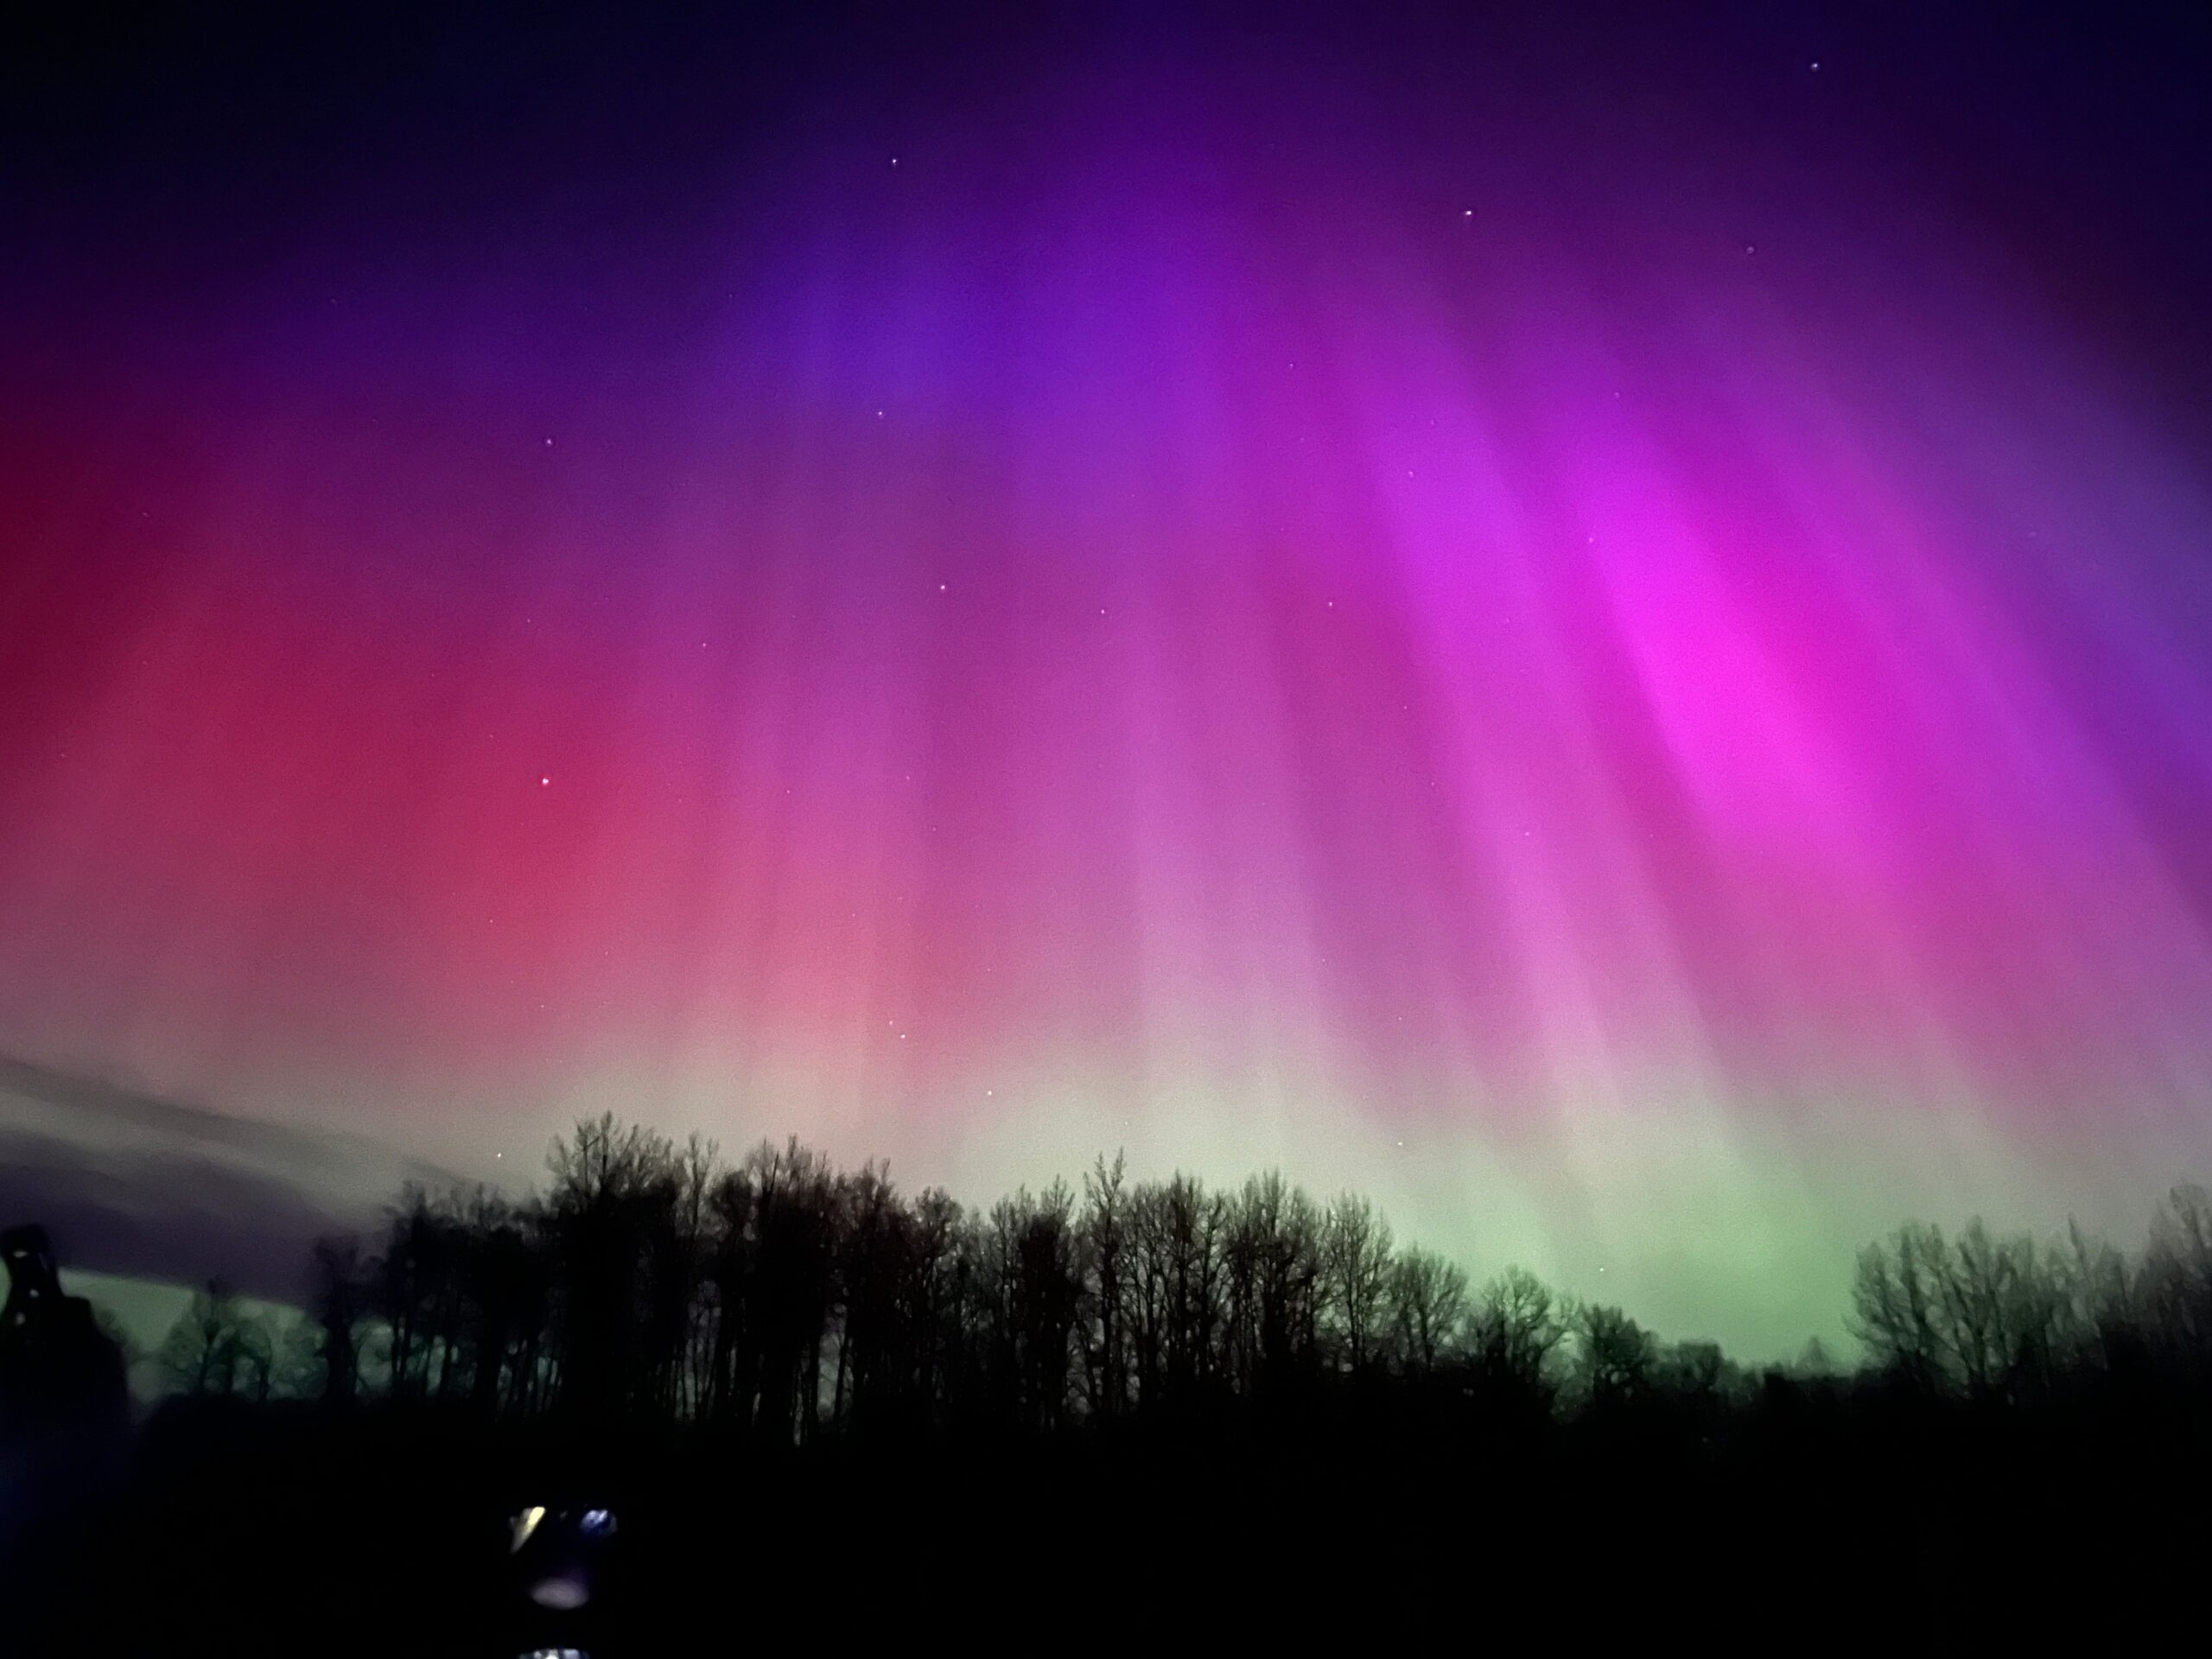

1. A Proper Thermal Base Layer (Not Cotton)

This is where most first-timers go wrong. Start with a thermal base layer, and critically, avoid cotton, as it retains moisture and loses its insulating properties when wet. Instead, opt for merino wool, bamboo, silk, or technical synthetic materials.
Your base layer sits directly against your skin, so it should pull moisture away and keep you dry. Merino wool or a good synthetic thermal works best and stays comfortable even after extended periods outside.
Cotton t-shirts, jeans, and cotton socks should all stay at home. The rule here is simple: if it gets damp, it will pull heat away from your body. Merino won’t.
2. Insulated Mid-Layer for Heat Retention
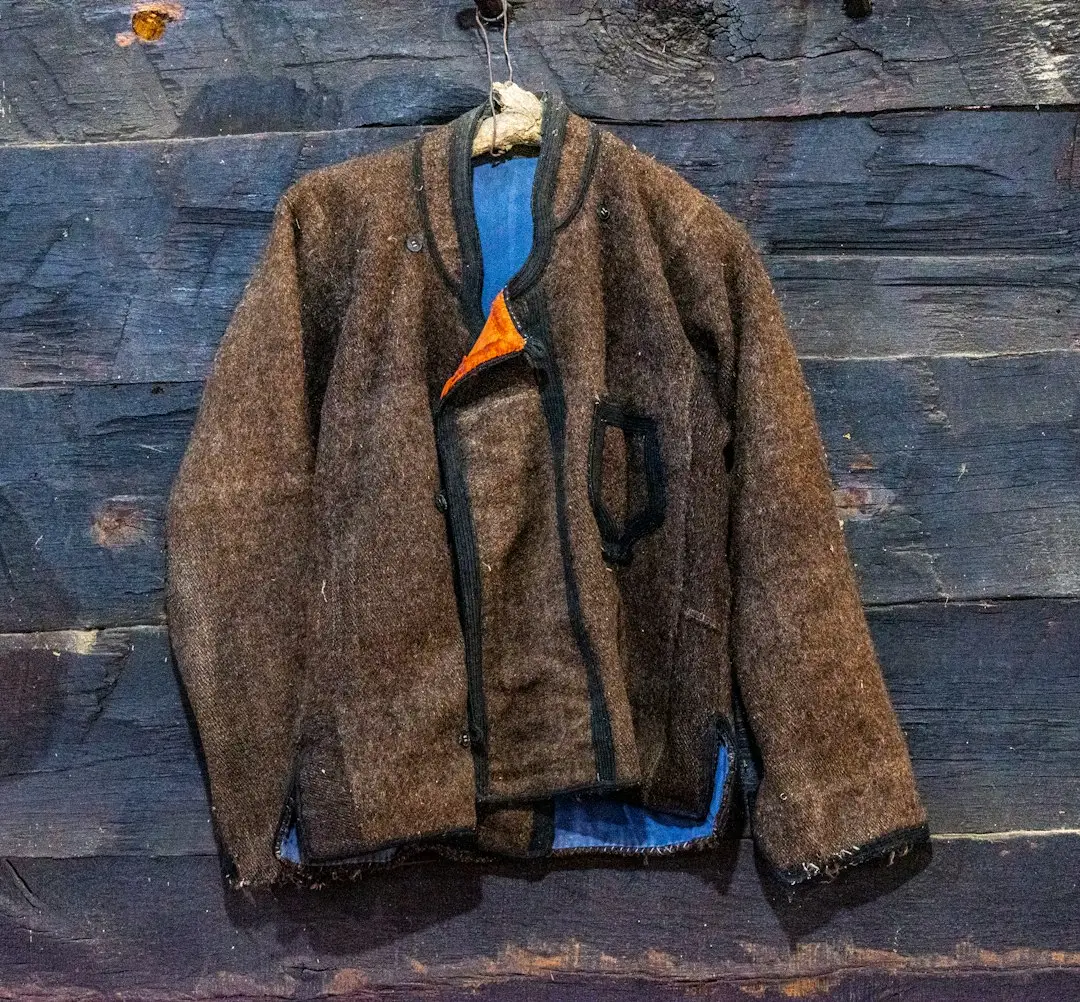
A good mid-layer makes all the difference between being comfy or cold. Even if the outside temperature hovers at around 0 to 5 degrees Celsius, a gust of wind will make it feel far colder. A fleece sweater, a quality wool sweater, or a down jacket will keep you warm and snug.
Layering makes a big difference. A few thinner layers hold heat better than one bulky jacket, allowing you to adjust easily when you duck inside to warm up between viewings.
A mid-weight fleece is the reliable workhorse of this system. It packs down small, dries quickly, and breathes well enough that you won’t overheat during a short walk between spots.
3. A Windproof, Waterproof Outer Shell
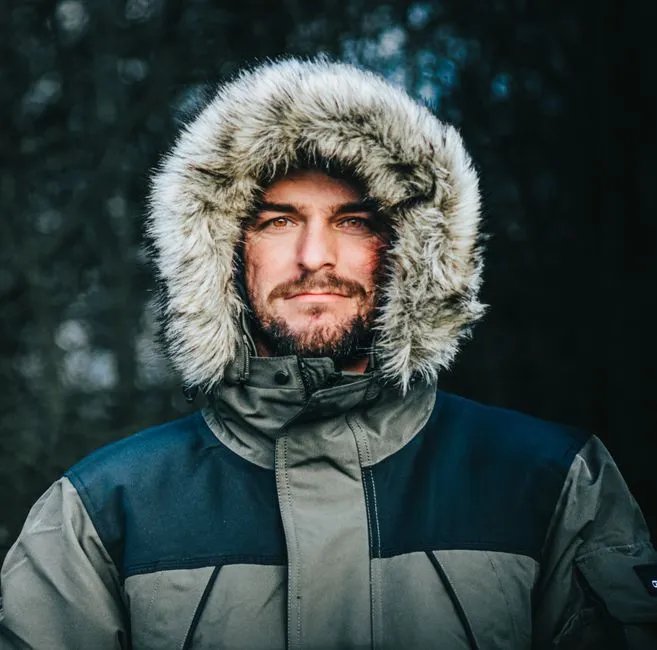
A windproof shell is essential to protect against cold winds, which can significantly lower perceived temperatures and increase the risk of hypothermia. This outer layer is your last line of defense against the Arctic environment.
A high-quality winter parka is well worth the investment for staying comfortable and warm during a Northern Lights trip. Opting for a longer length and a hood with fur or synthetic trim can make a huge difference when facing icy winds.
If you don’t want to invest in an expedition-weight parka, which can cost anywhere between $400 and $1,000 or more, rental is typically available for around $25 to $75 for the duration of a trip. It’s worth knowing that option exists before you commit.
4. Insulated, Waterproof Boots Rated for Extreme Cold
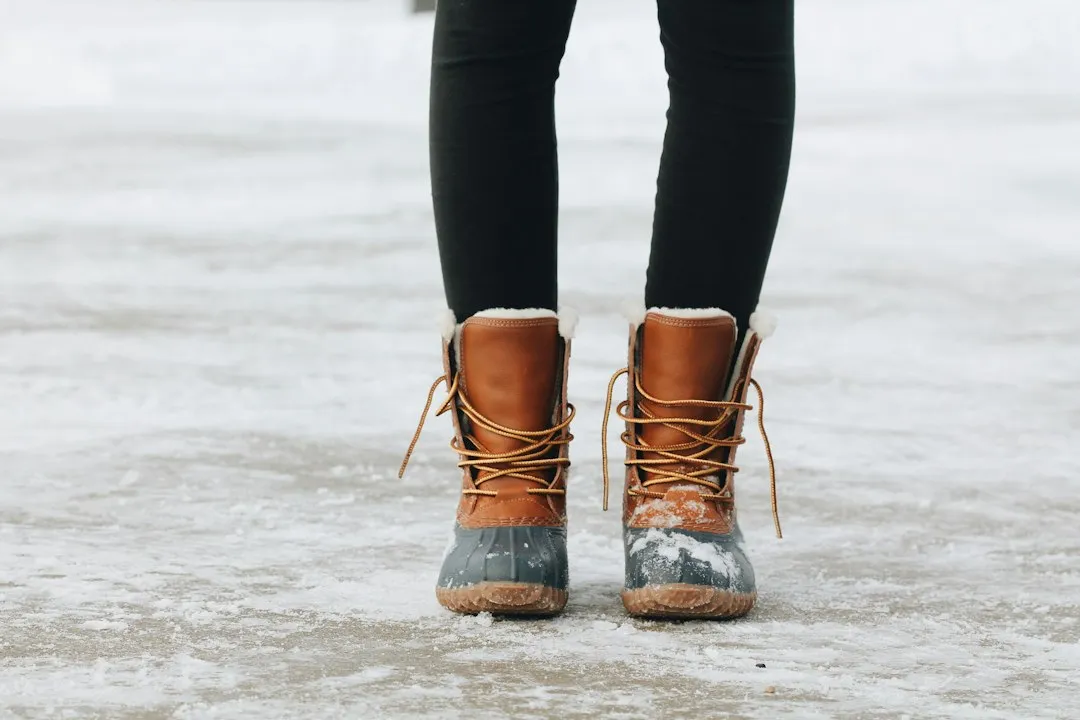
Your feet need special attention, so insulated, waterproof boots rated for at least minus 20 degrees Fahrenheit should be an essential item on your packing list. Generic fashion boots simply won’t hold up.
When choosing boots for your trip, bear in mind that you will be walking and standing for long periods of time on very cold surfaces. Even with multiple pairs of thermal socks, feet can end up frozen. The boot rating matters far more than the brand.
A pair of snow or ice grips for your shoes is also worth packing. These are made of rubber with steel coils and fit snugly over your shoes or boots, stopping you from slipping on ice or compacted snow. They’re inexpensive and genuinely useful on icy paths near viewing spots.
5. Wool Accessories: Hat, Gloves, Balaclava, and Neck Gaiter
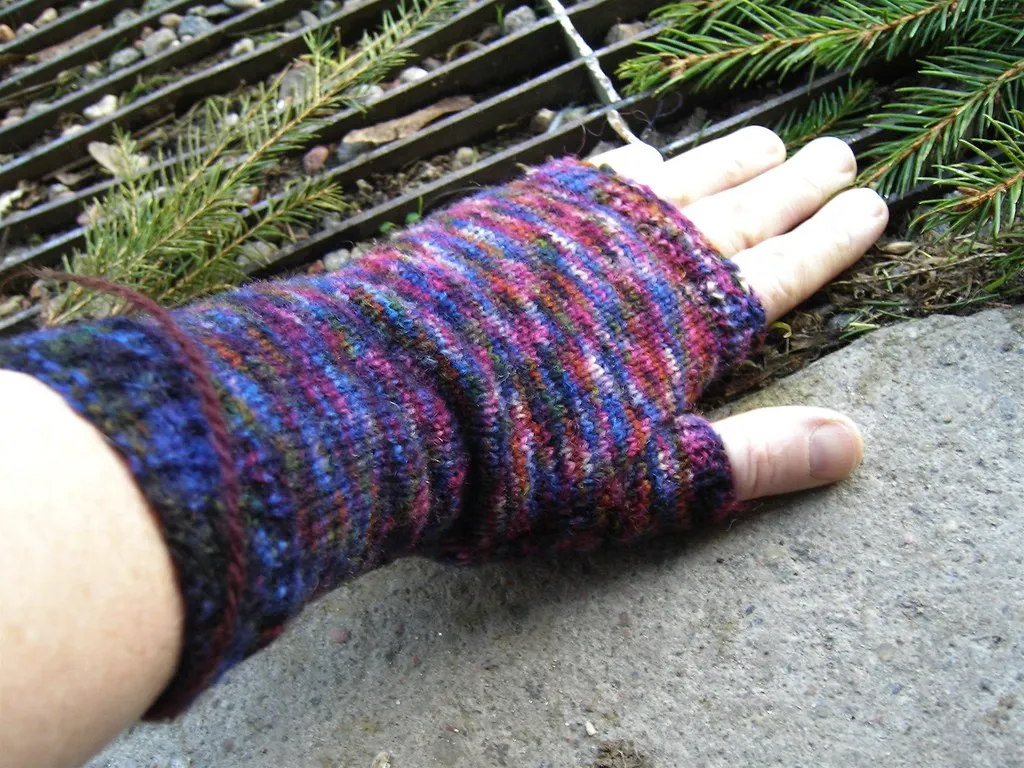
From gloves to hats, scarves, and socks, woollen accessories are almost as important as a proper winter jacket. A hat with fleece lining or ear flaps will be much appreciated when you’re standing outside watching the changing green and purple sky.
A recommended accessories list includes merino liner gloves, insulated mittens, a balaclava for temperatures below minus 10 degrees Celsius, a neck gaiter or buff, and a wool or fleece hat covering the ears.
Waterproof gloves, layered with liners for extra warmth, are ideal. Look out for touch-screen compatible options so you can still use your phone without removing them. That detail alone saves a surprising amount of frustration in the field.
6. Hand Warmers and Toe Warmers

Hand and toe warmers might seem like an afterthought, but they can make a huge difference in colder temperatures. Slip them into your gloves or boots, and you’ll get hours of steady warmth.
Hand and foot warmers provide essential heat in cold conditions, helping to keep your extremities warm and comfortable throughout the night. Chemical single-use warmers are widely available, though rechargeable versions are a worthwhile long-term investment for repeat cold-weather travelers.
It’s recommended to pack at least ten or more pairs of chemical hand and toe warmers. Extras that make a big difference also include a red-light headlamp and a spare camera battery kept warm in your jacket pocket.
7. Camera, Tripod, and Spare Batteries
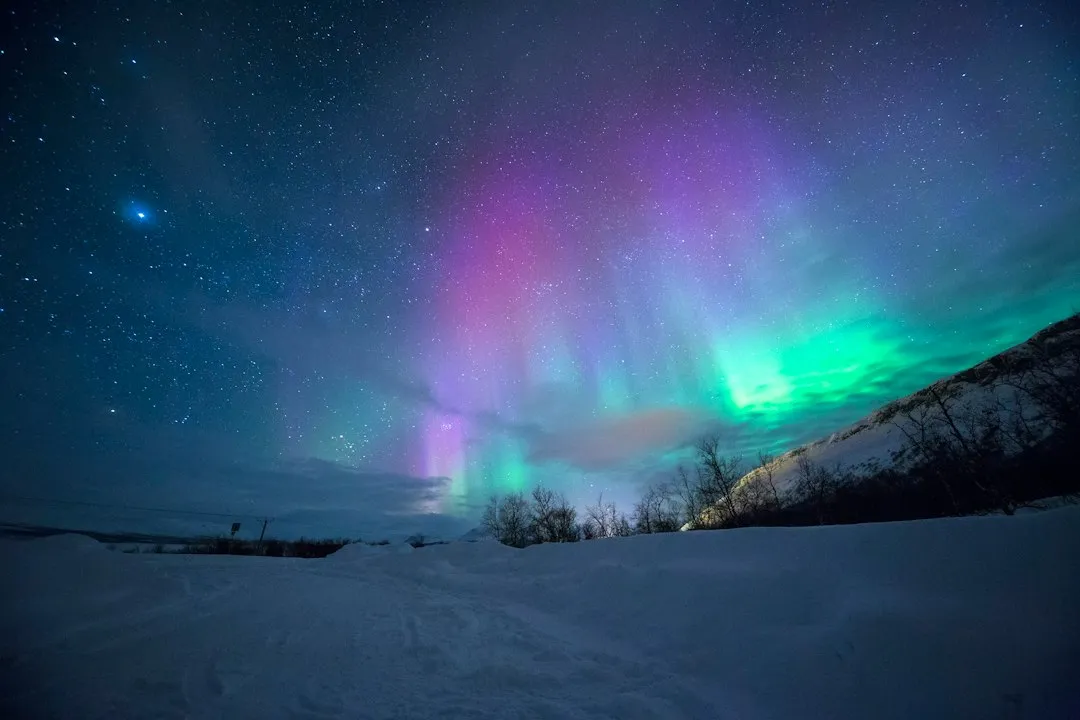
Bring a high-quality camera, such as a DSLR or mirrorless model, paired with a wide-aperture lens at f/2.8 or lower to ensure low-light shots turn out well. A sturdy tripod is a must for shooting long exposures, which you’ll need to photograph the northern lights.
The foundation of northern lights camera settings begins with shooting in manual mode using a wide aperture of f/1.4 to f/2.8, ISO between 1600 and 3200, and shutter speeds from 5 to 15 seconds. These settings work together to capture enough light from the aurora while preventing overexposure and maintaining image sharpness.
The cold air drains batteries more rapidly than usual, so packing a few spare camera batteries is strongly recommended if you plan to photograph the lights. Keep spares close to your body to preserve their charge. When bringing cold camera gear into warm indoor spaces, condensation can form on and inside the camera. Sealing your camera in a plastic bag before going inside means condensation forms on the bag rather than on your gear.
A Note on Timing and Viewing Windows
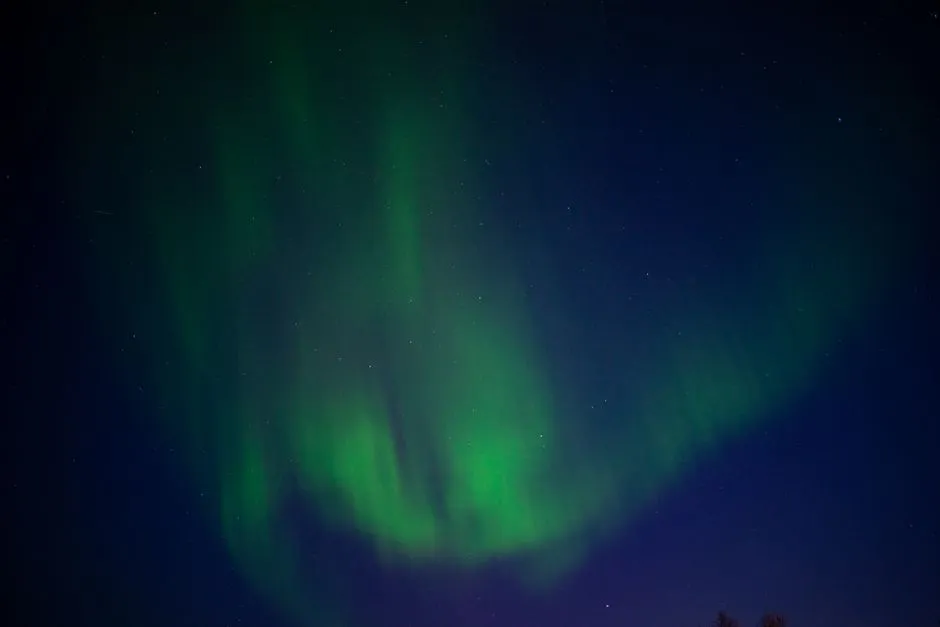
The Northern Lights are best viewed between September and March, particularly from 10 p.m. to 2 a.m., when the aurora is more active. Plan your outdoor sessions around those hours and dress accordingly from the start.
Solar activity during the Sun’s solar maximum phase increases your chances of spotting an aurora, though capturing their ethereal glow can still be tricky even during peak activity. Checking a reliable aurora forecast app before heading out is genuinely worthwhile.
The Hello Aurora app, available for iOS, iPadOS, macOS, and Android, is a highly regarded free option. It shows live measurements and aurora activity maps linked to real-time space weather data.
Cold-Weather Foot Care: Thermal Socks and Insoles
Merino wool socks are a must for the trail. They keep your feet warm even if they get a little damp and can remain odour-free even after a couple of long, cold days outdoors. Pack at least three to four pairs so you always have a dry set ready.
Thermal or heated insoles for boots offer extra warmth and comfort, especially during extended periods outdoors in cold temperatures. These insoles are designed to retain heat and keep your feet comfortable throughout the night.
Feet are often the first thing to go on a long aurora viewing night. The cold radiates upward from snow-covered ground even through thick boot soles, so layering your footwear from the inside out is just as important as your clothing layers above the ankle.
A Waterproof Backpack for Night Outings
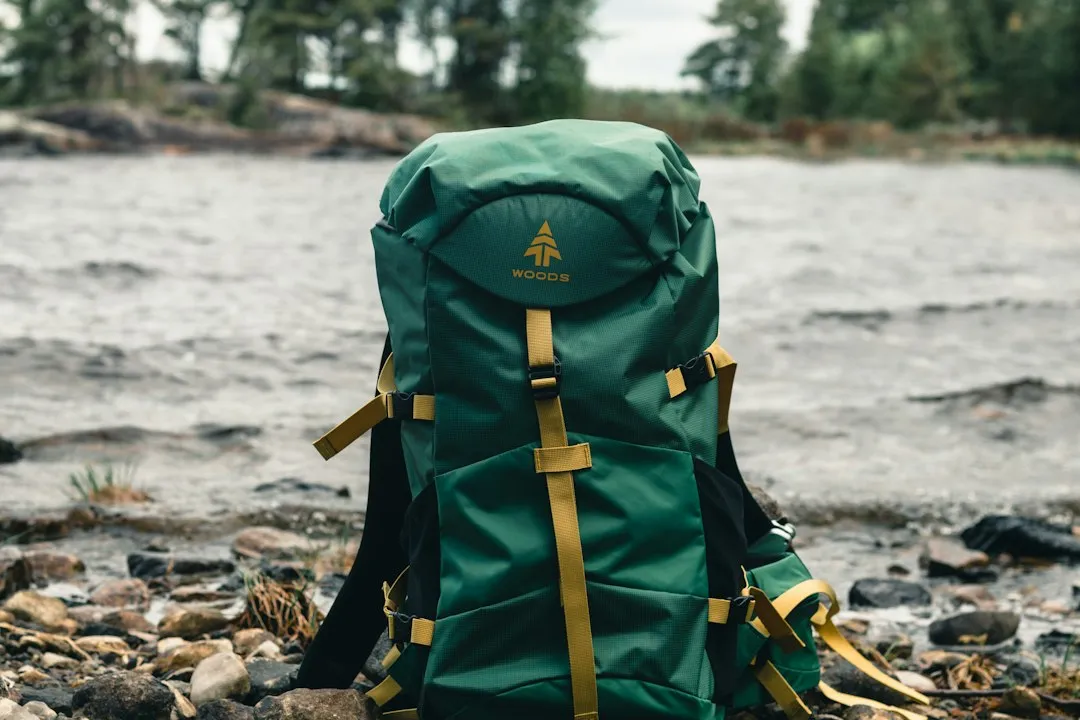
A waterproof backpack is an easy and practical way to carry your essentials during outdoor adventures, especially in the unpredictable weather conditions common in Northern Lights viewing areas. You’ll want everything close at hand without having to return to a vehicle.
Dry bags or zip-lock bags are invaluable for keeping electronics, documents, and other items dry and protected from moisture, ensuring they remain functional throughout your journey. This is especially true for spare batteries, snacks, and any emergency items.
A smaller daypack that fits comfortably over a thick parka is the sweet spot. Oversized backpacks become awkward when you’re wearing five layers and trying to move quietly through a dark landscape.
Skin Protection: Lip Balm, Moisturiser, and Eye Protection

Freezing temperatures can dry out your skin, so packing some moisturising products will help you feel more comfortable during your trip. Wind chill accelerates moisture loss from exposed skin dramatically, even on nights that feel relatively mild.
Sunglasses are also worth bringing, as snow glare can be intense, especially on bright days during daytime excursions before or after an aurora outing. UV reflections off snow are stronger than most people expect, particularly at higher latitudes.
SPF lip balm is often forgotten entirely. Skin on the lips is thin and exposed regardless of how much else you bundle up, so keep a small tube in an outer pocket where you can reach it without removing your gloves.
The Takeaway
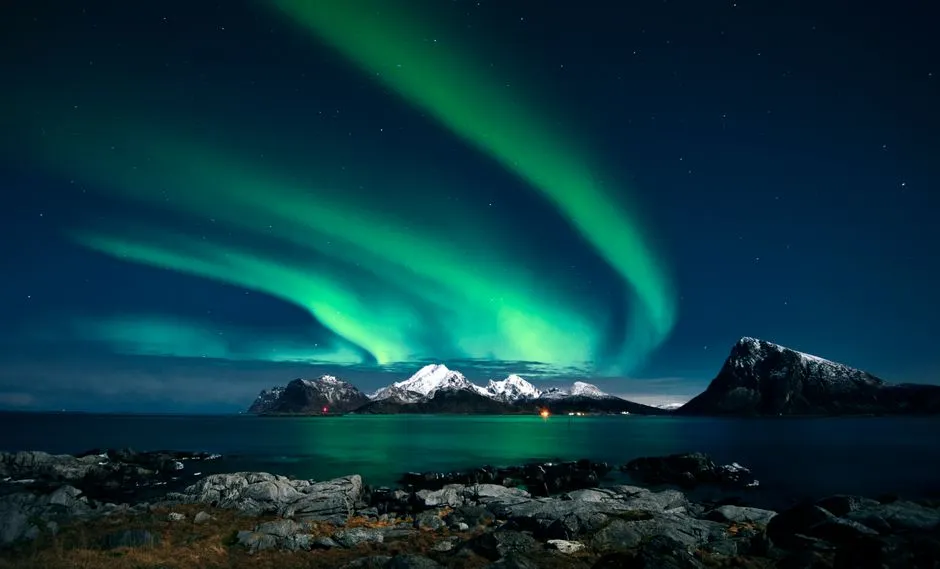
Packing for an aurora trip is really about one principle: respect the cold. The northern lights reward patience, and patience in sub-zero temperatures is only possible if your gear holds up through hours of standing still under an open sky.
The seven core items covered here form a genuine foundation, but the smaller details, dry bags for your electronics, hand warmers tucked into glove pockets, a charged aurora tracking app, matter just as much in practice. Preparation is what transforms a shivering ordeal into something you’ll want to do again.
The lights themselves are worth every layer.
AI Disclaimer: This article was created with the assistance of AI tools and reviewed by a human editor.