
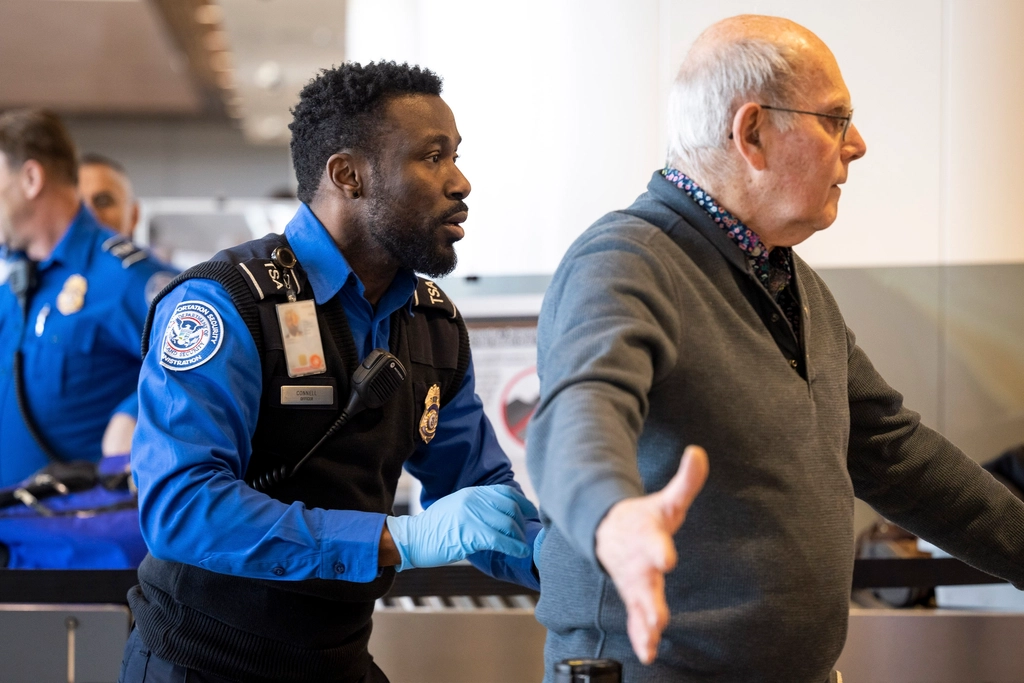

Start with an Empty Bag Every Time
It sounds almost too obvious, but the habit matters more than people realize. Passengers should start packing with a completely empty bag, making sure all pockets and compartments are clear of any prohibited items. Travelers who begin packing with an empty bag are statistically less likely to accidentally carry prohibited items through a TSA checkpoint.
Old receipts, forgotten cables, and overlooked pocket change all create visual clutter on X-ray images. A cluttered image means an officer has to look more carefully, which takes time. The TSA specifically encourages travelers to de-clutter and organize carry-on baggage to facilitate screening.
Pack Heavy Items at the Bottom in a Flat Layer
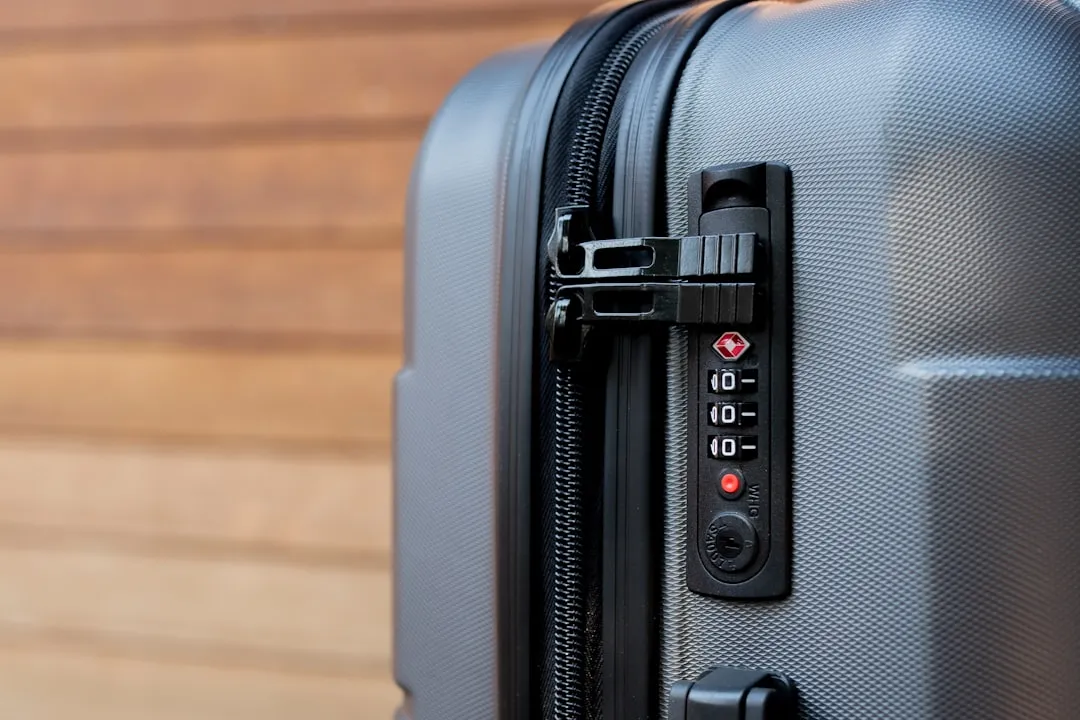
Place heavy items on the bottom and build flat layers as you move up. This principle matters for two reasons. First, a stable, well-organized bag sits squarely on the conveyor belt and passes through the scanner in a predictable orientation. Second, flat layers are much easier for X-ray technology to read clearly.
TSA X-ray machines work best when they can see through your bag in distinct layers. Shoes in one layer, clothes in another, and electronics on top creates a clean image that screeners can read quickly. Think of it less like packing and more like building a visual map that a screener can understand in seconds.
Put Your Shoes in First If They’re in the Bag
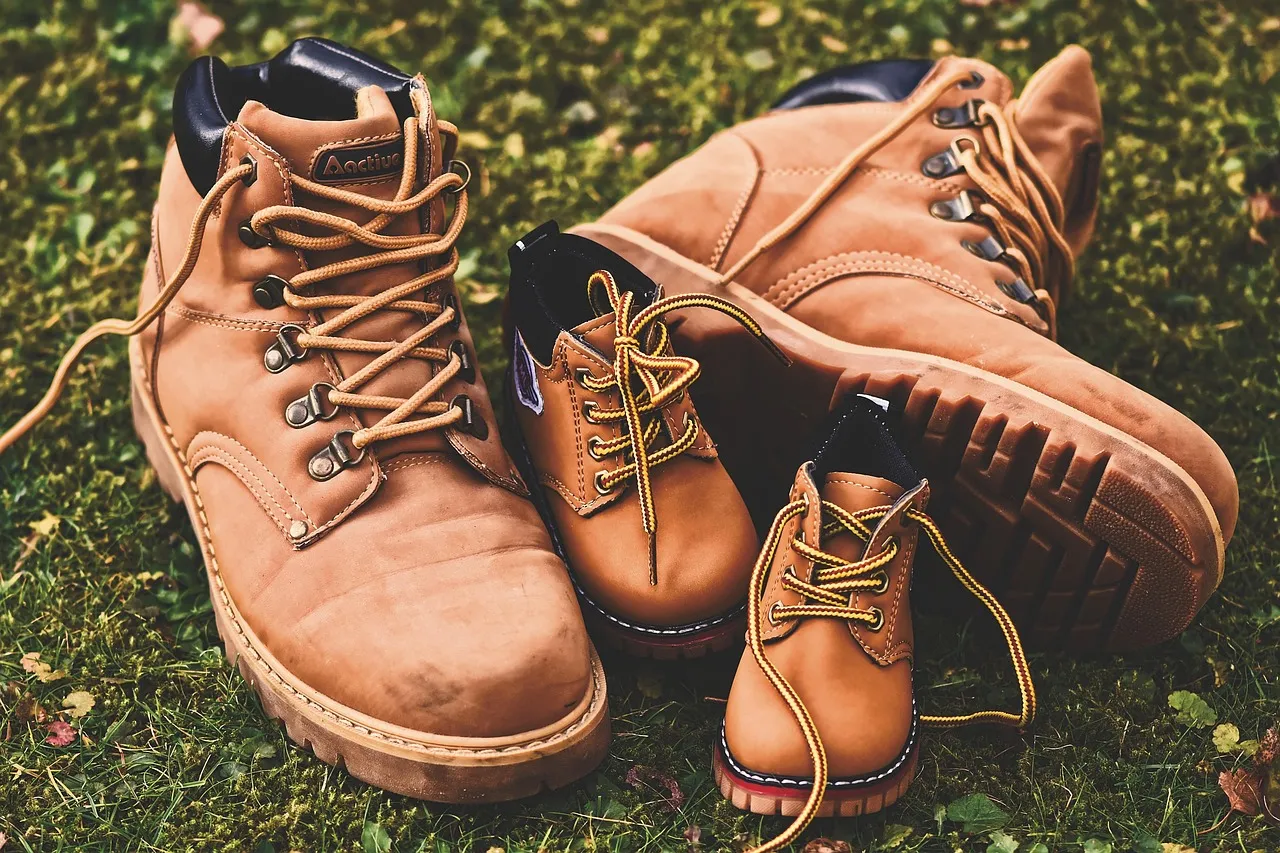
Shoes are the densest, heaviest items in most carry-ons, and placing them at the bottom keeps your bag stable and prevents them from crushing lighter clothes. Dense objects grouped together in the bottom layer give the bag a solid, readable base on the X-ray monitor. Scattered shoes wedged throughout a bag create confusing overlapping images.
TSA recommends that travelers wear slip-on shoes to remove and replace them quickly at the checkpoint. If you do that, you sidestep the shoe layer entirely and the bottom of your bag can hold folded clothes or other soft items instead. Either way, planning this before you zip up saves real time at the lane.
Clothes Go in the Middle – Folded, Not Stuffed

Clothing is the easiest layer to mismanage. Balled-up garments create uneven densities that can obscure other items on an X-ray image. Dense or irregular packing triggers manual inspection, which is exactly what you want to avoid at a busy checkpoint. Rolling or flat-folding clothes keeps this layer thin, even, and visually transparent.
Think of the clothing layer as neutral territory on the scanner – it should be so unremarkable that the screener’s eye moves straight past it to whatever needs a closer look. Keep personal items like wallets, keys, and coins out of this layer entirely. Pockets should be empty of keys, tissues, currency, wallets, and cell phones before you approach screening.
Pack Your Liquids Bag in an External Pocket
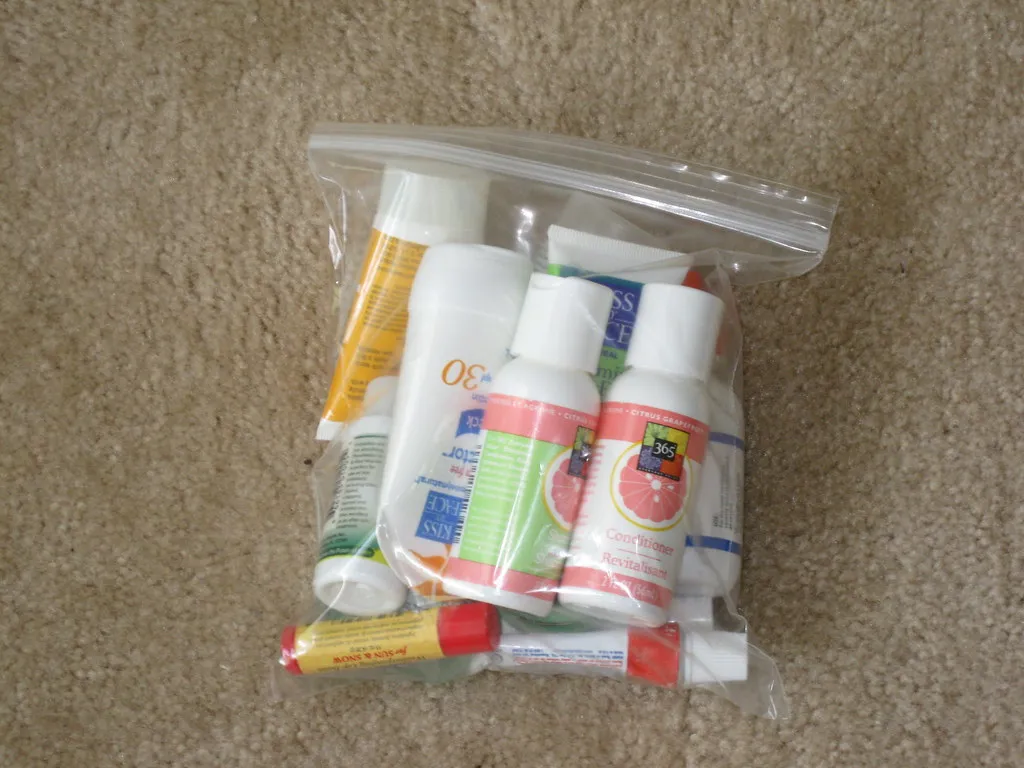
You’re allowed to bring a quart-sized bag of liquids, aerosols, gels, creams, and pastes in your carry-on bag. These are limited to travel-sized containers that are 3.4 ounces (100 milliliters) or less per item. The rule has been unchanged for years, yet the liquids bag remains one of the most common reasons a carry-on gets flagged or held up.
Placing these items in the small bag and separating them from your carry-on baggage facilitates the screening process. The practical move is to store your quart-sized bag in an external, easy-access pocket so you can pull it out with one hand in a single motion. The TSA travel checklist specifically recommends placing your 3-1-1 bag with liquids, gels, and aerosols in the front pocket of your carry-on.
Powders Deserve Their Own Consideration
As of June 2018, powdered items such as coffee, spices, and baby powder in excess of 12 ounces are subject to additional screening. This catches many travelers off guard, especially those who pack protein powders, dry shampoo, or large containers of cosmetic products. These items create ambiguous images on X-ray machines that take extra time to assess.
You may be asked to remove powders if they’re judged to be potentially dangerous or if TSA is unable to identify them clearly. To expedite your time going through security, place powders in your checked bag if possible. When that’s not an option, keep powders in a clearly labeled, transparent container near the top of your bag so they’re easy to separate into a bin if an officer asks.
Electronics Go on Top – Accessible and Uncharged Is a Problem
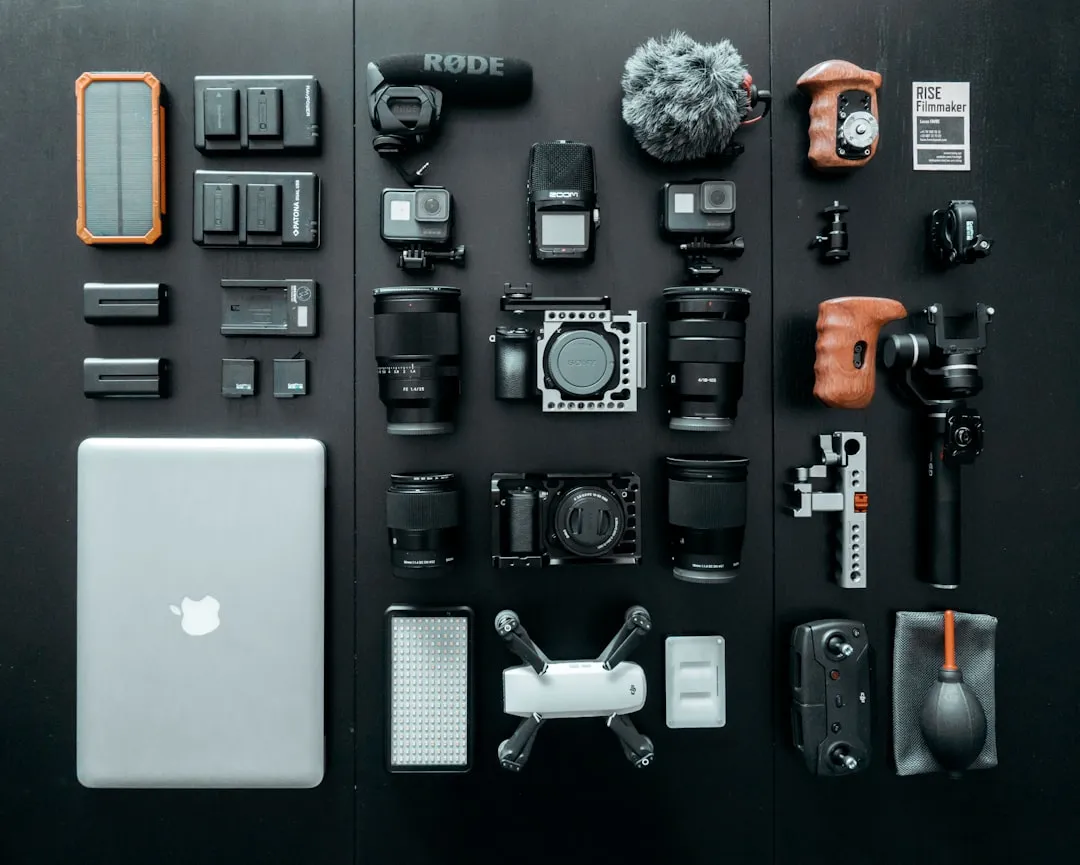
Pack large electronics on the top layer of your carry-on for screening accessibility. This is one of the most direct instructions the TSA publishes, and it still gets ignored constantly. While newer CT scanners at major hubs allow you to keep laptops inside your bag, many smaller airports still require all electronics larger than a cell phone to be placed in a separate bin. Pack your laptop, tablet, and gaming consoles in an easy-access sleeve near the top of your carry-on.
TSA officers frequently conduct power-on tests. If your device is dead and cannot turn on, it may be denied entry to the secure area for safety reasons. Ensure all devices are charged to at least 30 to 50 percent. A dead device at a checkpoint creates a delay that ripples through the entire lane behind you. Lithium-ion power banks must always be in your carry-on and never in checked luggage, as they pose a fire risk in the cargo hold.
Keep Cables Tidy – Tangles Flag Bags
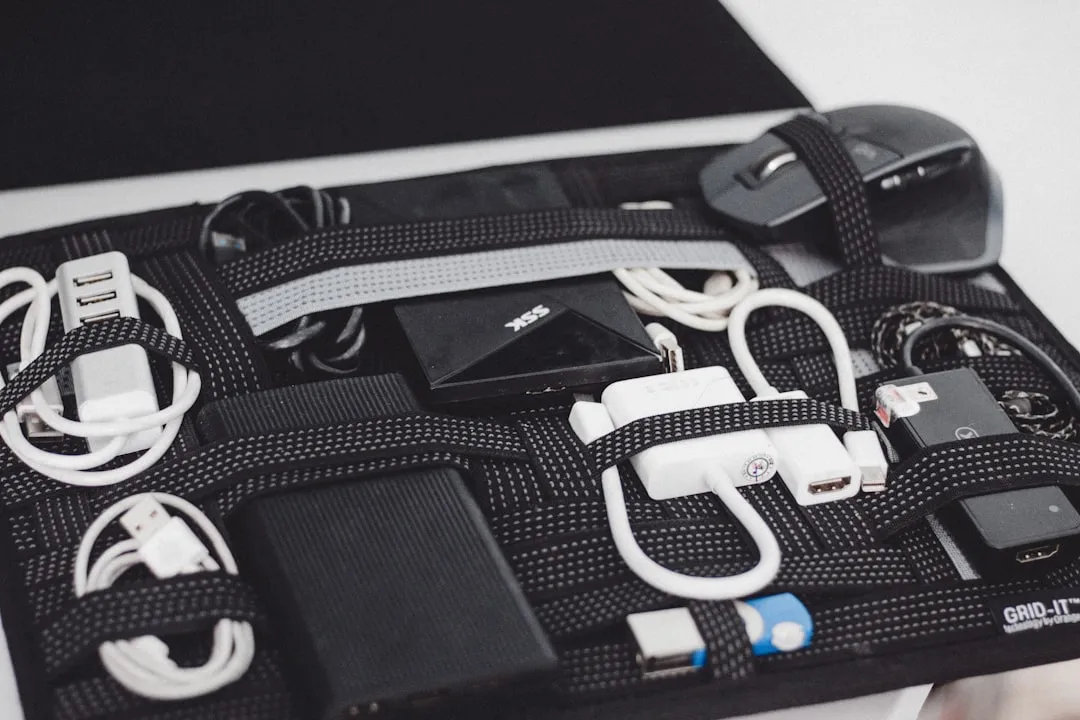
Use a clear tech organizer for cables to prevent tangled masses that can trigger secondary manual bag inspections. On an X-ray monitor, a nest of cables can resemble wiring or concealed components that require a second look. It’s not a frequent cause of serious delays, but it is a consistent cause of unnecessary bag-opening.
When packing, avoid tangles by coiling cords and securing them with Velcro straps. If you travel with multiple devices, arrange them by size in the top layer of your bag so TSA screening for electronics is faster and less likely to trigger a secondary check. A small tech pouch that costs very little can eliminate this problem entirely.
Medications and Food Need Thoughtful Placement
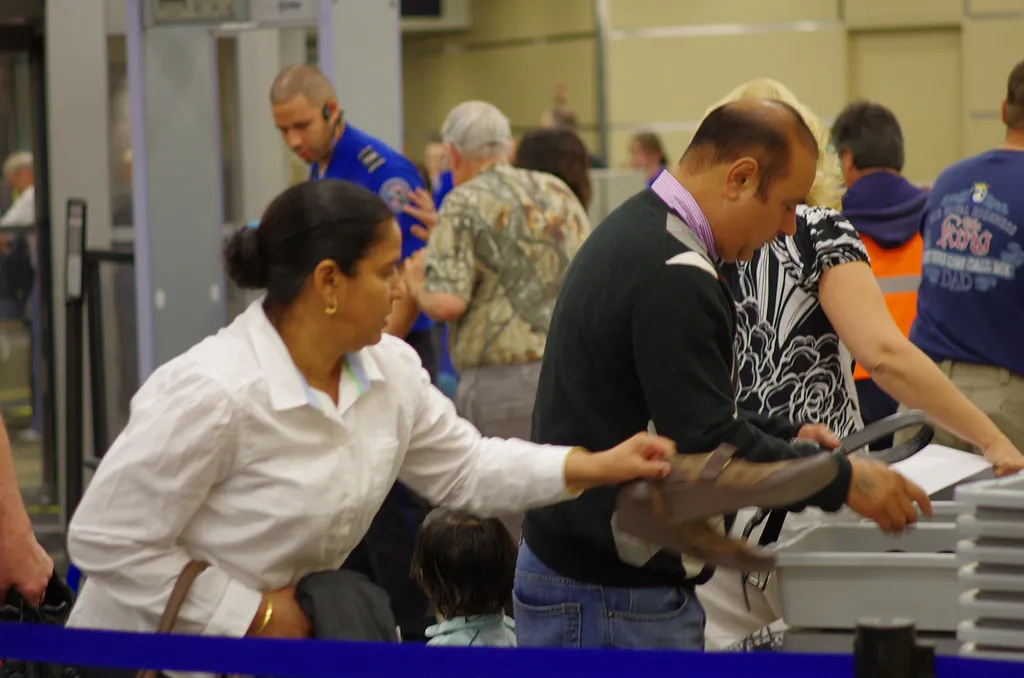
In most cases, food or snacks such as fruit, health bars, and sandwiches can stay inside your carry-on bag. However, food can complicate X-ray images in ways that are easy to underestimate. TSA officers may instruct travelers to separate foods, powders, and any materials that can clutter bags and obstruct clear images on the X-ray machine. Keeping snacks in a transparent bag near the top of your carry-on makes this step quick if an officer requests it.
For medications, the rules are more flexible than many people assume. You can bring medication in pill or solid form in unlimited amounts if it is screened. You may travel with your medication in both carry-on and checked baggage. TSA strongly recommends placing medications in your carry-on in the event you need immediate access. Keeping them in an outer pocket, separate from other items, makes visual verification faster for everyone.
Consider TSA PreCheck for a Fundamentally Different Experience
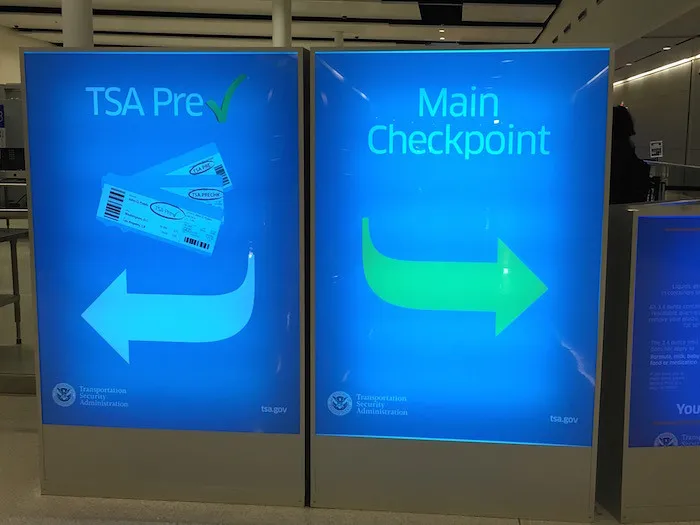
According to the TSA, the vast majority of PreCheck passengers wait less than 10 minutes at security checkpoints nationwide. That’s compared to a 20-minute target for standard lanes, and real-world waits during peak periods can be considerably longer. PreCheck lanes are designed to keep waits under 10 minutes, versus a 20-minute target for standard lanes.
PreCheck members benefit from expedited screening without removing shoes, belts, or light jackets, and liquids and laptops can stay in bags. That changes the entire packing calculus. Travelers with TSA PreCheck often do not have to remove electronics during security screening. For frequent flyers, enrollment makes practical sense. TSA PreCheck has more than 1,000 enrollment locations nationwide as of late 2025, and for international travelers, Global Entry’s automated biometric technology reduced arrival wait times by 70 percent and saved officers more than 300,000 hours in 2025.
The Takeaway
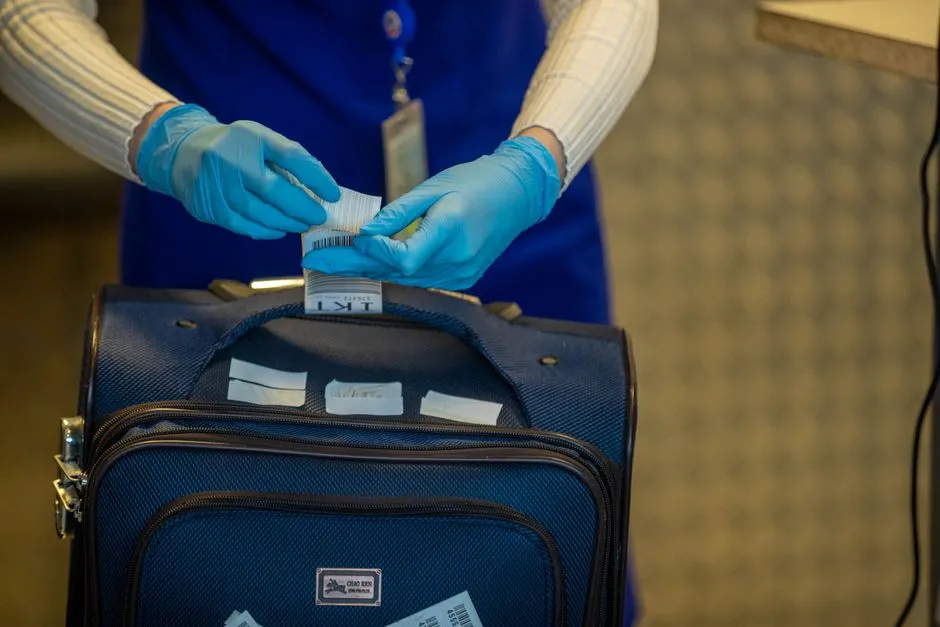
Getting through a TSA checkpoint quickly isn’t a matter of luck or knowing some secret workaround. It comes down to how you arrange your bag at home, before you ever reach the airport. The order is straightforward: heavy items and shoes at the bottom, clothes in the middle, liquids in an external pocket, and electronics sitting cleanly on top with enough charge to turn on.
None of this takes longer to execute than packing randomly. It just requires doing it deliberately once, and then making it a habit. Planning ahead and packing properly can facilitate the screening process and ease your travel experience at the airport. The checkpoint will never be the most relaxing part of any journey, but it genuinely doesn’t have to be the most stressful one either.
AI Disclaimer: This article was created with the assistance of AI tools and reviewed by a human editor.