
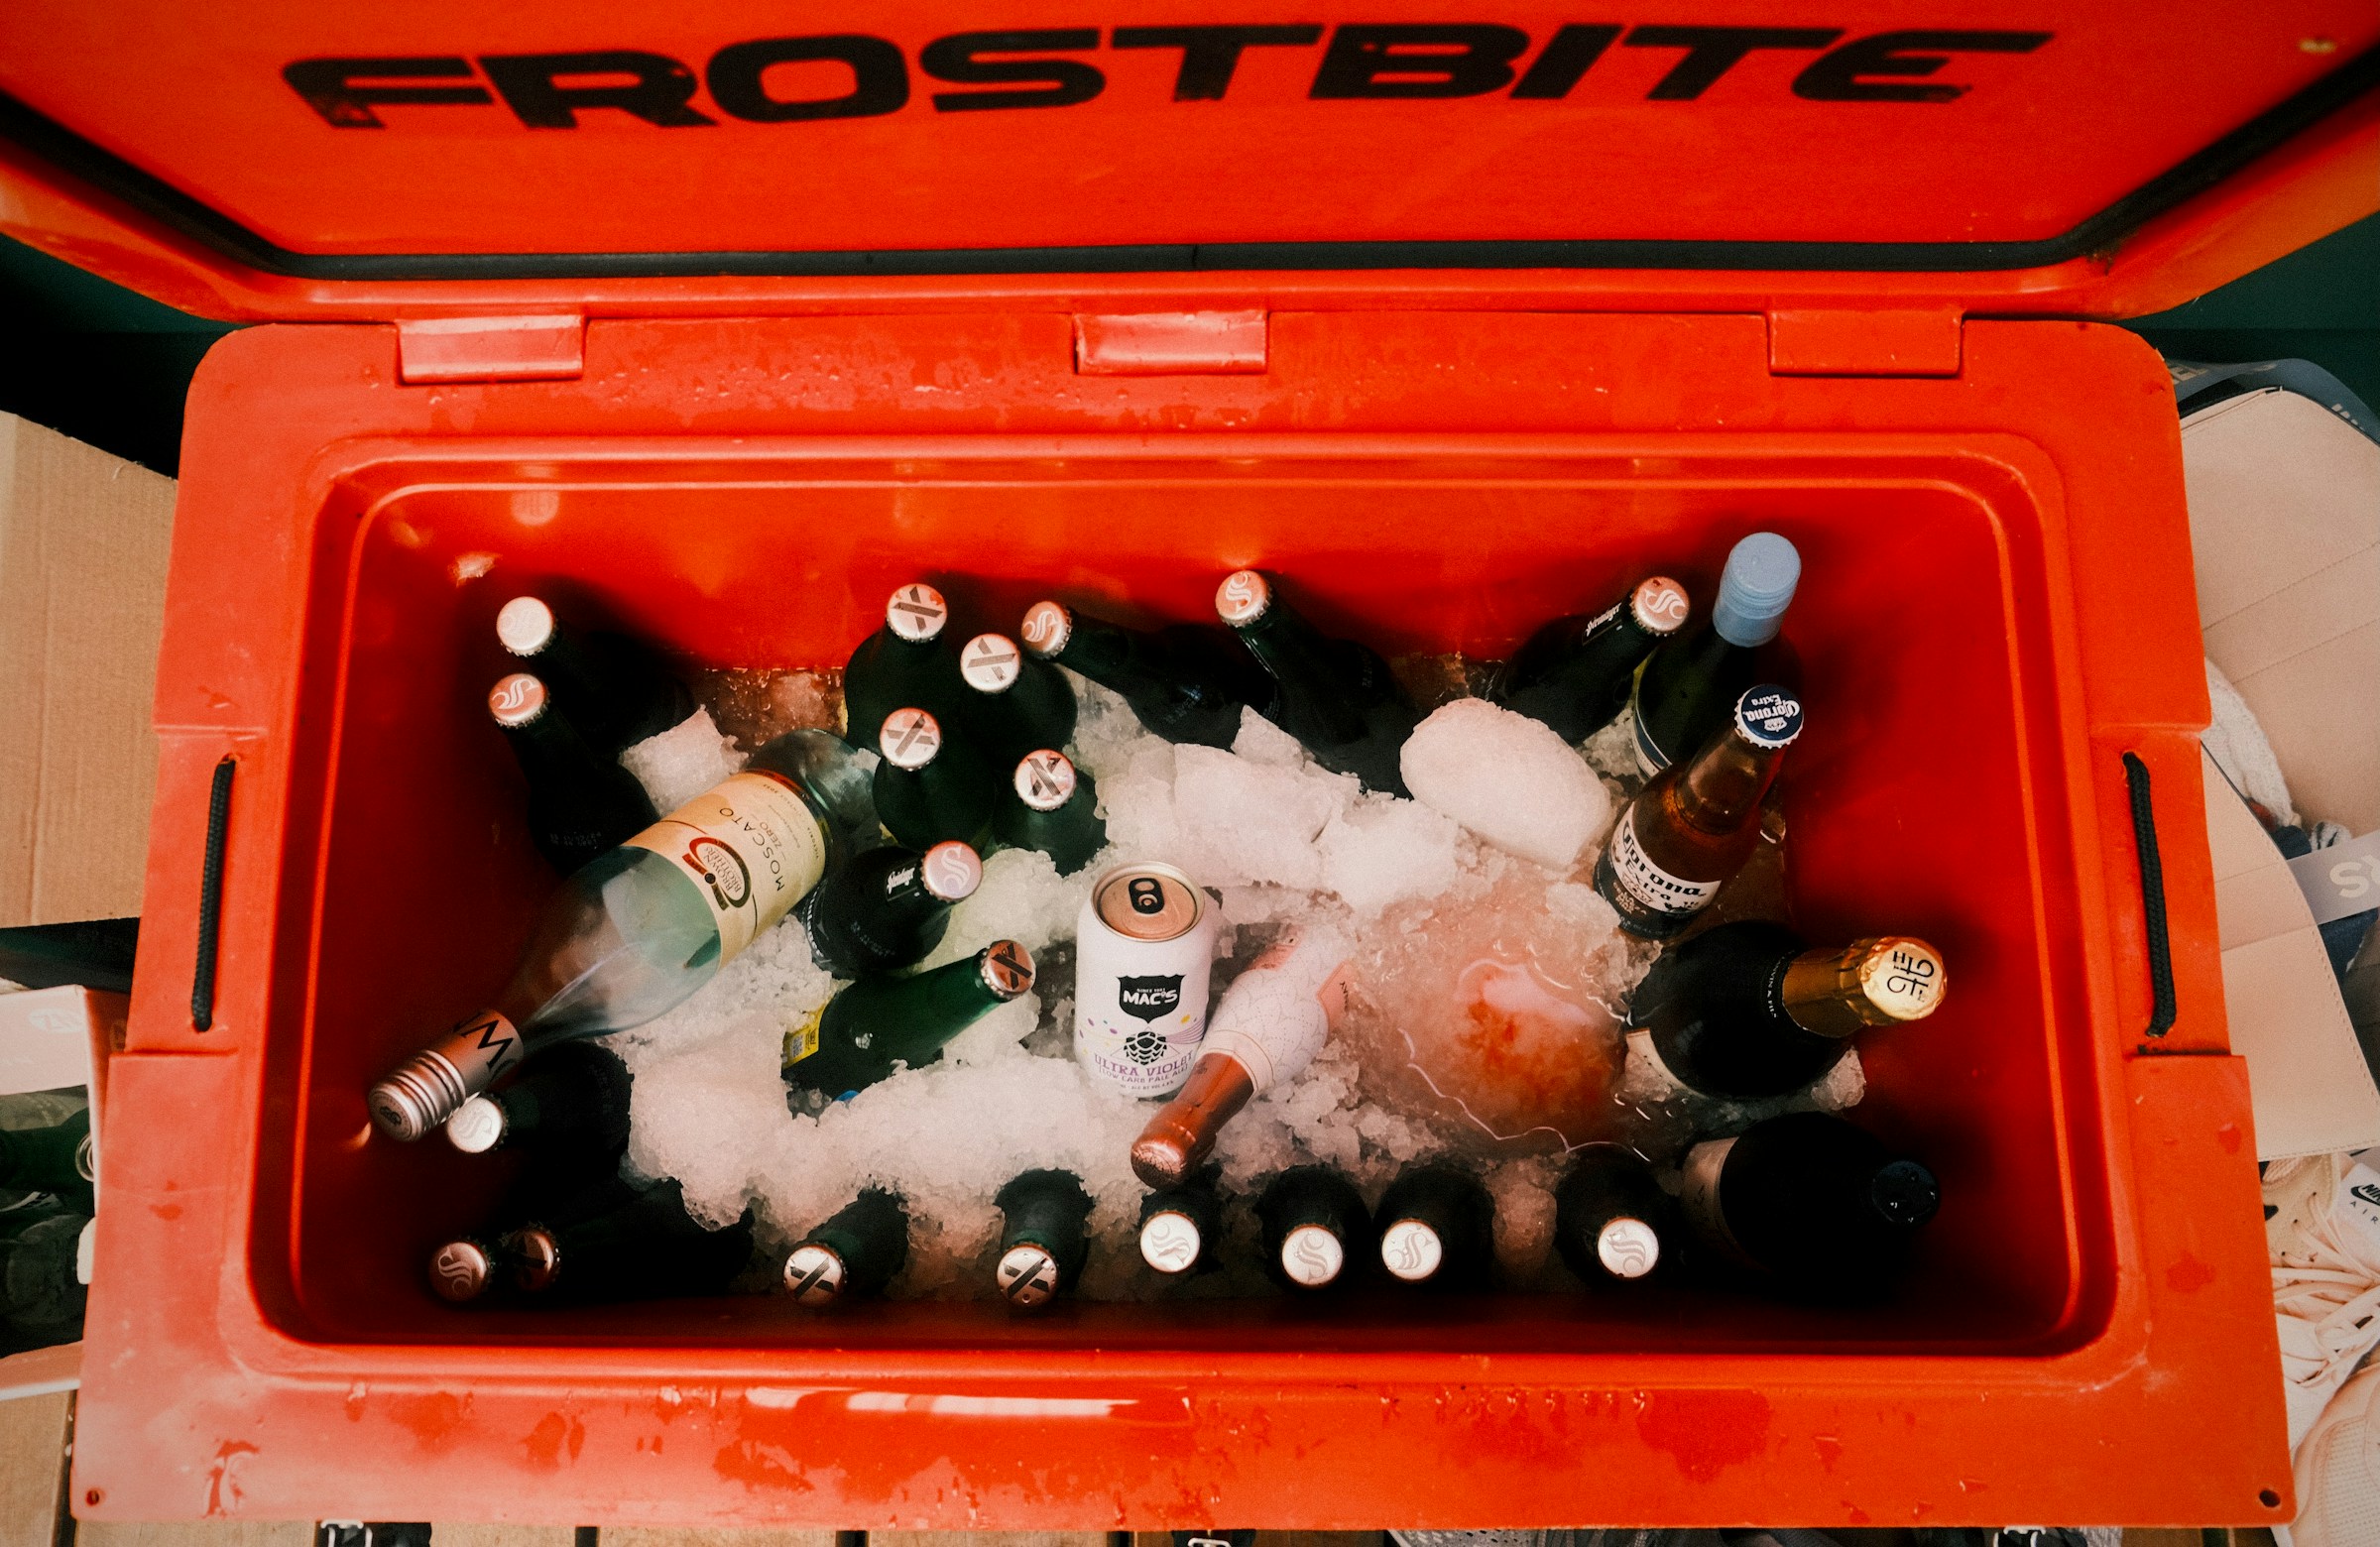

Pre-Chill the Cooler Before You Pack It
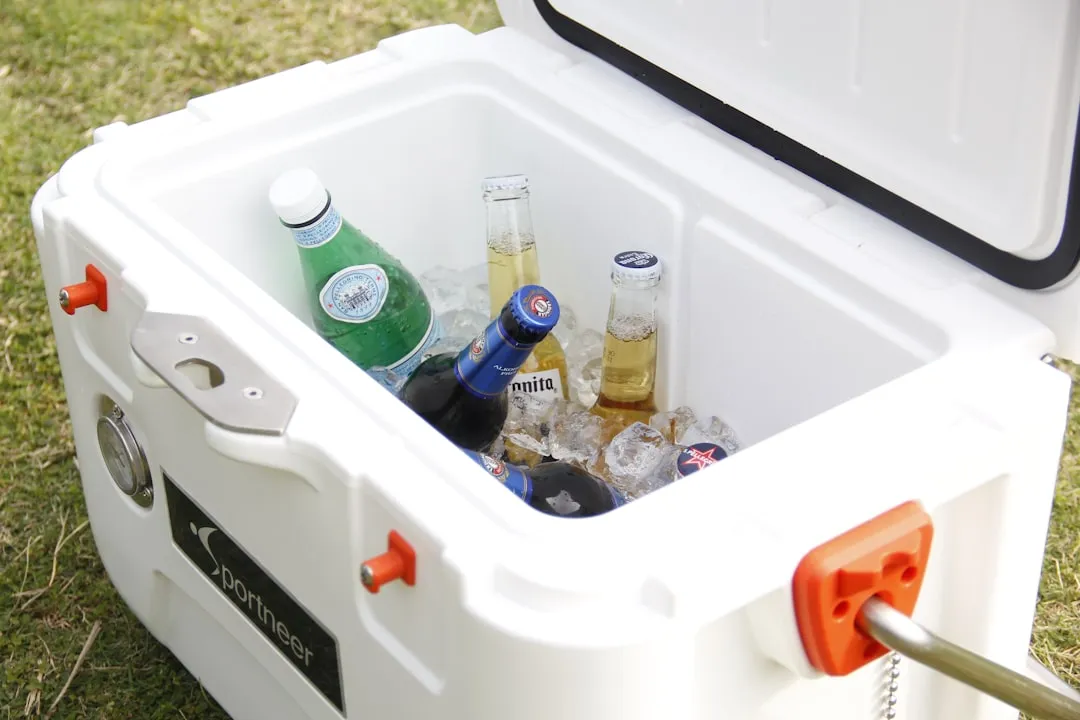
The single most impactful step most people never take is pre-chilling the cooler itself. If you start with a warm or hot cooler, a significant amount of ice will be wasted just cooling the cooler down. That wasted ice never even gets to touch your food or drinks.
Always pre-chill your cooler by filling it with ice overnight or, ideally, for a full day. Fill it at least half full, close the lid, and let the ice work to chill the internal space. Keeping that ice and melt water in there for 24 or more hours is key to conditioning your cooler for long-term cold performance.
A room-temperature cooler absorbs roughly 18,500 joules of heat just to cool its plastic shell, foam insulation, and interior air down to 34°F. That energy comes directly from your ice, melting up to 1.2 pounds before a single drink is even placed inside. Pre-chilling eliminates that loss entirely.
Choose Block Ice Over Cubed Ice When You Can
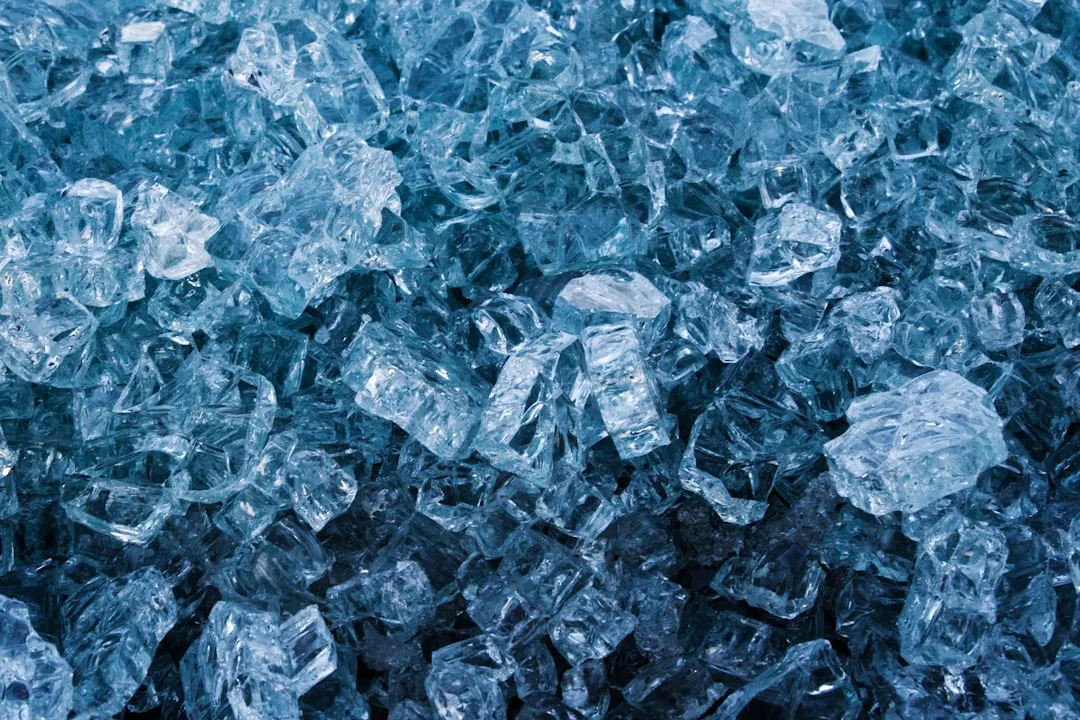
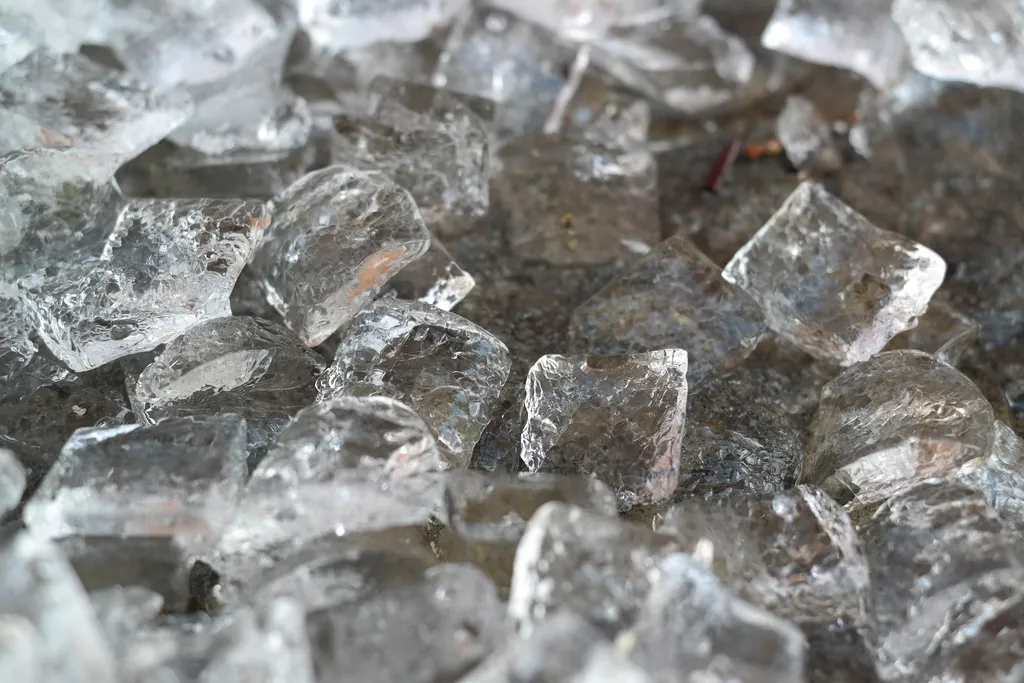
Block ice lasts longer because it has less surface area exposed to warm air. It’s ideal for multi-day trips. The physics here are straightforward: less exposed surface means less heat transfer, and less heat transfer means slower melting.
A 10-pound block melts roughly three times slower than the same weight in standard one-inch cubes, due to a significantly lower surface-area-to-volume ratio. That’s a meaningful difference when you’re two days into a camping trip.
The real answer is to use both block ice and cubed ice together. Each one has advantages, and by combining them you’ll extend your cooler’s ice retention further than either type alone. Use blocks for the long haul and cubes to fill the gaps and chill things quickly.
Keep the Cooler in the Shade at All Times
Direct sunlight is probably the most underestimated enemy of a well-packed cooler. Even the best-insulated cooler can’t beat the sun. Direct sunlight heats up the cooler’s exterior, which transfers into the cooler over time.
Keep your cooler out of direct sunlight when possible. Ice can last up to twice as long in the shade. That’s not a small margin. It’s the difference between ice surviving a full day versus barely making it to lunch.
Solar irradiance contributes up to roughly forty percent of total heat load on a sunny day, especially on dark-colored coolers. In desert conditions, black coolers reached exterior surface temperatures of 132°F, while white-coated units stayed at 104°F, translating to notably faster ice loss. If you’re buying a new cooler, color actually matters.
Pre-Chill Your Food and Drinks Too
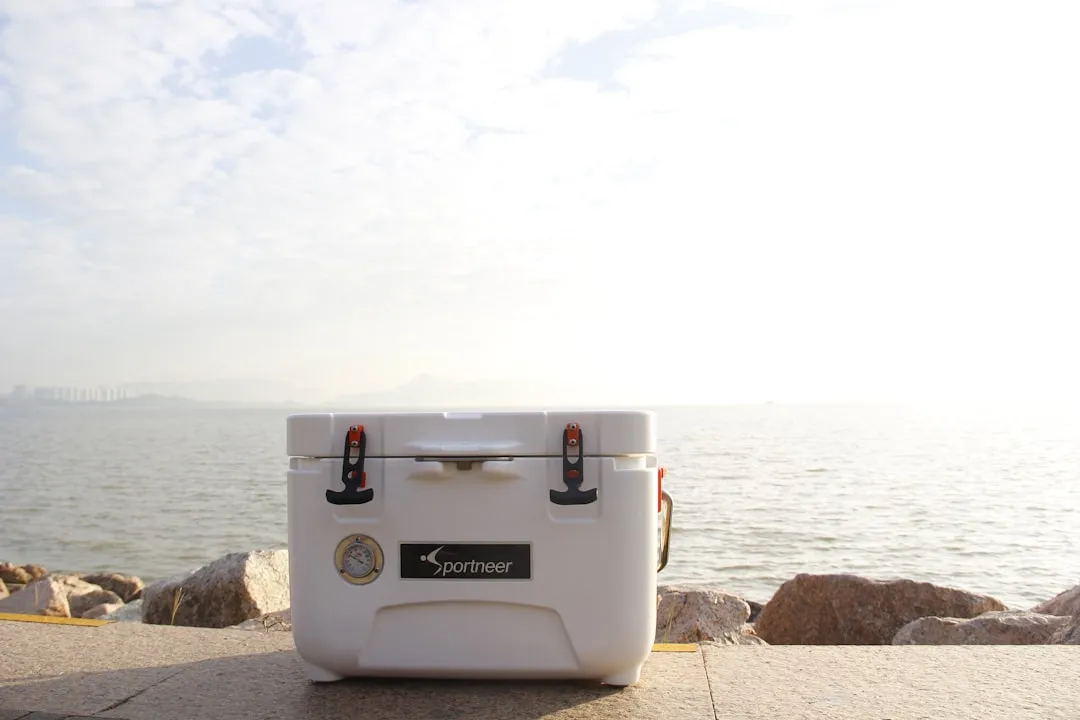
Warm drinks and room-temperature food are silent ice killers. Always pre-chill any food or drinks you plan to put in your cooler for at least a few hours, ideally overnight. It’s important not to compromise the inside temperature of a pre-chilled cooler with warm items. Anything you plan to put inside your cooler should have been in the fridge or freezer for an extended period and be as cold as possible.
Freezing meats, prepared vegetables, breads, or beverages ahead of time will help keep temperatures in the cooler cold longer. Think of every warm item you load as a small but persistent heat source actively working against your ice.
Follow the 2:1 Ice-to-Content Ratio
Use twice the amount of ice as pre-chilled food and drinks that you’re packing. The more ice you have, the better it will keep the internal temperature of your cooler low. It sounds obvious, but most people significantly under-ice their coolers.
A two-thirds ice, one-third contents ratio is a reliable target. One-third of your cooler holds your cold drinks and food, while the other two-thirds should be filled with ice. More ice mass means the cooler has more thermal buffer to draw on before temperatures rise.
Eliminate Dead Air Space Inside
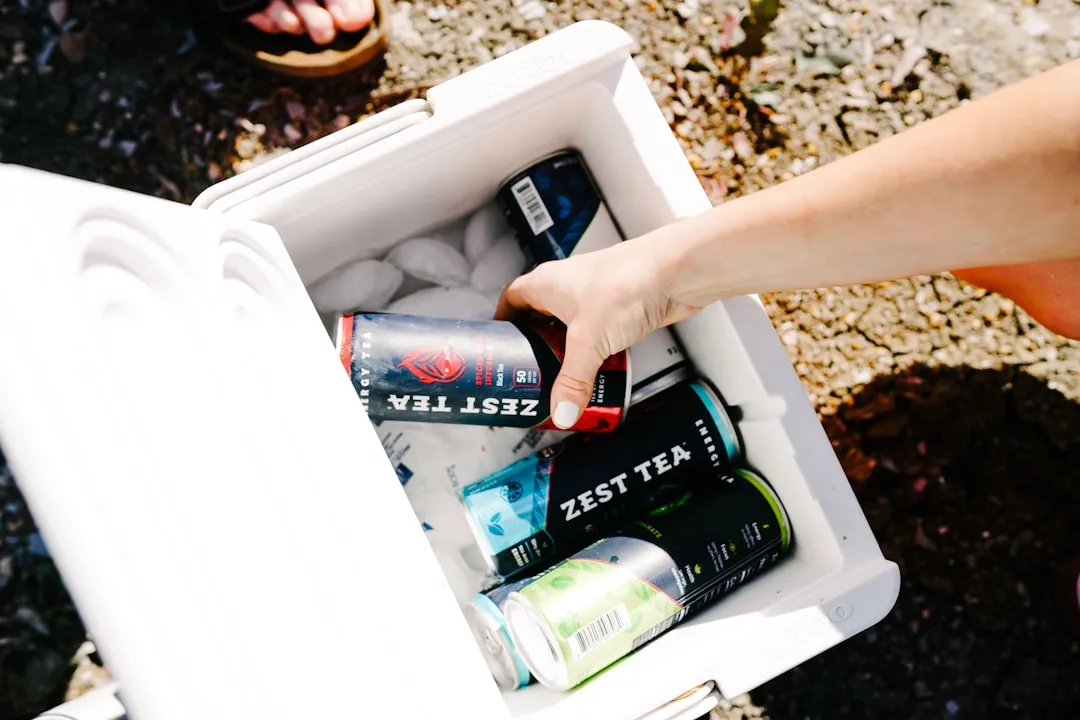
Empty space inside a cooler is wasted potential. Large areas of air inside your cooler will accelerate ice melt, as the ice is consumed having to cool the air instead of your contents. If you need to leave space in your cooler, fill it with extra ice, towels, or crumpled newspaper if weight is a concern.
A snugly packed cooler holds its temperature more efficiently because there’s simply less warm air to deal with. Even a rolled-up blanket stuffed into an empty corner makes a real difference on a long trip.
Never Drain the Meltwater
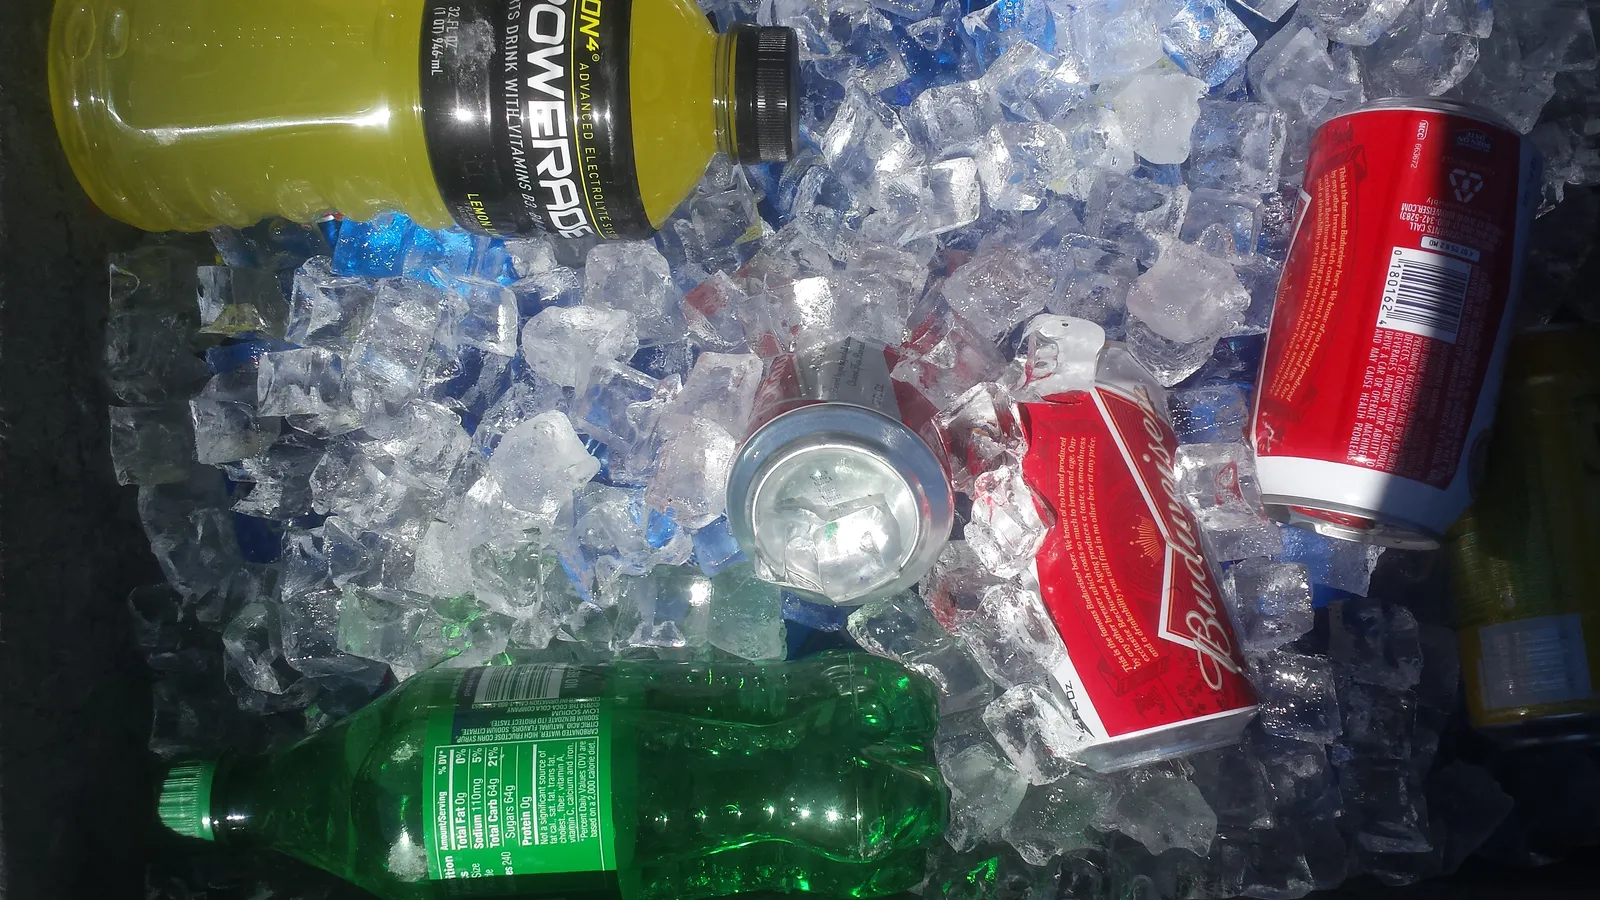
This one surprises most people. The instinct is to drain the cold, pooling water at the bottom of the cooler to make room or keep things dry. Resist that urge. It might seem like a good idea to drain out the melted water, but keeping the cold water in your cooler helps slow down the remaining ice from melting.
Water transfers heat better than air, so as ice does melt, keep the meltwater in the cooler unless you’re replacing it with fresh ice. Cold water surrounding the remaining ice acts as an insulating layer. Drain it, and you replace that layer with warm air.
When pre-chilling, block ice, and a no-drain policy were combined in real-world testing, median ice life extended from roughly 18 hours to more than 41 hours. That’s a dramatic improvement from three simple habits used together.
Open the Lid as Little as Possible
Every time you open the cooler, you’re making a trade you can’t undo. Every time you open the cooler, you are exchanging the cold air inside for warm air outside, which must then be cooled, causing faster ice melt.
Ice melts about 60 times faster when the lid is open versus closed. Put another way, every minute with the lid open equals one less hour of ice retention. That number is worth sitting with for a moment.
Consider having a separate beverage cooler to avoid opening and closing your food cooler too often. Drinks get grabbed constantly throughout the day. Keeping them in a second, cheaper cooler protects the main one almost entirely.
Elevate the Cooler Off Hot Surfaces
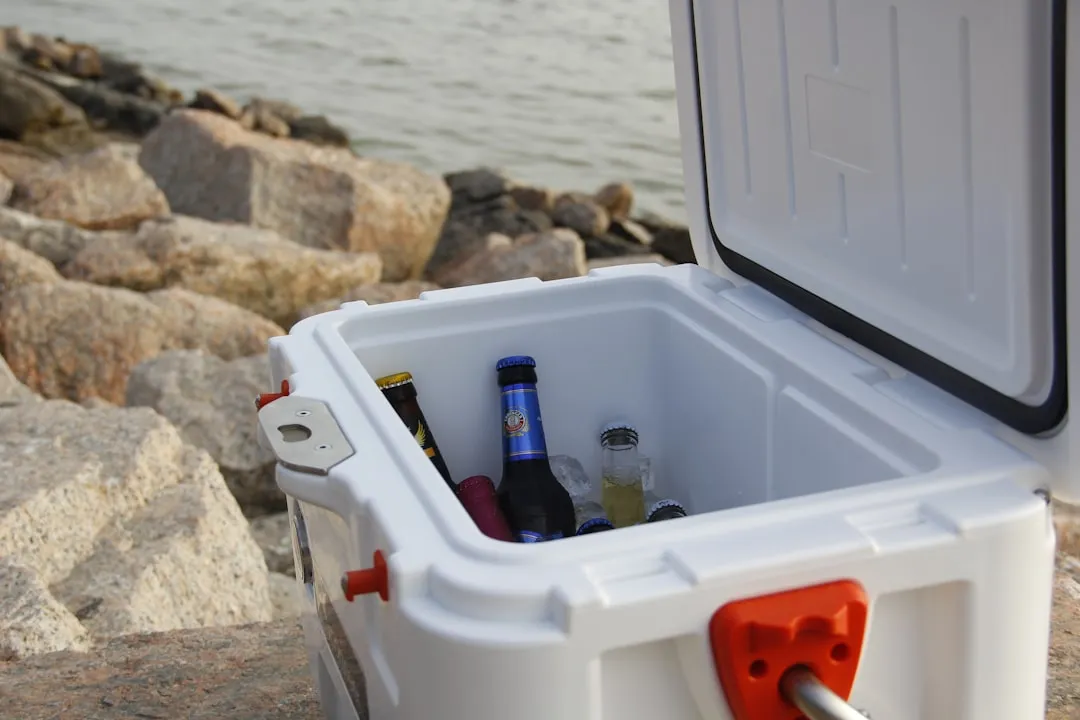
Where you set your cooler matters almost as much as what’s inside it. Elevate the cooler off hot surfaces like pavement or sand to reduce heat transfer. Concrete and asphalt absorb and radiate enormous amounts of heat on a summer day.
Keeping a cooler in the shade and elevated on wood pallets rather than concrete is worth considering, since concrete conducts ground heat significantly faster than air. A few inches of elevation costs nothing and preserves ice quietly throughout the day. A towel folded underneath the cooler works fine if you don’t have a table or rack.
Use Frozen Water Bottles to Supplement Your Ice
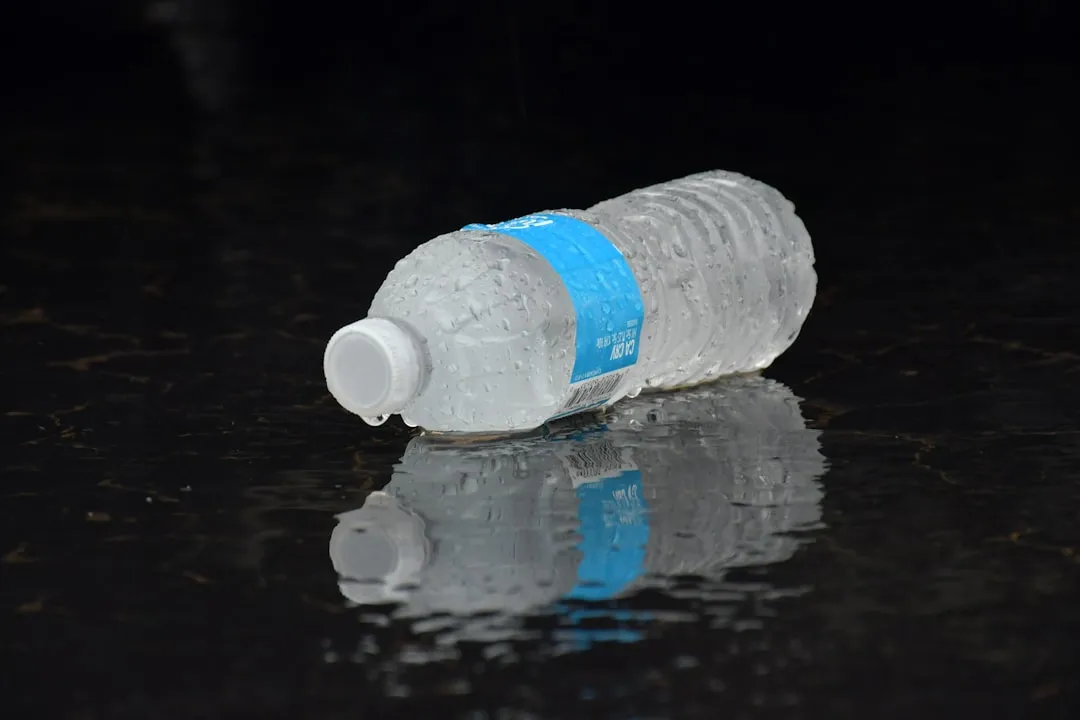
Frozen water bottles are one of the most practical and overlooked cooler hacks available. Using frozen water bottles instead of loose cubes added more than nine hours of retention in testing, at essentially zero additional cost and minimal extra effort.
Unlike loose ice, frozen bottles don’t create a puddle as they melt. They keep your food dry, they’re reusable, and they act as dense thermal mass that melts slowly over time. Salt water stays frozen longer than fresh water. Starting with about two tablespoons of salt per liter of water and freezing it produces a slushy result that is still colder and longer-lasting than normal ice.
The Takeaway
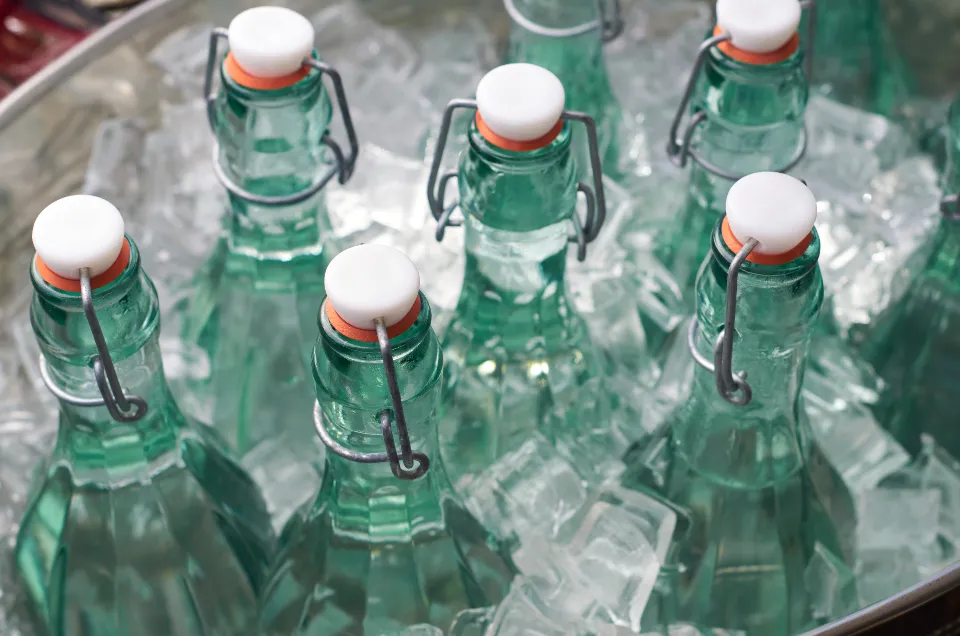
None of these steps require special equipment or a significant investment of time. The cooler you already own is almost certainly capable of performing far better than it does right now. Pre-chilling the cooler, choosing block ice, staying in the shade, and leaving the meltwater alone are the four habits that deliver the most noticeable improvement for the least effort.
The real lesson here is that ice retention is less about the cooler itself and more about how you treat it before and during use. Combine even three or four of these approaches and you’ll start a trip with a cold cooler and end it the same way.
AI Disclaimer: This article was created with the assistance of AI tools and reviewed by a human editor.