

Renting an RV is one of the most freeing ways to explore the open road. You get your own kitchen, your own bed, and the flexibility to stop wherever the landscape calls to you. But there’s a gap between picking up the keys and actually knowing how to use what you’ve rented – and that gap tends to show up in expensive, avoidable ways.
Most people are eager to hit the road the moment they sign the paperwork. The walkthrough feels like a formality, like reading the safety card on an airplane. Rental staff across the country will tell you it isn’t. Here’s what they wish every renter paid closer attention to before pulling out of the lot.
The Black and Grey Tank System – The Step Almost Everyone Tunes Out
The water system is the single most important thing to understand during your pickup walkthrough. You need to know how to connect to shore water, how to use the onboard tank, how the toilet works, and how to manage the tanks. The black tank holds waste. The grey tank handles water from the sink and shower. You will need to dump both.
One of the most common technical blunders rental staff see is renters leaving the black tank valve open while connected to sewer. This leads to what insiders call the “poop pyramid.” The valve needs to stay closed until the tank is mostly full, then dumped properly.
When you do connect to a sewer hookup, open the valve on your grey water tank, but leave the valve on your black water tank closed to avoid clogs and allow bacteria to do its job inside the tank. Getting this sequence wrong is one of the fastest ways to create a sanitation nightmare mid-trip.
Slide-Outs: Extend Them, Retract Them, Understand Them
During a proper walkthrough, slide-outs should be fully extended and retracted in front of the renter, all cabinet doors opened and closed, and all cabinet latches checked to ensure the locks are secure. Many renters skip this step or only half-watch it, assuming they’ll figure it out at the campsite.
Once you pull the RV into a site, you need to check that you can reach the water and electrical connections. You also need to confirm that your slide-outs and awning have enough room to extend without running into any obstacles. Getting this wrong at a cramped campsite is a genuinely stressful situation after a long drive.
Before deploying a slide-out, always check under the slide-out floor for debris. Nobody mentions that part in the brochure, but it can prevent damage to both the RV and whatever happens to be sitting in its path.
Roof Vents and Vehicle Height – A Combination That Causes Real Damage
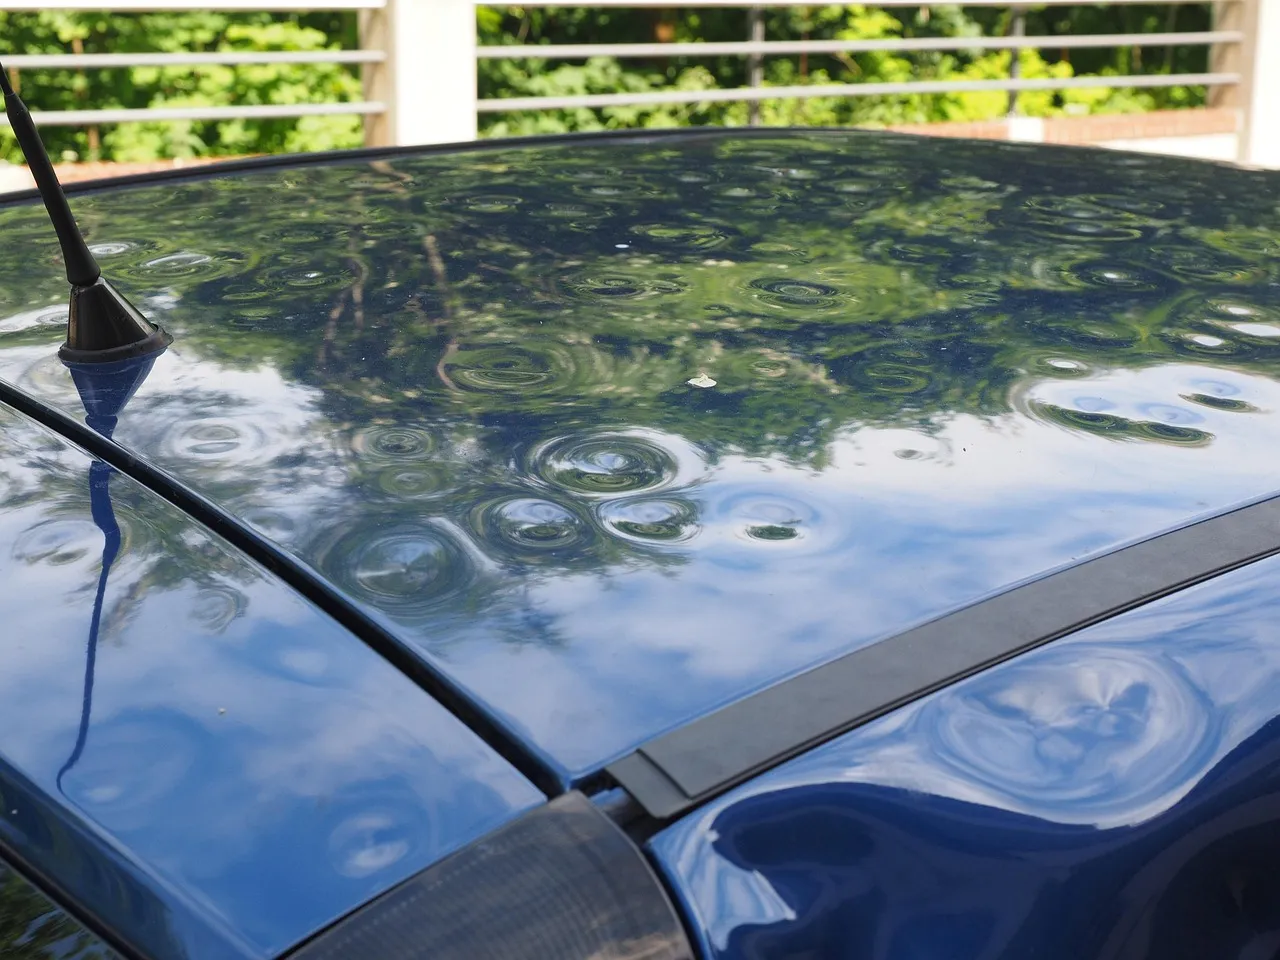
Before leaving the rental lot, a thorough walkthrough should include checking the body and roof for dents, scratches, and leaks around seams, and testing roof vents by opening and closing them. This step matters more than it seems, because renters who don’t know their vent positions often drive away with one still open.
RVs are taller and wider than they feel from the driver’s seat. Knowing your exact height and always checking clearance signs is essential before entering any underpass, gas station canopy, or tree-lined campsite road.
Tree branch scrapes are among the most frequent types of RV damage. Data shared at a 2024 RVIA industry event showed that campground scrapes account for roughly a third of all damage claims. Many of those incidents involve the roofline, not the sides of the vehicle.
The Electrical System – Shore Power, Generator, and Battery Basics
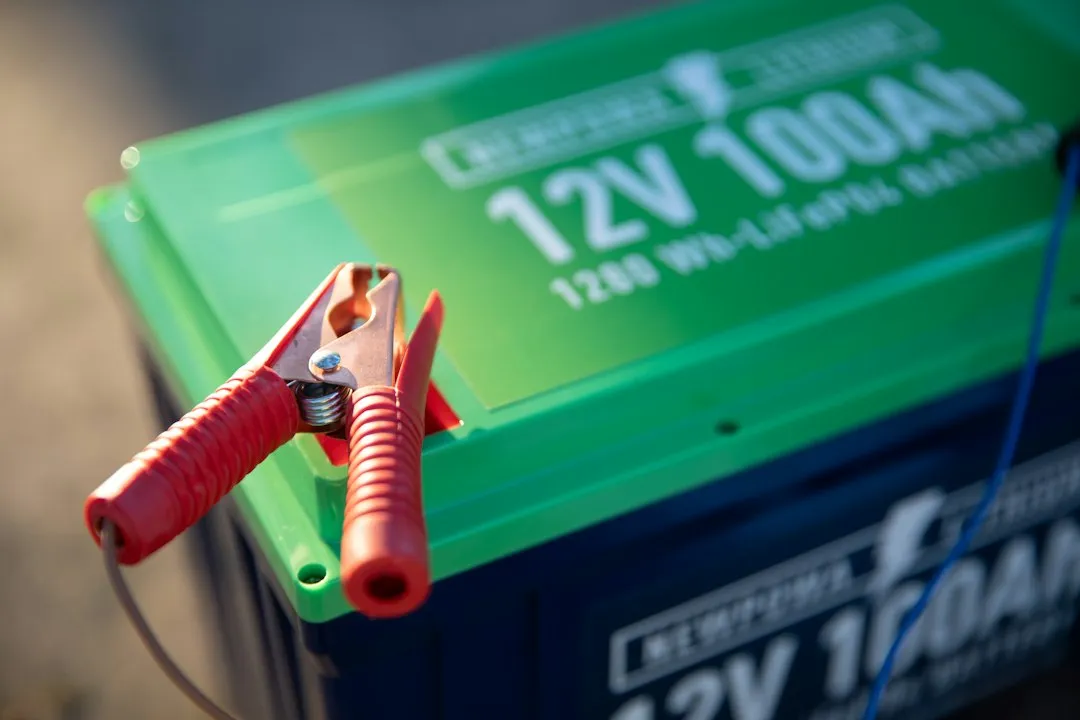
The electrical system walkthrough should cover shore power hookups, the generator, how long and when you can run it, and the battery situation. These three things operate differently from one another, and mixing them up – or not knowing which is active – can drain your power at the worst moment.
A proper walkthrough should test the microwave, refrigerator in both 12V and 120V operation, stove burners, furnace, and air conditioner. If the person handing over the keys doesn’t walk through each of these with you, ask them to. Every one of these systems has its own quirk depending on the specific unit.
Never run the generator until it stops. Refuel when the tank is at a quarter full. Running a generator dry can damage the carburetor, and that repair bill is rarely covered under a basic rental protection plan.
Safety Equipment – Checked Off Too Fast or Not at All
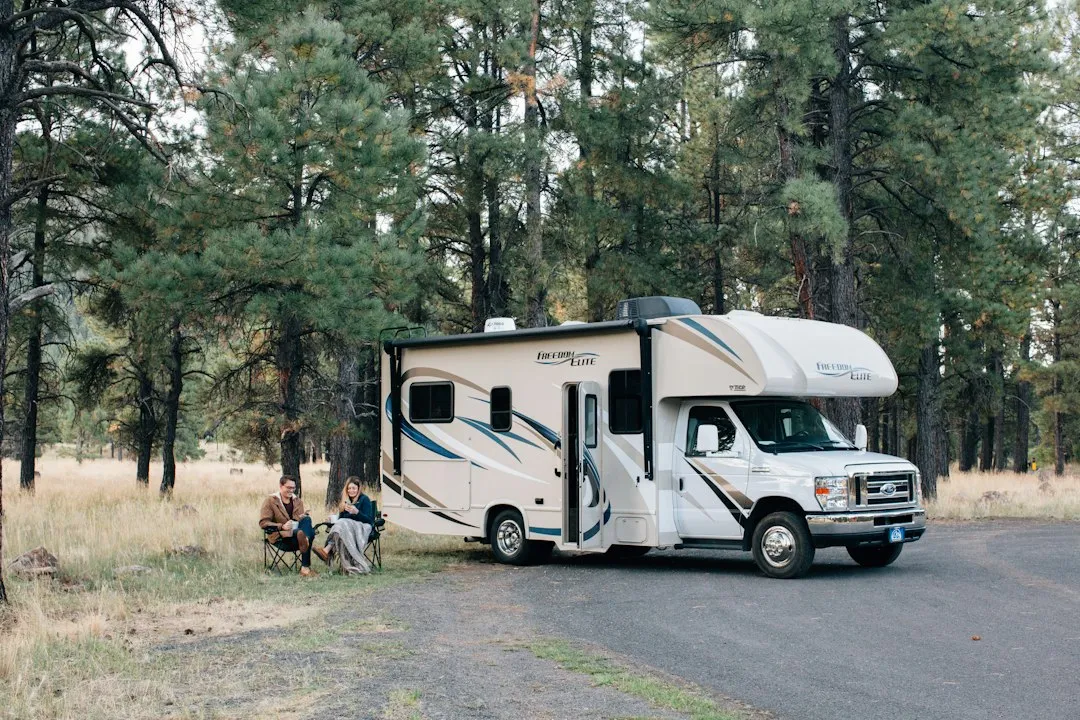
A responsible walkthrough includes confirming that the smoke detectors, carbon monoxide detector, fire extinguisher, and LP gas detector are all operational before departure. These items take about two minutes to check and could save your life. Renters who are impatient to leave sometimes wave through this part without actually testing anything.
A significant portion of RV-related claims are unrelated to driving. A 2021 industry analysis found that roughly four in ten RV liability claims stemmed from incidents such as slip-and-fall accidents near awnings or electrical fires caused by auxiliary generators. That statistic puts the safety check in a different light entirely.
Tires and Jacks – The Outside Check Nobody Wants to Do

Before departure, tire pressure should be checked against the recommended PSI listed on the sidewall, tread wear assessed, and stabilizer jacks confirmed to move freely. This is the step most renters perform the least carefully, often because they’re focused on the interior systems and the novelty of the vehicle.
Stabilizer jacks are easy to forget when breaking camp in the morning, especially if you didn’t deploy them yourself during the walkthrough demonstration. Driving off with a jack still down is a surprisingly common mistake, and the resulting damage is both immediate and expensive.
The Sewer Hose Sequence – Proper Tank Dumping Order
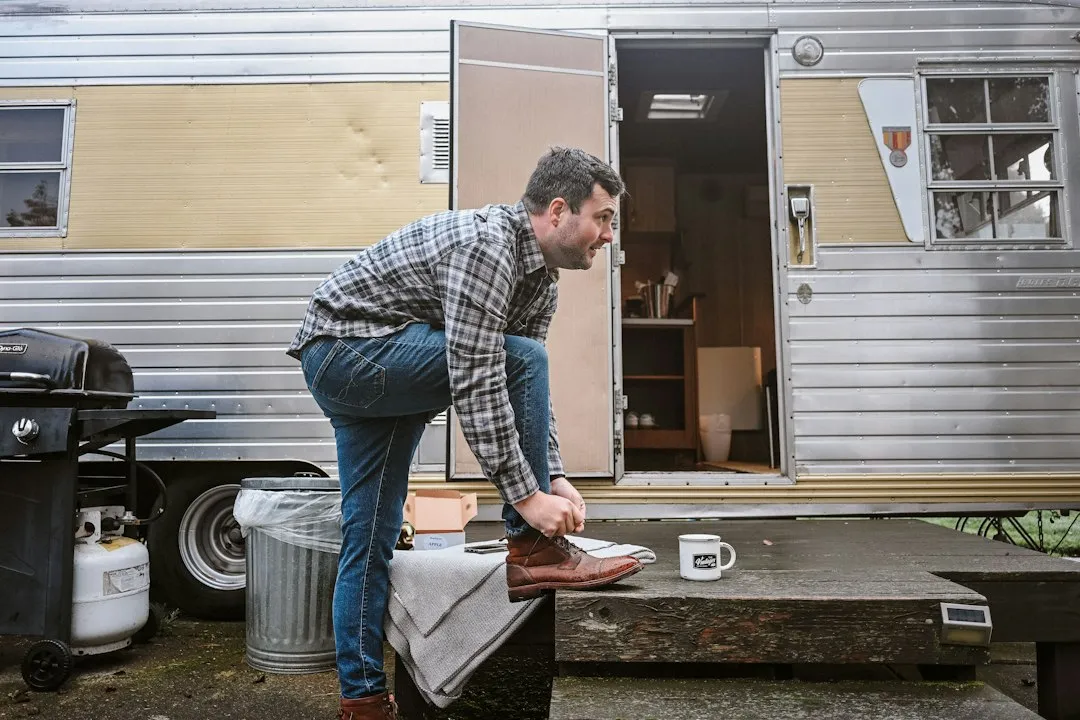
Proper tank sequencing matters: dump the black tank first, then the grey tank to help rinse the sewer hose. This seems like a small detail, but skipping it leaves residue in the hose that creates odor and hygiene problems for every trip that follows.
The black tank vent is a vertical pipe that extends from the top of the black tank through the roof. Its job is to allow sewer gases to escape, maintaining proper air pressure within the tank and facilitating efficient waste flow. A blockage in this vent can lead to unpleasant odors and drainage issues.
Rental staff see this confusion constantly – renters who didn’t pay attention to the sewer demo and then call from a campsite two states away unsure why things smell wrong. The demo at pickup is your only real chance to learn this step with an expert standing beside you.
Lights, Signals, and Towing Connections
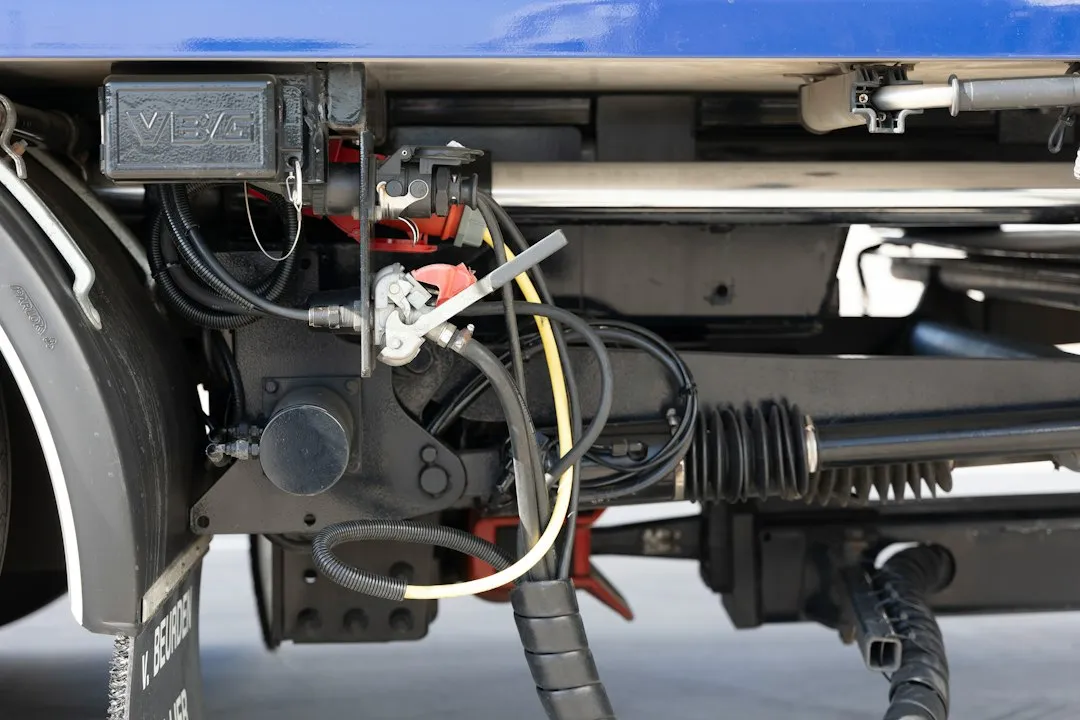
Before leaving, brake lights, turn signals, headlights, and hazard lights should all be tested. If you’re towing a travel trailer, the tow vehicle’s wiring harness needs to be confirmed as functional. Skipping the towing check is particularly risky, because a trailer with non-functioning brake lights is both illegal and dangerous on a highway.
Before driving, a full walk around the RV is essential. The pre-drive check should cover the power cord, water hose, sewer hose, and confirmation that slide-outs are fully retracted. Rental staff describe watching renters drive away with hoses still partially attached more often than you’d expect.
Understanding Insurance Before You Need It

Understanding your insurance is a non-negotiable part of the rental process. Read what’s included, what the deductible is, and whether your personal auto insurance adds any layer of coverage. Most renters skip this review entirely and trust that they’re “covered,” without knowing what that actually means.
Even when personal auto insurance does cover a rental RV claim, the process is complicated. One renter in 2024 filed a claim through his auto policy after backing a rented Class C into a campsite post. The damage was over four thousand dollars. His policy covered it minus the deductible, but the rental company charged his credit card the full amount plus additional loss-of-use fees immediately.
Before booking, confirm what insurance coverage is included with the rental. Most major RV rental platforms include liability protection and roadside assistance, but coverage limits and deductibles vary significantly. That variation is exactly what can surprise you when a claim actually happens.
The Pre-Drive Walk-Around – The Most Skipped Minute of the Whole Process
For first-time renters, the walkthrough is one of the most important parts of the entire rental process. Yet rental staff consistently report that renters rush it, check their phones during it, or simply defer to “I’ll figure it out.” That confidence tends to erode quickly at a campsite dump station at ten o’clock at night.
Day one of an RV rental is the steepest learning curve, with a long pickup and an intense first drive. Most first-timers feel comfortable by day two or three. Expect the pickup, including the walkthrough, to take one to two hours. Building that time into your schedule rather than treating it as an inconvenience makes the entire trip go more smoothly.
Most people find the process simpler than they expect, and RV owners and rental staff provide walkthroughs and helpful instructions so renters feel comfortable before they leave. The walkthrough is there for your benefit. Taking it seriously is the simplest thing you can do to protect yourself, the vehicle, and the trip you’ve spent weeks planning.
The Real Takeaway
The walkthrough isn’t a formality. It’s a condensed education on a vehicle that has its own plumbing, electrical grid, and structural quirks – all of which you’re responsible for the moment you pull onto the highway. Rental staff have seen the full spectrum of what happens when renters tune out during those first forty-five minutes.
The good news is that none of this is complicated once you’ve seen it demonstrated in person. Ask questions. Take your time. Walk around the vehicle yourself before signing off. The renters who do that almost always have a better trip – and they almost never end up calling the rental company from the side of a campground road, wondering what that hose is for.
AI Disclaimer: This article was created with the assistance of AI tools and reviewed by a human editor.