


Most travelers buy travel insurance with genuine good faith, fully expecting it to work when they need it. Then a flight cancels, luggage disappears, or a medical emergency interrupts a trip abroad, and the claim process begins. What happens next often has nothing to do with the quality of their policy.
It comes down to paperwork. Receipts, photos, booking confirmations, and timestamps form the backbone of every successful claim. The travelers who understand this before trouble strikes are the ones who walk away reimbursed. Those who don’t are often left surprised.
The Scale of the Problem: Denials Are More Common Than People Think
According to Squaremouth, one third of travelers had their insurance claims denied in 2024. That number tends to shock people, because purchasing a policy feels like protection guaranteed. Travel insurance claims have also risen 21 percent from previous years, according to data from Squaremouth, which means more travelers are filing, and more are hitting walls. The scale of denials is not a fringe issue.
Missing or insufficient documentation is the most common reason travel insurance claims are denied. That’s not an obscure technicality buried in a policy. It’s a fixable, practical habit. The good news is that most documentation failures are entirely preventable with a small shift in how you travel.
What Claims Adjusters Actually Look for First
The difference between a fully paid travel insurance claim and a denied one often hinges on whether you’ve kept the right documentation, including receipts, photos, emails, and timestamps that prove what happened and what it cost you. Adjusters aren’t trying to catch travelers out. They’re verifying a story with evidence. Without evidence, even a legitimate claim stalls.
A stronger receipt usually shows the vendor, date, time, item or service purchased, taxes, fees, tip if applicable, and total amount paid. Generic payment confirmations or rough estimates won’t satisfy that standard. The detail matters, and adjusters flag vague submissions immediately.
The Core Receipt Habit: Photograph Everything, Immediately
Photos create a timestamped, objective record. They’re harder to dispute than memory or paper receipts that fade over time. This is the most practical shift travelers can make. The moment a receipt lands in your hand, your phone should come out. Don’t wait until the end of the day.
Losing receipts is a common mistake. Email yourself photos of every receipt the same day you get them. Don’t trust paper receipts to survive the rest of your trip. Thermal paper receipts fade within days in heat or humidity, which is a real problem in tropical destinations. A digital copy takes ten seconds to make.
Build a Dedicated Trip Evidence Folder Before You Leave
Create a dedicated folder in cloud storage and an offline copy on your phone. Use simple subfolders: policy, itinerary, payments, identification, medical and emergency, carrier communications, and receipts. This doesn’t require special software or technical skill. A folder structure you build before departure is far easier to use under pressure than one you scramble to create after an incident.
Rename files with dates and vendor names for clarity. Take screenshots of app-only confirmations because apps can log you out or hide details when connectivity is poor. That last point catches a lot of travelers off guard. Digital booking apps are convenient, but they’re not reliable evidence sources mid-crisis.
The Itemized Receipt Requirement That Surprises Most Travelers
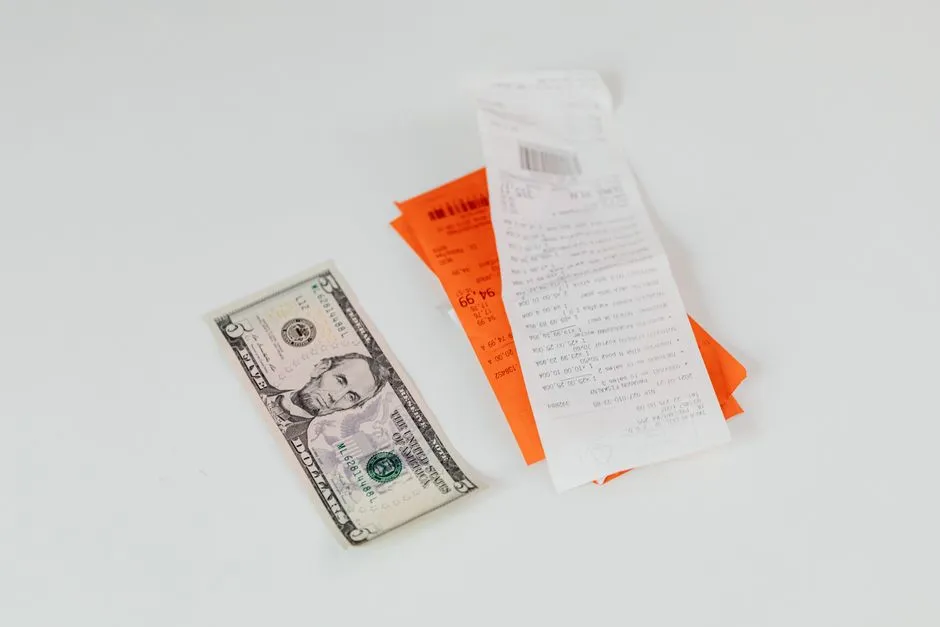
Be prepared to supply copies of every bill, invoice, receipt, and any bank statement related to the medical treatment you received when filing a medical claim. This goes beyond a general hospital bill. Insurers typically want itemized statements that list each service individually. A summary invoice often isn’t enough.
If you pay for medical care while traveling, be sure to request copies of all medical records, invoices, and receipts from the provider at the time of service. Once you leave a foreign clinic or hospital, retrieving those records remotely can take weeks or simply fail entirely. Asking at the time of service is far simpler than chasing paperwork from another country.
Receipts for Trip Delays: The Category Travelers Overlook

If your delay required you to book alternate travel arrangements or purchase interim essentials like food, hotel accommodations, clothing, or toiletries, be sure to save all receipts and include them as supporting documentation for your claim. Many travelers don’t realize these incidental costs are claimable at all. They absorb the expense and move on. The receipts they discard could have been reimbursed.
For some claims, the receipt should also line up with the claim timeline, such as a delay window, treatment date, baggage delay period, or cancellation date. Timing is everything in this context. A hotel receipt dated the morning after a delay began tells a coherent story. A receipt with no clear connection to the disruption period raises questions adjusters have to resolve before approving anything.
Proof of Ownership: The Receipt Habit That Protects Your Baggage Claim

When making a baggage claim, expect your provider to request proof of ownership in the form of original receipts. If you do not have receipts, some providers may accept credit card statements or photos of the item in your possession. Still, relying on fallback options slows the process. Original purchase receipts for high-value items are the cleanest evidence available.
For each stolen item, you need a description, including brand, model, color, and approximate age, along with the original purchase price, current replacement value, and proof of ownership. Bank statements, credit card records, email order confirmations, and even old social media photos showing you with the item work as ownership proof. Saving order confirmation emails in a dedicated folder before you travel is a small habit that pays off significantly here.
Label and Organize Documents Before Submitting
Label your documents clearly before uploading, for example “Medical_Receipt_Hospital_Name_Date.pdf,” so the claims adjuster can find what they need quickly. Disorganized submissions get placed at the bottom of the queue. This is a practical reality that few travelers consider. Adjusters process high volumes, and a clearly labeled, organized submission simply moves faster.
Include a short cover statement: one or two paragraphs describing what happened in chronological order. Adjusters read hundreds of files; a clear narrative helps them find the covered reason quickly. Think of it as a table of contents for your claim. It doesn’t need to be long. It needs to be clear.
When to Start the Clock: Timing Your Claim Matters

Start within the notification window. Even if you don’t have every document yet, open the claim. You can add paperwork later; you usually can’t reopen a claim that missed the deadline. This is one of the most consequential mistakes travelers make. They wait until they’re home, fully organized, and calm, only to discover the reporting window has closed.
Typically, the claims agent will go back and forth with you to request additional documentation before denying the claim outright. That back-and-forth is normal. Starting the process early gives you enough time to respond to requests without pressure. Waiting until the last possible moment removes that buffer entirely.
Appeals Work More Often Than Travelers Realize

According to ISO data, around one in five denied claims are appealed, with a success rate of roughly forty percent. That’s a meaningful number. If a claim is denied and you genuinely have evidence to support it, an appeal is worth pursuing rather than simply accepting the outcome.
Around ten percent of denied claims are successfully appealed, with the primary reason for reversal being improper claim documentation. In other words, the appeal succeeds when travelers locate and submit the documentation they originally missed. The habit of keeping receipts, therefore, matters even after a denial. A claim you think is closed may still be recoverable.
The Takeaway
Travel insurance is only as useful as your ability to prove what happened. The policy is the promise; your receipts are the evidence. Before you file, organize your receipts as part of a larger proof file. The goal is not just to show that you paid. The goal is to show how each expense connects to a covered travel problem and what amount remained unrecovered.
The receipt habit isn’t complicated. Photograph receipts the moment you receive them, store them in a named folder, and keep them organized throughout the trip. Staying organized requires nothing more than your smartphone, a folder system, and five minutes of nightly discipline. That small investment is what separates a smooth reimbursement from a frustrating denial.
AI Disclaimer: This article was created with the assistance of AI tools and reviewed by a human editor.