
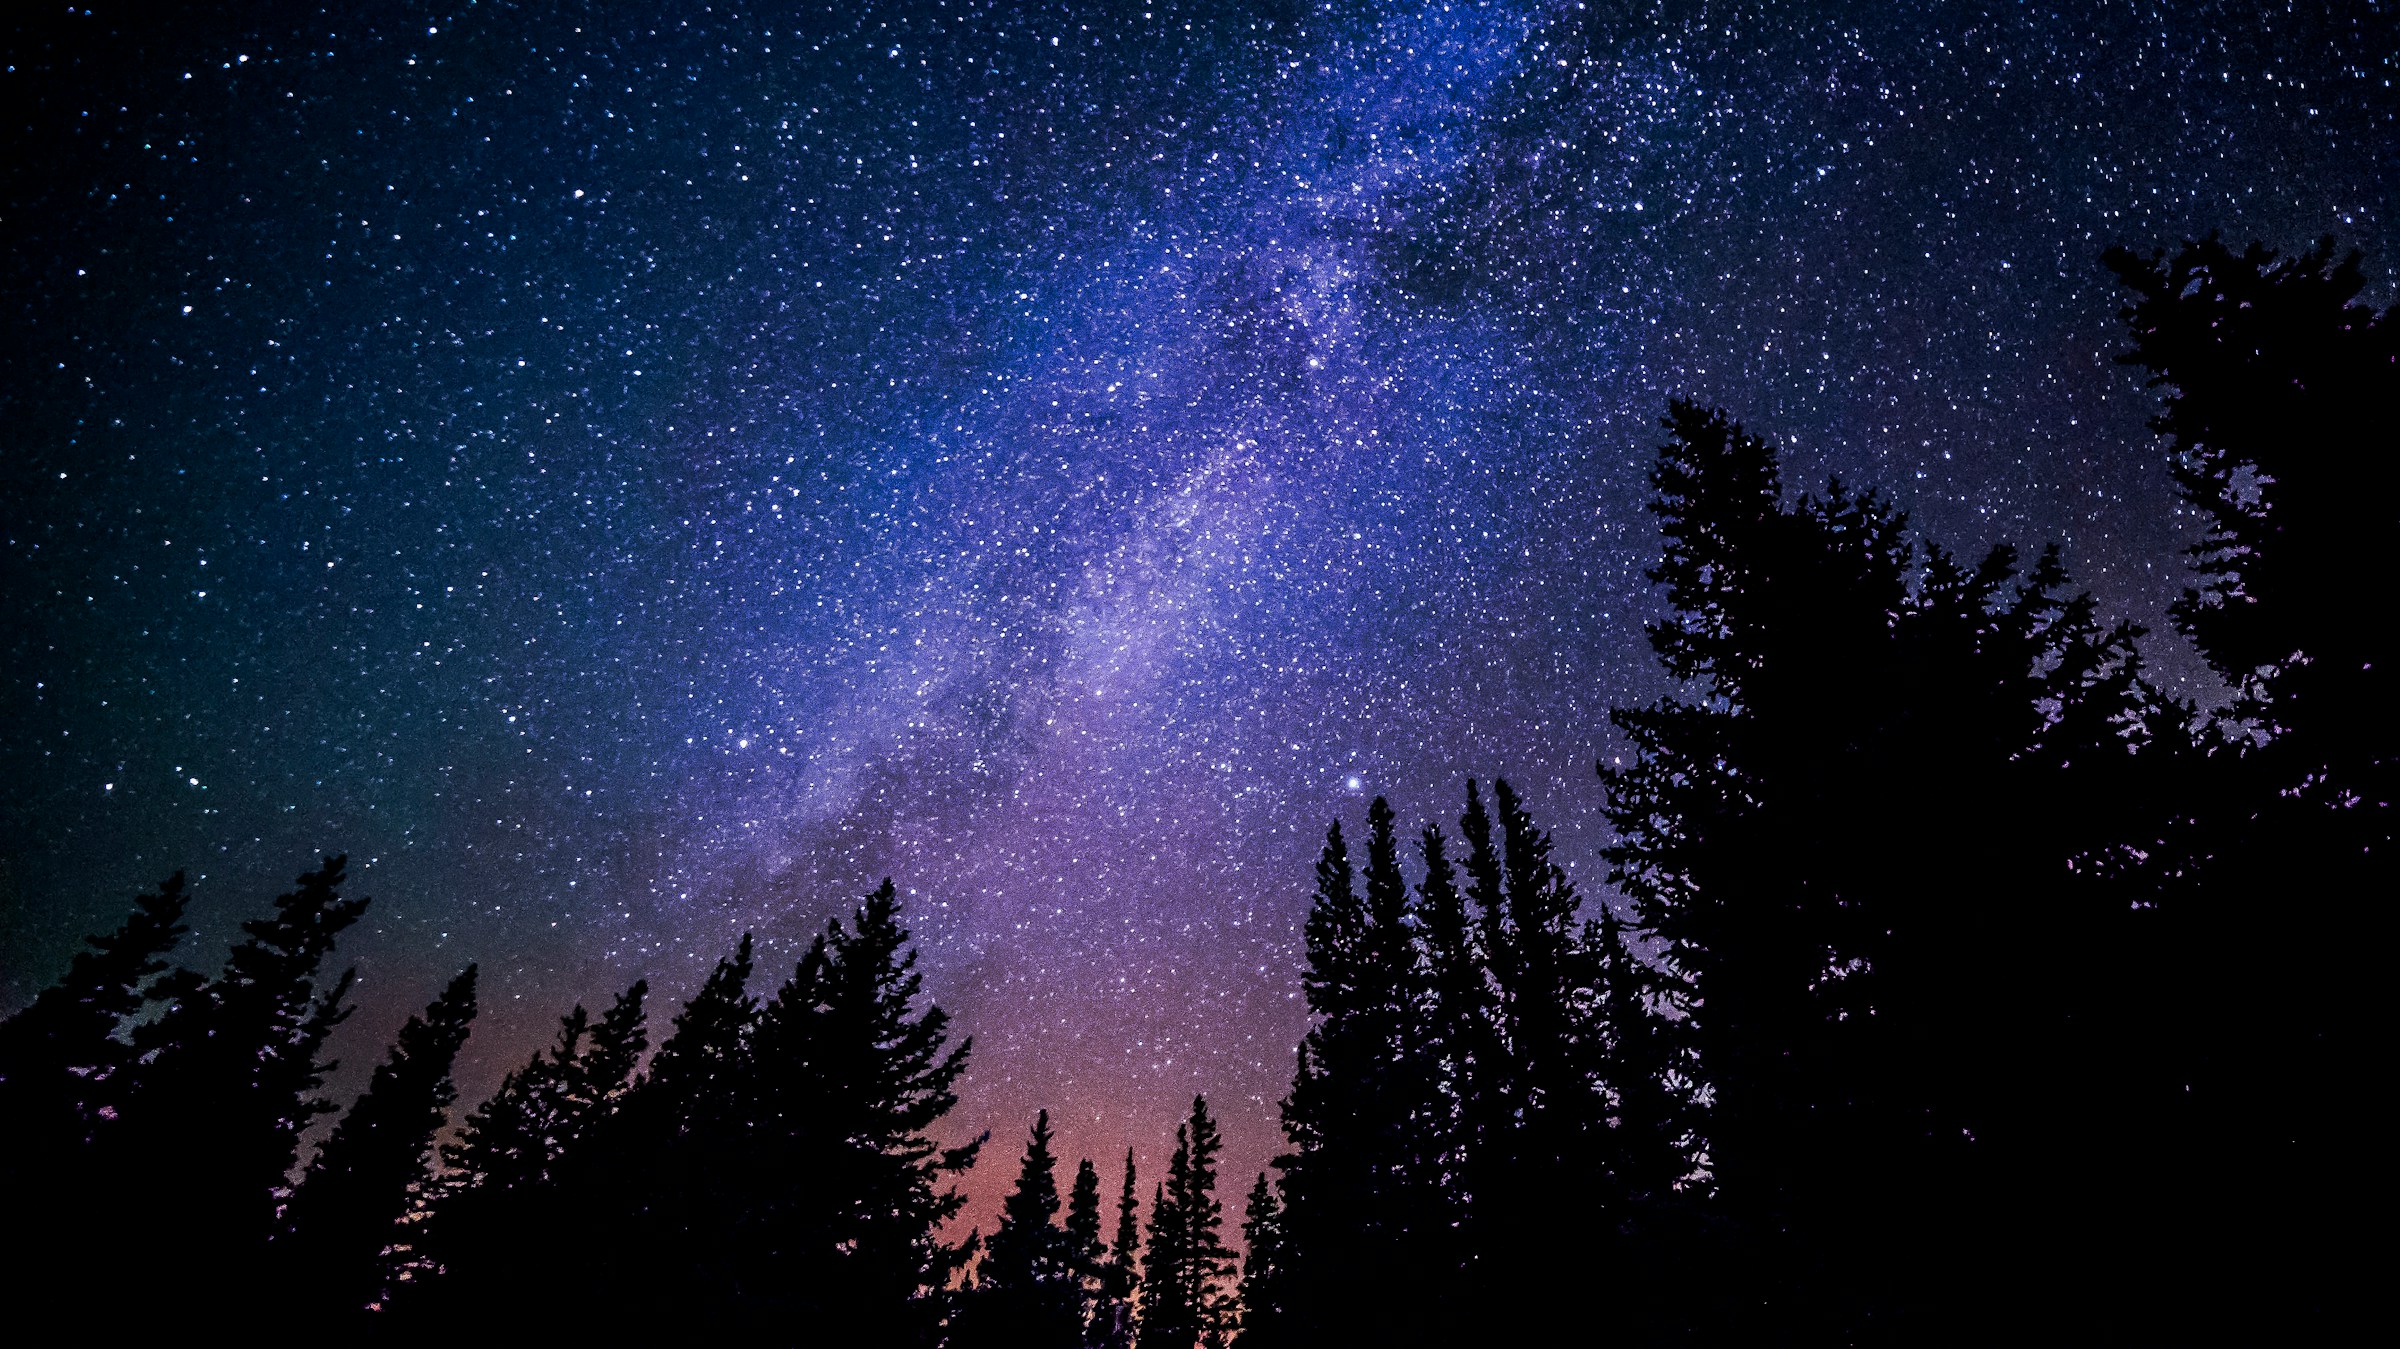

Spending a night under a truly dark sky is one of those travel experiences that quietly resets something in you. Away from the ambient glow of cities, the Milky Way becomes something you can actually see with your own eyes, not just in photographs. Travel companies and booking platforms reported a surge in search queries for nighttime experiences and described noctourism as one of the biggest travel trends of 2025, with interest in stargazing and night-sky observation increasing noticeably through 2024 and 2025.
The dark-sky movement itself is growing fast. In 2025 alone, 22 newly certified places joined the DarkSky International program, pushing the global count past 250 certified sites worldwide. Whether you’re heading to a flagship park in the American Southwest or a newly designated reserve abroad, going prepared makes all the difference between a memorable night and a cold, frustrating stumble in the dark. These are the five things worth packing carefully.
1. A Red-Light Headlamp
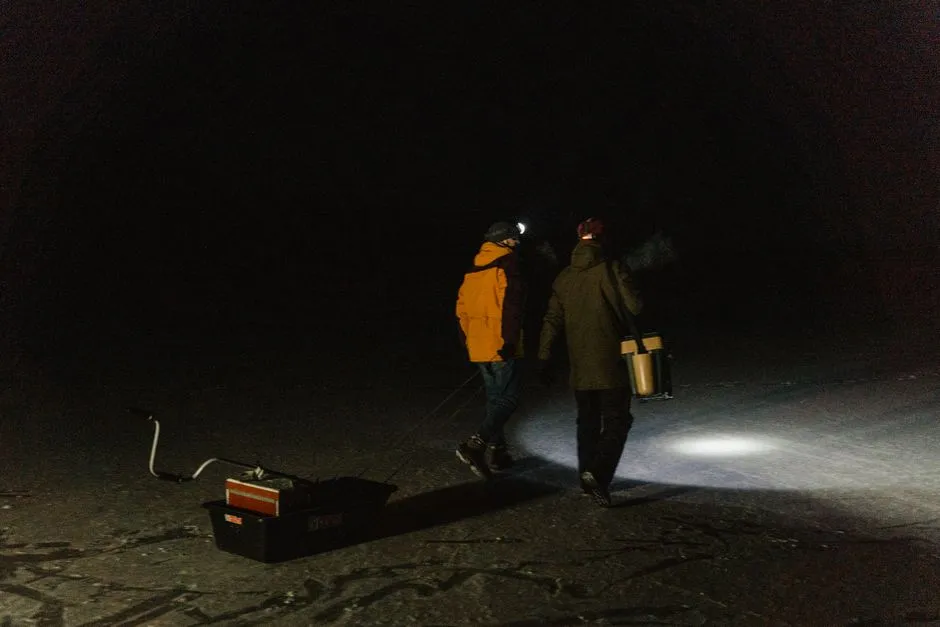
This is, without question, the single most important piece of gear you can carry. Cell phones, car headlights, and white flashlights will impair your night vision, and it takes your eyes 20 to 30 minutes to adjust to the night sky after being exposed to white lights. That adjustment window is precious, and losing it to a carelessly switched-on phone screen is genuinely frustrating.
Red light has the least impact on your eyes’ dark adaptation, making it optimal for stargazing. Using red light keeps your eyes adjusted to the night sky, which is perfect for reading star maps or observing constellations without glare. A headlamp with a dedicated red-only mode means both hands stay free while you’re navigating the terrain or consulting a chart.
Using a red light is much better for preserving night vision, and if you don’t have a red flashlight, you can cover a white light with red cellophane to make it a dark-sky-friendly light. That said, a proper red-mode headlamp is worth the modest investment before your trip.
2. Warm Layers (More Than You Think You’ll Need)
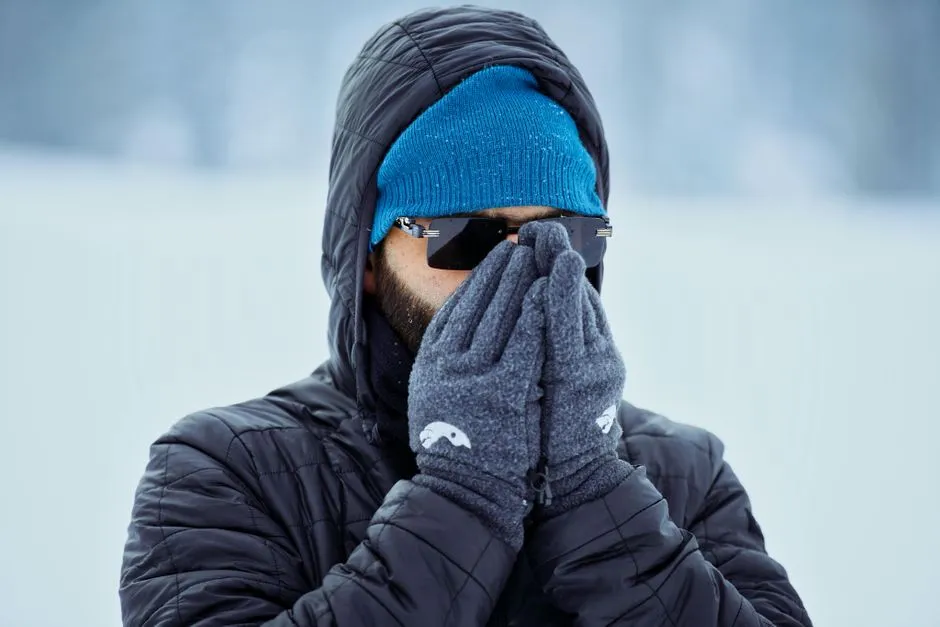
Spending the day outdoors can be hot and exhausting, but once the sun goes down, it can get genuinely chilly. Packing layers and blankets to stay warm throughout the night is recommended by the National Park Service. This holds true even in summer months at higher elevations, where temperature swings between afternoon and midnight can be dramatic.
Warm layers, even in summer, are listed among the essential packing items for dark-sky national park visits, alongside a reclining chair or blanket. Think thermal base layers, a fleece mid-layer, and a windproof outer shell. Gloves are often overlooked and frequently regretted.
The reasoning is simple. Stargazing is a stationary activity. You’re not hiking to generate heat; you’re lying back or sitting still for hours, which makes the cold feel sharper than it otherwise would. Dress for two or three hours colder than the evening forecast suggests.
3. A Reclining Chair or Ground Blanket
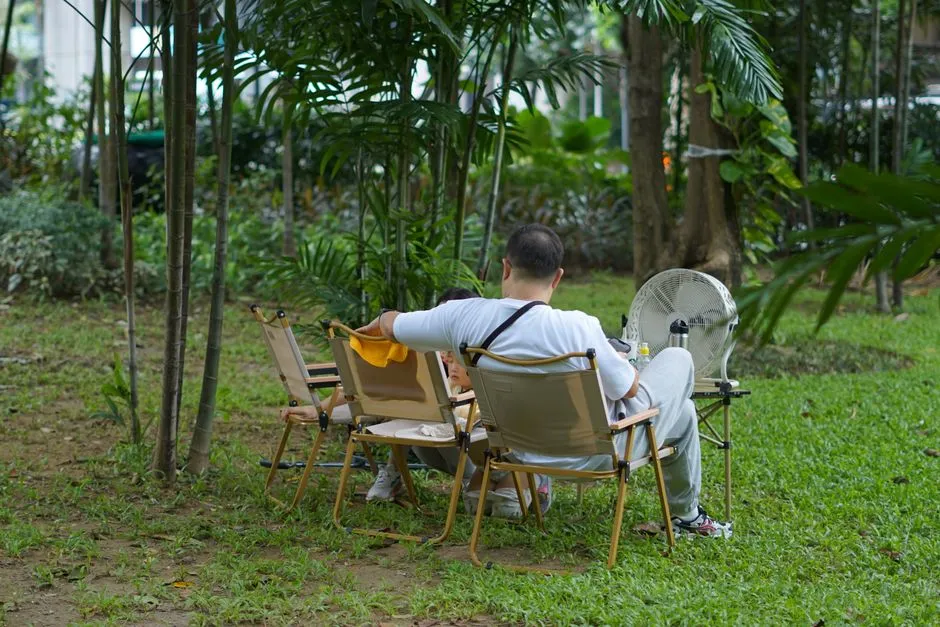
Craning your neck up at the sky gets tiresome fast, so packing a blanket, reclining chair, or anything that will support a reclined view of the sky is genuinely recommended. This is one of those pieces of advice that sounds obvious until you’ve spent forty minutes with your neck bent at an uncomfortable angle, trying to trace a constellation.
A lightweight camping chair that reclines flat is ideal. Alternatively, a foam sleeping pad laid directly on the ground works beautifully on clear, dry nights and weighs very little in your pack. The goal is to get your body horizontal so your field of vision opens fully to the sky without strain.
Comfort matters more than people expect during a long night out. When you’re relaxed and positioned well, your eyes settle, your patience improves, and you stay out longer. That extended time under the sky is where the real payoff happens.
4. Binoculars or a Compact Telescope
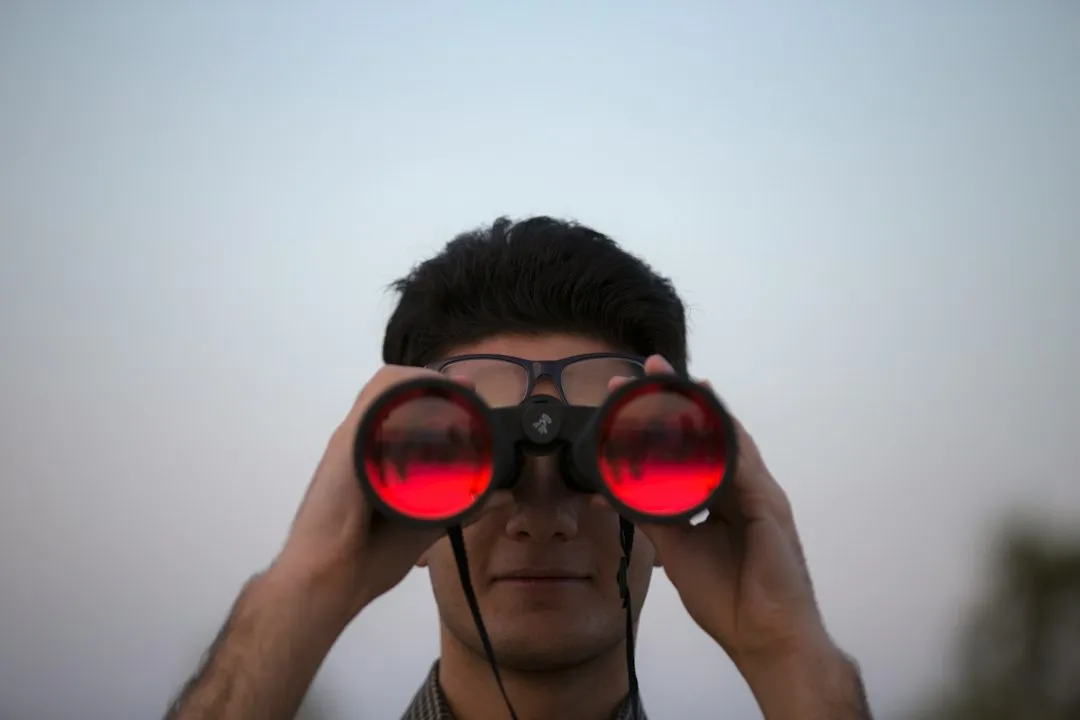
Binoculars are described by the National Park Service as the second-best tool to enjoy the night sky, right after your own eyes. They’re portable, require no setup, and reveal craters on the moon, the moons of Jupiter, star clusters, and the structural detail of the Milky Way’s core in a way that naked-eye viewing simply can’t match.
Binoculars or a telescope can greatly enhance the viewing experience, and a portable power bank is also recommended for keeping electronic devices charged throughout the night. For most casual visitors, a quality pair of binoculars in the 7×50 or 10×50 range is the most practical and rewarding choice, offering wide fields of view and solid light-gathering ability.
A telescope might seem like advanced equipment, but they are much more accessible than many people assume, and bringing one allows you to witness celestial objects you’ve never seen before. If you do carry a scope, practice setting it up at home first. Fumbling with an unfamiliar mount in the dark is a reliable way to lose patience quickly.
5. A Star Map or Astronomy App
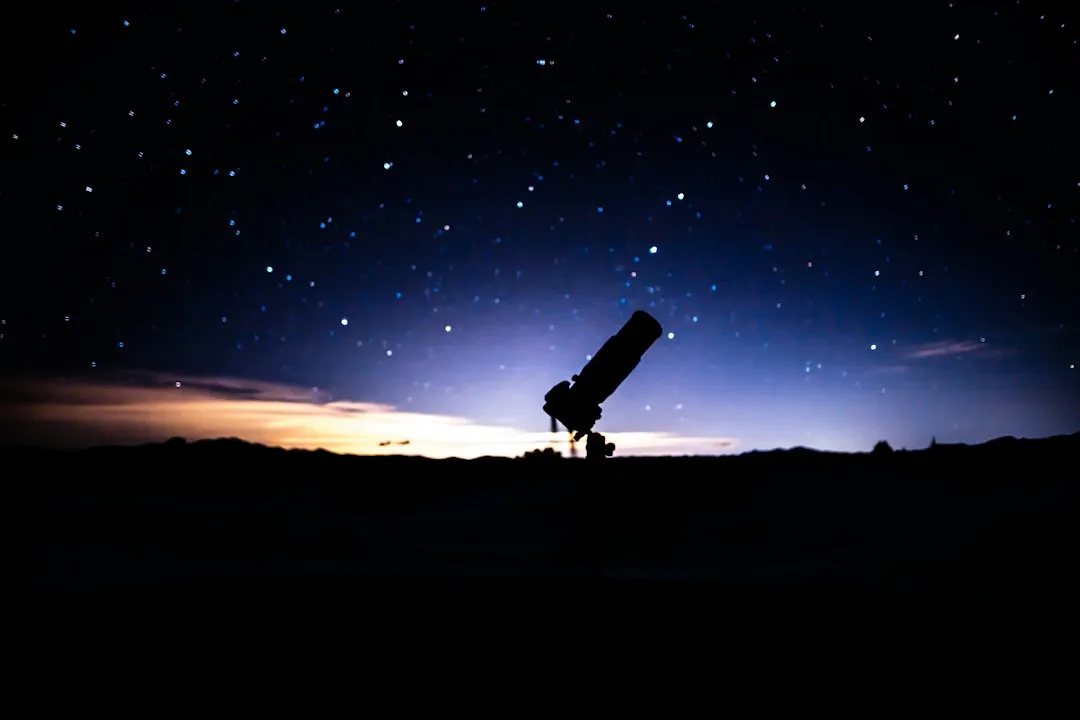
A reliable star chart or astronomy app is essential for identifying celestial objects during a dark-sky visit. Even a rough familiarity with the major constellations transforms the experience from passive wonder into something more engaged and rewarding. You start to understand the sky as a navigable landscape rather than a random scatter of light.
A smartphone with a star app helps you identify objects and direct your photographs, with apps like PhotoPills recommended by experienced astrophotographers. Other widely used options include SkySafari and Star Walk, both of which offer intuitive interfaces and are worth downloading and testing before you leave home.
One practical note worth keeping in mind: use your phone sparingly once you’re under the sky. Even a dimmed screen will interrupt your dark adaptation. Set your chosen app to a night mode with a red screen filter before you head out, so it’s ready to use without the cost of losing your carefully adjusted vision.
6. Extra Batteries and a Power Bank
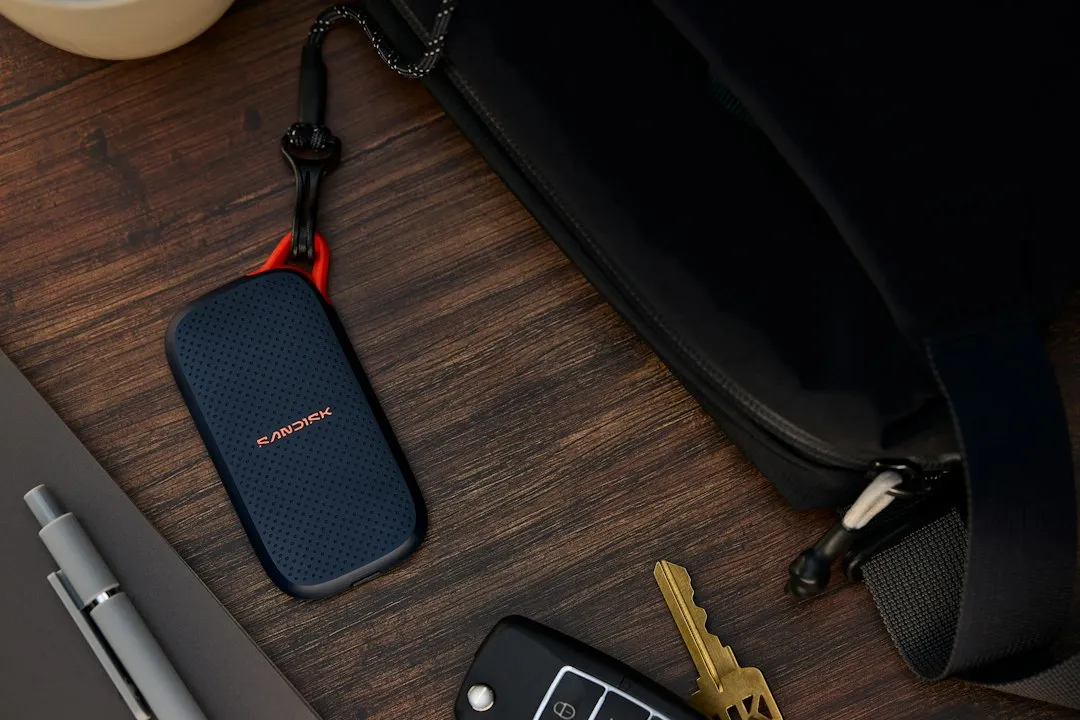
Cold temperatures drain batteries faster than most people expect, and dark-sky parks tend to be remote places where no convenience store is nearby. Packing extra batteries is listed as a core recommendation by the National Parks Foundation for dark-sky park visits. This applies to your headlamp, any standalone camera, and any battery-powered accessories you bring.
A compact power bank keeps your phone alive through a full night of app use and photography without forcing you to choose between navigation and stargazing. Look for one that can handle a full charge of your phone at least twice. Storing it in an inner jacket pocket during cold hours helps it retain charge longer.
7. Insect Repellent

Being out after dark means sharing the space with mosquitoes and other biting insects, making insect repellent an important item to pack for any dark-sky camping night. This is especially true in wooded parks, near wetlands, or during warmer months when insect activity peaks after sundown. Many first-time visitors simply forget it, focusing on astronomy gear and overlooking the basics.
A DEET-based repellent or a plant-based alternative applied before you settle in for the night makes a genuine difference. Constant swatting and itching are a reliable distraction from the sky. A treated buff or light neck gaiter also helps protect exposed skin without repeated reapplication.
8. Snacks and Water
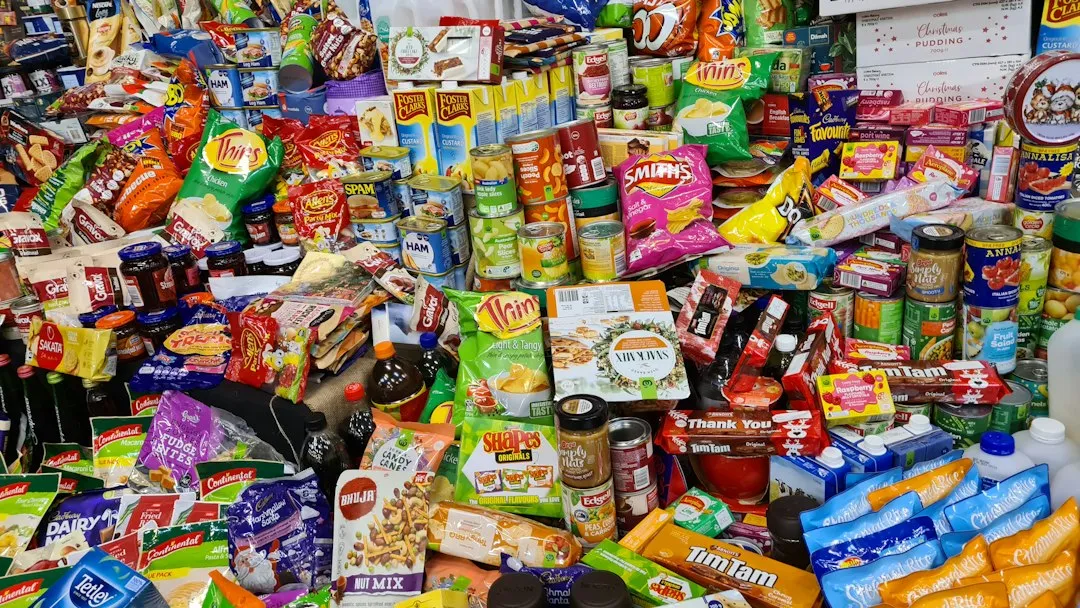
Dark-sky parks are frequently in remote locations with limited access to food, so planning to bring all the food and water you need is strongly advised. This is especially relevant for multi-hour night sessions where the nearest open facility may be an hour’s drive away, or simply closed after dark.
Simple, easy-to-eat snacks work best: nuts, dried fruit, energy bars, or a thermos of warm tea or coffee. Hot drinks serve a dual purpose on cold nights, offering both comfort and a modest warming effect that extends your time outdoors. Avoid anything that requires significant preparation or strong smells that attract wildlife in designated wilderness areas.
9. A Basic First-Aid Kit
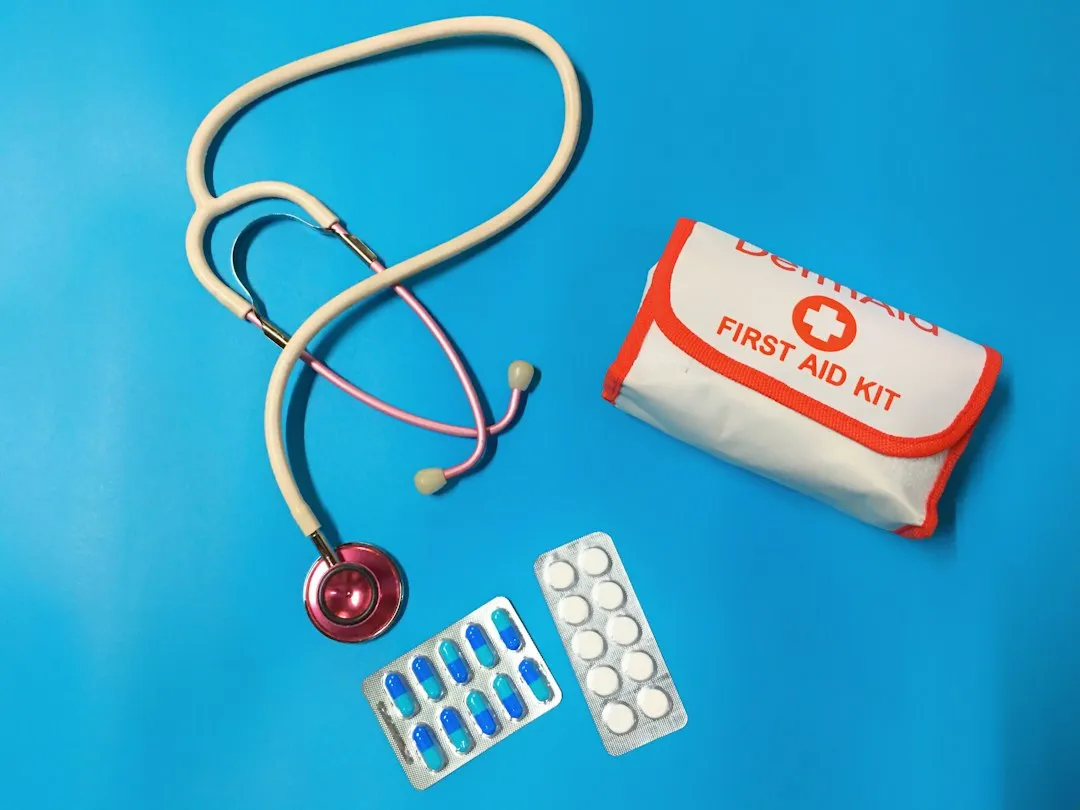
Many dark-sky locations specifically recommend carrying a basic first-aid kit for overnight visits. The combination of unfamiliar terrain, darkness, remote locations, and the distracted state of someone looking at the sky rather than the ground creates a higher-than-usual chance of minor trips and scrapes.
Scouting the park during daylight hours for hazards like drop-offs is a practical safety step before settling in for a night of stargazing. Walk your chosen viewing spot in the late afternoon so you know the ground conditions before the light disappears. A small kit with bandages, blister patches, and a pain reliever is genuinely worth the minimal extra weight.
10. The Right Timing and Moon Phase Knowledge
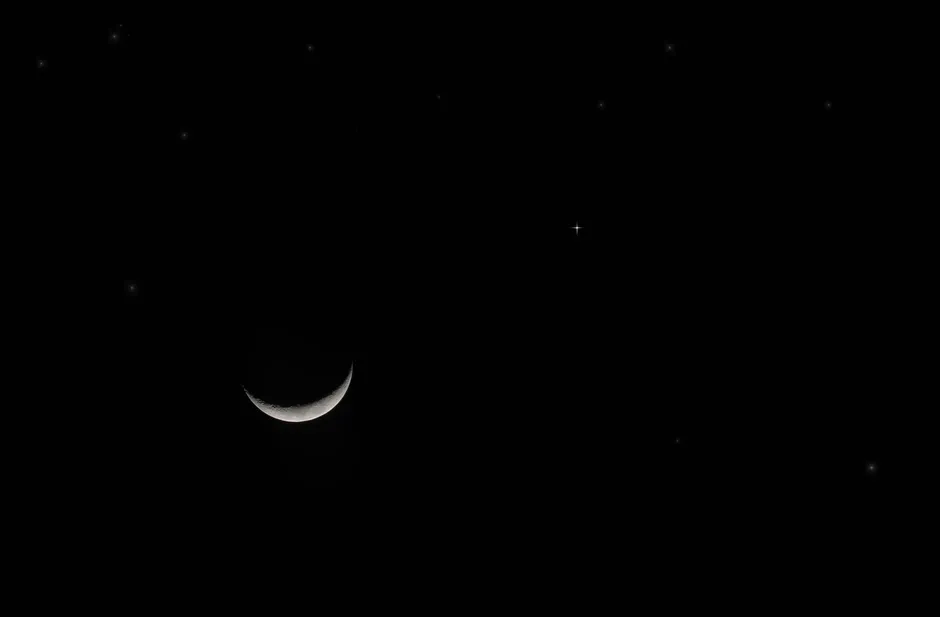
This last item isn’t something you put in a bag, but it’s just as important as anything physical you pack. The best stargazing conditions occur during a new moon or when the moon is below the horizon, and full moon periods should be avoided as bright moonlight can obscure many stars. Planning your visit around this astronomical calendar is the foundation everything else builds on.
When the moon is above the horizon, its light makes fainter objects like the Milky Way difficult to find, so it’s best to plan stargazing before the moon rises or after it sets. The darkest nights fall around the new moon. Many dark-sky parks publish their ranger-led astronomy programs around these windows, making coordination straightforward.
In the northern hemisphere, the Milky Way is highest in the summer sky late at night, and sometimes the best stargazing happens in the middle of the night, so setting a midnight alarm or taking a nap before heading out is a practical strategy. Knowing this in advance shapes your entire night, from what time you arrive to when you settle in and what you plan to see.
A Few Hours Well Spent
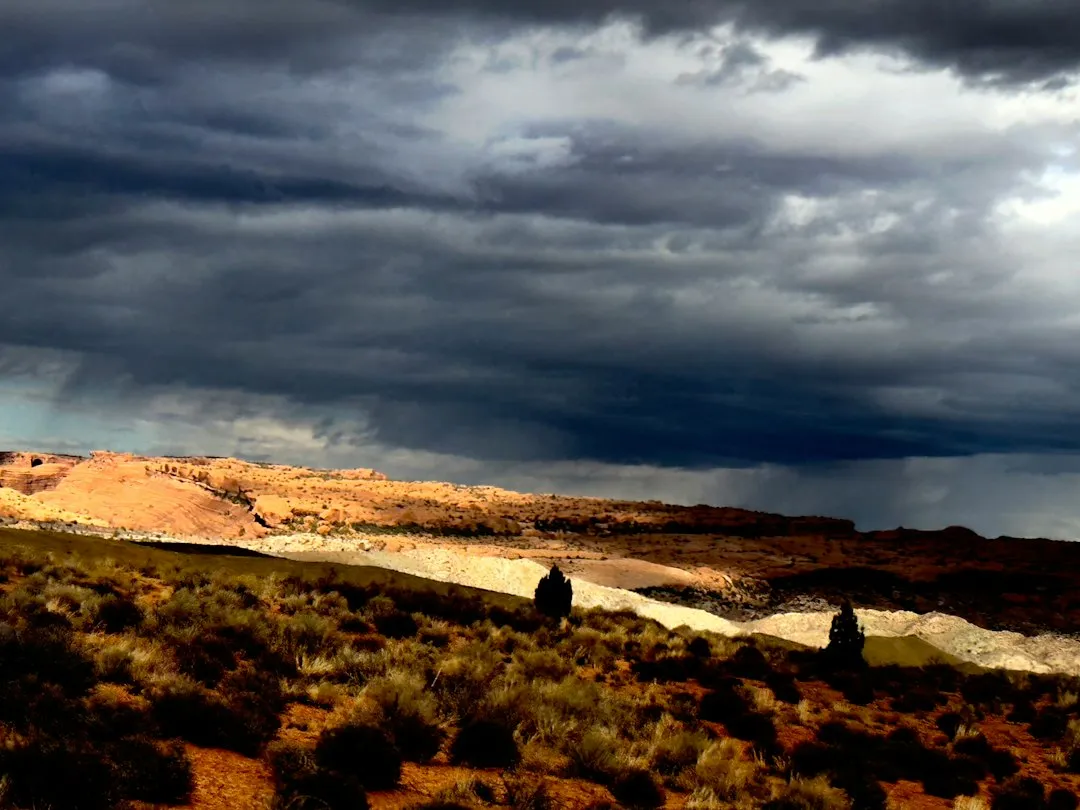
A night at a dark-sky park doesn’t ask much of you in terms of equipment or expertise. The sky does most of the work. What good preparation does is remove the friction: the cold that sends you back to the car early, the bright phone screen that undoes twenty minutes of patient waiting, the dead battery at the wrong moment. Pack carefully and those obstacles largely disappear.
The DarkSky International program now includes over 250 certified places worldwide, with designations stretching across Europe, New Zealand, and beyond, all protecting critical nocturnal environments for plants, animals, and people alike. Each of those sites exists because communities decided that the night sky was worth protecting. Visiting one with the right gear and a thoughtful approach is a small but meaningful way of agreeing with them.
AI Disclaimer: This article was created with the assistance of AI tools and reviewed by a human editor.