
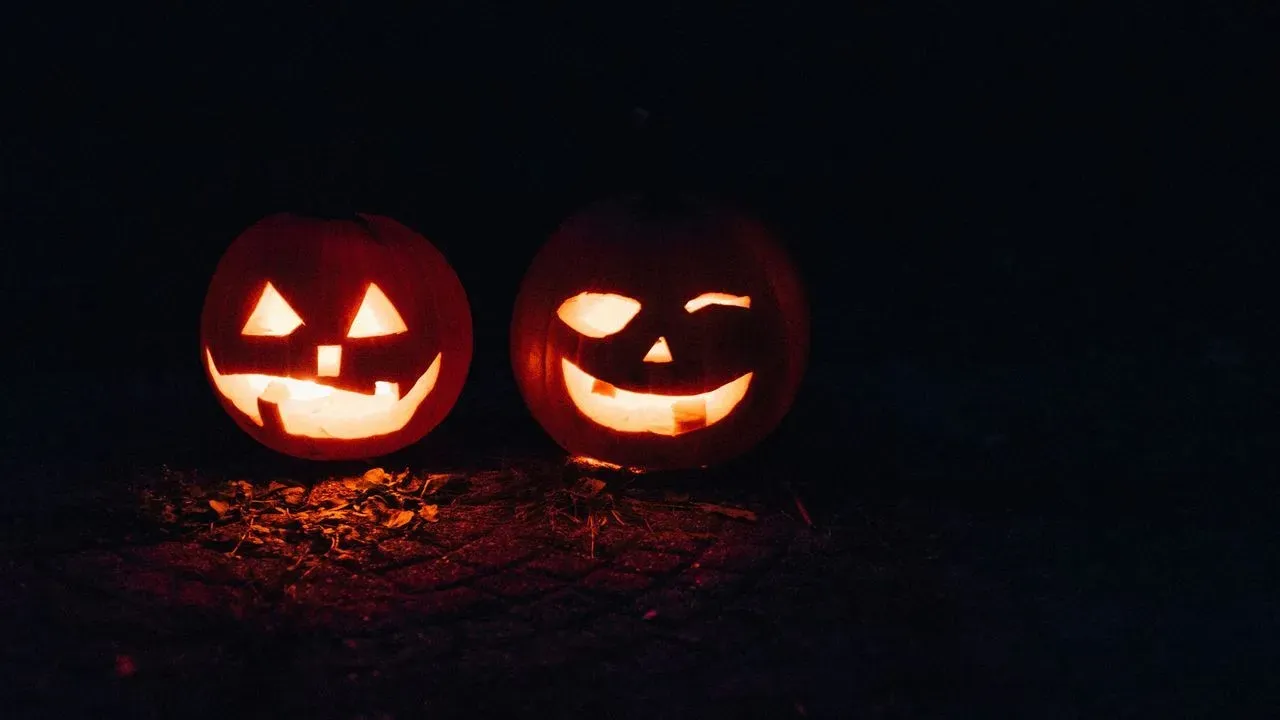

Carving a pumpkin marks one of the simplest pleasures of the fall season, yet the results often fade faster than expected. A few deliberate choices in timing, cleaning, and storage can help the design hold its shape until the big night arrives. The guidance draws from university extension services that have tested these methods in real conditions. ([1])
Choose the Right Moment to Carve
Timing matters more than most people realize. Carving too early gives mold and drying time to take hold, while waiting until a day or two before Halloween preserves the fresh look. Extension experts recommend finishing the design no more than eight to ten days ahead of the event. This single adjustment often delivers the biggest improvement without any extra supplies.
Selecting a firm pumpkin with a green stem attached also sets the stage for success. Soft spots or a shriveled stem signal the fruit may already be past its prime. Taking a moment to inspect the surface before purchase avoids disappointment later.
Prepare the Interior Thoroughly
Once the design is chosen, complete removal of the seeds and stringy pulp becomes essential. Leaving any residue inside creates a moist environment where mold spores thrive. After scooping, a quick wipe with a paper towel dries the cavity and further reduces the chance of early decay.
Some carvers cut the opening from the bottom or back rather than the traditional top lid. This approach can limit moisture loss through the lid area and makes the pumpkin easier to light from below. The small change requires little extra effort yet supports longer freshness.
Protect the Cut Surfaces
A diluted bleach solution applied before and after carving helps reduce surface microorganisms. The mixture, typically nine parts water to one part chlorine bleach, can be used to wash the whole pumpkin and then sprayed or wiped on the carved edges. Daily light applications after the initial treatment add another layer of protection.
Petroleum jelly offers a simple way to seal moisture into the exposed flesh. A thin layer rubbed along every cut edge and inside the openings slows drying without affecting the appearance. Battery or LED lights are recommended when using this method, since the jelly is flammable near an open flame.
Control Temperature and Light
Pumpkins prefer cool conditions between 50 and 60 degrees Fahrenheit. Warmer air speeds spoilage, while freezing temperatures damage the tissue. A shaded porch or cool garage often provides the right range during the day.
Direct sunlight and the heat from a real candle both accelerate breakdown. Electric lights or glow sticks avoid adding warmth inside the shell. On unusually warm evenings, bringing the pumpkin indoors for a few hours protects the carving until it can return to its display spot.
Watch for Early Signs and Enjoy the Season
Even with careful attention, a carved pumpkin remains perishable. The first fuzzy or slimy spots indicate it has reached the end of its display life. At that point, composting or discarding the pumpkin keeps the surrounding area clean for other seasonal decorations.
These steps turn a short-lived craft into a more reliable part of autumn traditions. Families who carve close to the holiday, keep the interior dry, and store the finished piece in the right conditions often find their designs still greet trick-or-treaters with clear features. The effort stays modest, yet the reward lasts through the evening everyone anticipates.
AI Disclaimer: This article was created with the assistance of AI tools and reviewed by a human editor.