
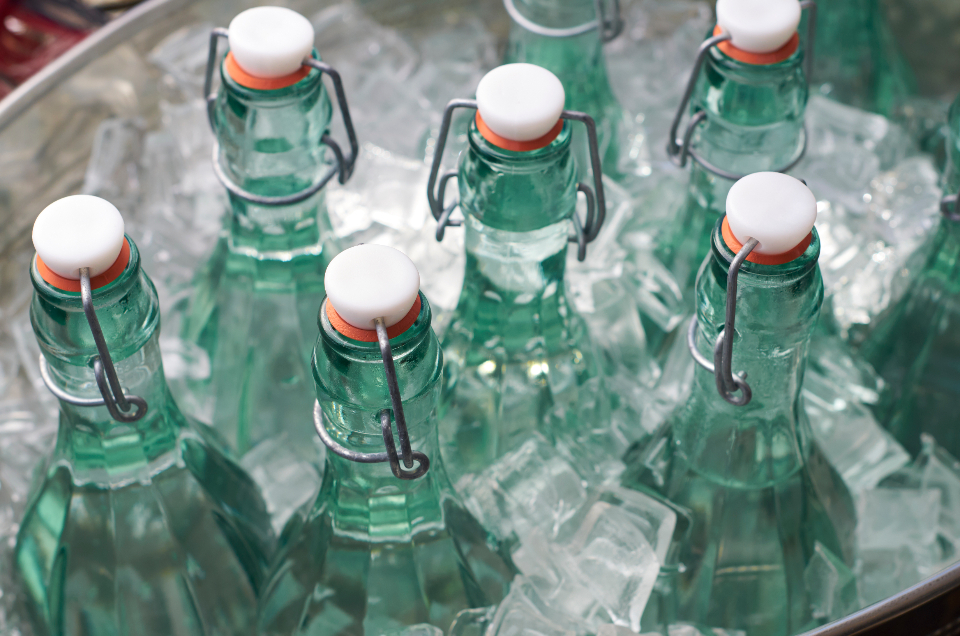

Pre-Chill Everything Before You Even Start Packing
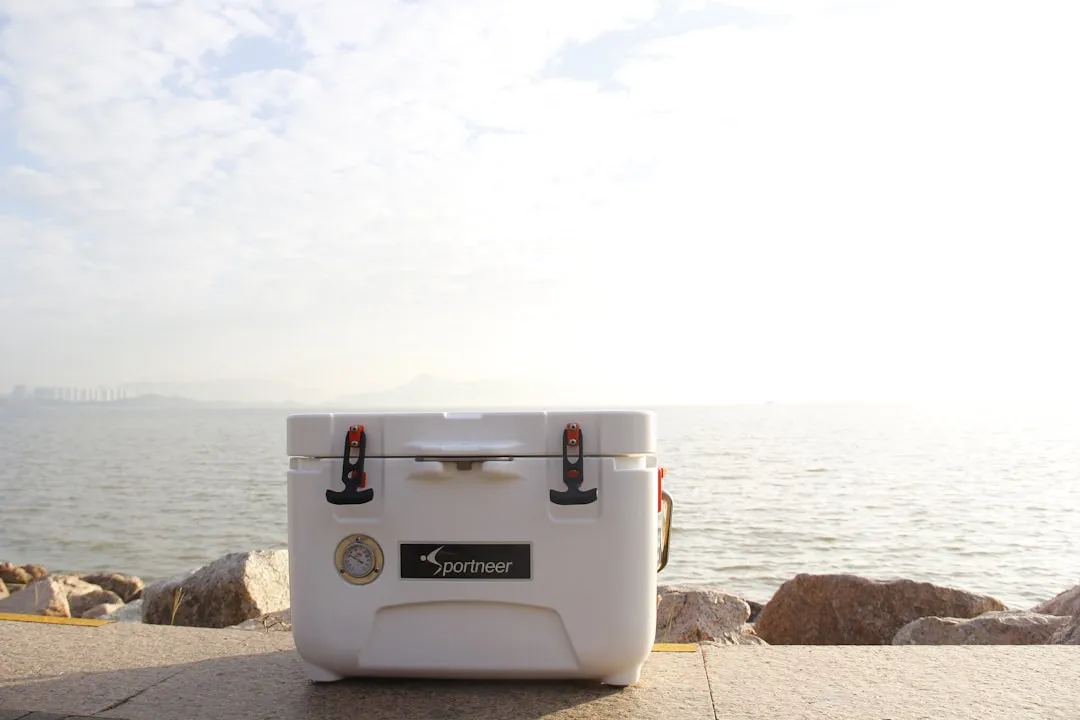
Think of your cooler as a thermos, not a fridge. It can’t make things cold – it only holds onto the cold you give it. That distinction matters more than most people realize.
Let the cooler sit overnight with starter ice, then dump that ice and refill with fresh ice when you’re ready to pack. This drops the internal temperature of the cooler walls significantly before any food goes in.
You should also pre-chill any items you plan on putting inside the cooler. Whether it’s food or beverages, items will stay cooler longer if they start cold already. Warm food placed into a cold cooler immediately begins raising the interior temperature, forcing the ice to work harder from the start.
Raw Meat Goes on the Very Bottom, Always
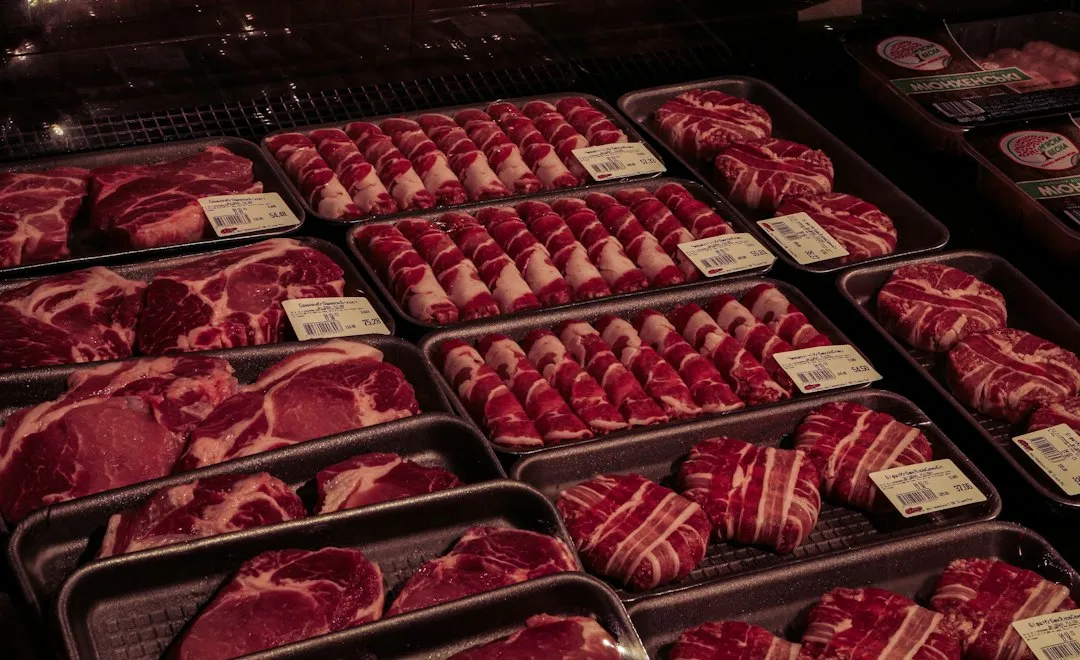
Meats, poultry, fish, and seafood should be kept sealed at the bottom of the cooler if only one cooler is used. This helps contain contamination in case of leakage, keeping any drips at the bottom rather than on other foods.
You can pack meat and poultry while it is still frozen. It will thaw during the trip, extending its safety and shelf life. This is one of the most underused tricks for multi-day trips.
When transporting raw meat or poultry, double wrap or place the packages in plastic bags to prevent juices from the raw product from dripping on other foods. Even a small amount of cross-contamination can cause serious foodborne illness.
Use Block Ice on the Bottom, Cubed Ice on Top
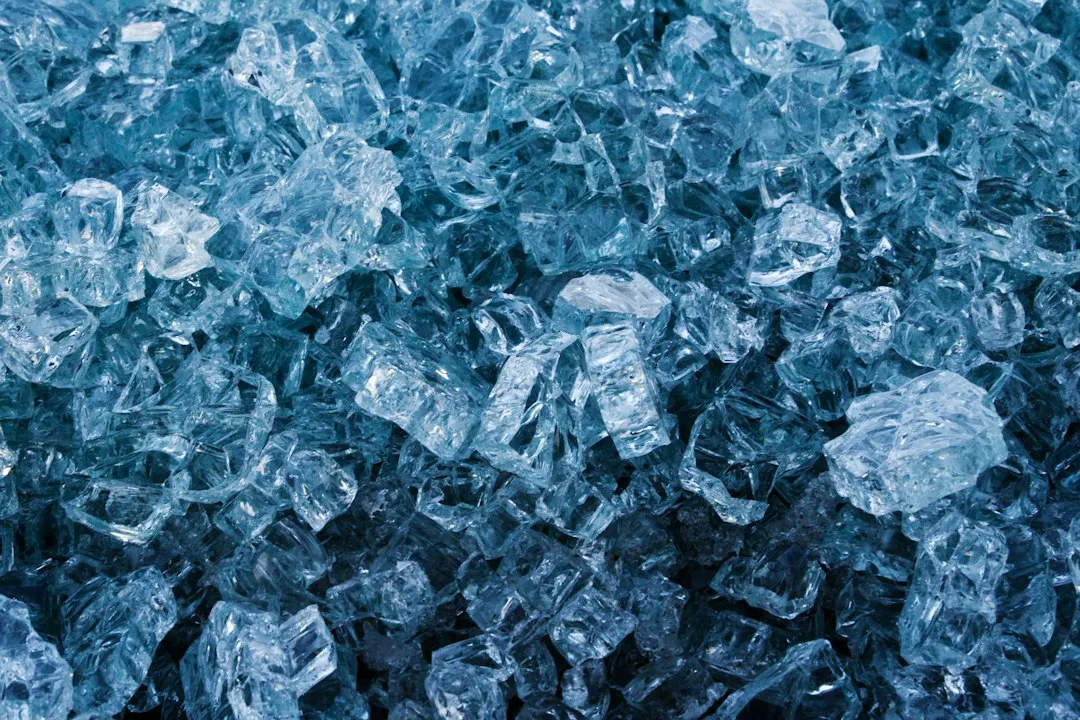
Cubed ice is best for more effectively chilling items quickly, while block ice will last much longer. For most uses, a combination of both works best.
Large block ice will often last at least half a day to a full day longer than the same amount of cubed ice in a decent cooler. Large quantities of block ice can add multiple days of ice retention compared to cubed ice in a large, high-quality cooler.
Block ice or frozen jugs on the bottom act as the “anchor” that stays cold the longest, while loose cubes and ice packs around your containers fill air gaps and cool things faster. For hot-weather trips, a rough rule is to pack about twice as much ice as food by space.
Place Dairy and Cooked Meals in the Middle Layer
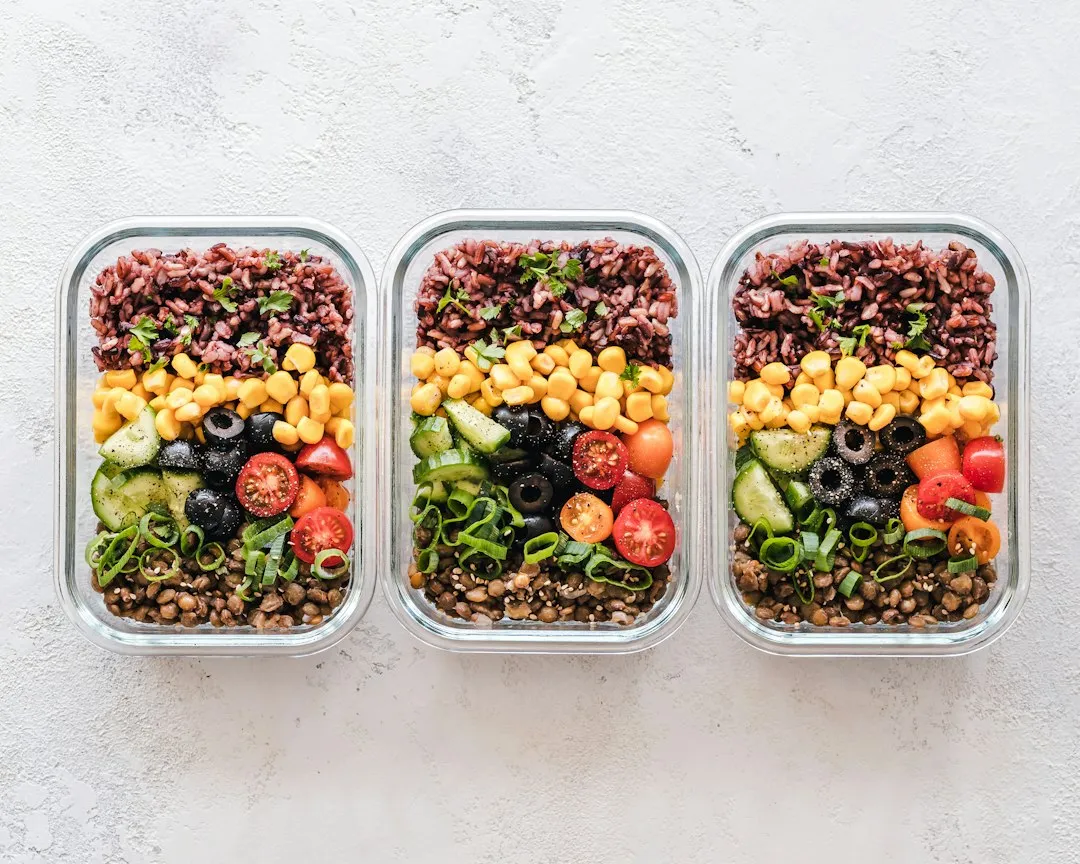
Layer it strategically: raw meat on the bottom, meals and dairy in the middle, and grab-and-go snacks on top. The middle layer is the most stable zone temperature-wise, making it the right home for items that are sensitive but don’t carry contamination risk.
Dairy items like cheese, yogurt, and hard-boiled eggs benefit from consistent cold without being submerged in meltwater. Placing them in sealed, waterproof containers and nestling them between ice packs keeps them both cold and dry.
All foods should be sealed in a waterproof container. Use large zip-lock plastic food bags or clean waterproof containers with lids, placed upright so no ice or melted water can contaminate foods. This is especially worth doing for anything you’ll eat without cooking first.
Pack Snacks and Ready-to-Eat Items on Top
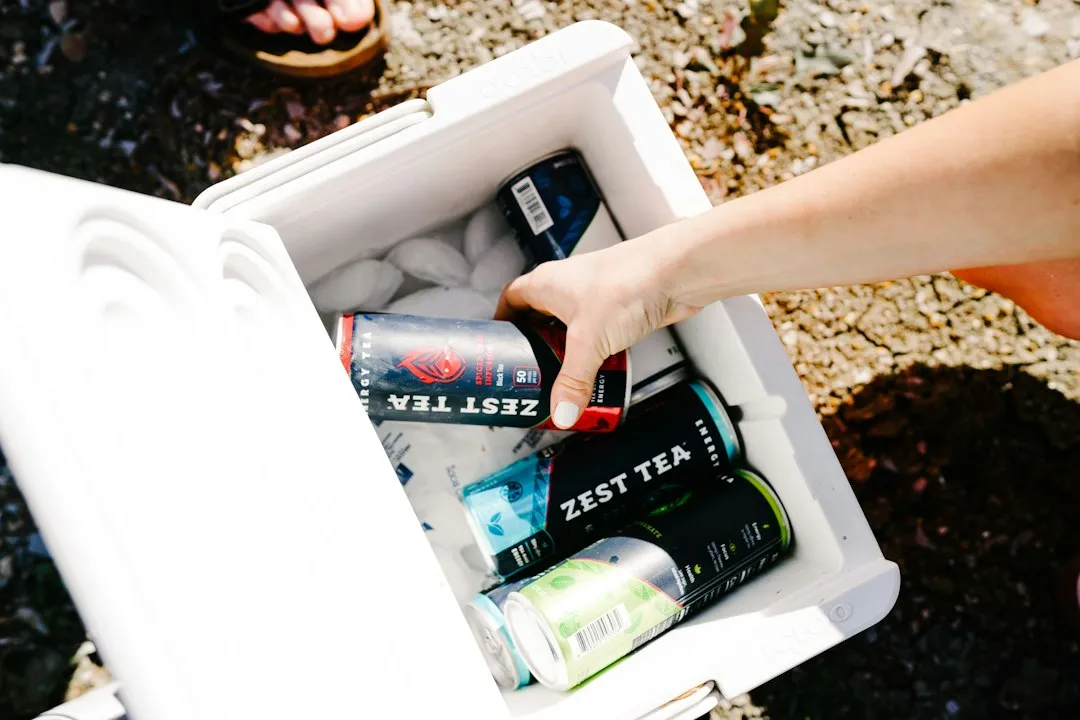
Pack food in the order you’re going to consume it – items you’ll need last go on the bottom, and snacks and appetizers go on top – to minimize the amount of time the cooler will be open. Every second the lid is open is cold air escaping.
Try not to open your ice chest more than you really need to. When you do, you release cool air and let hot air in. To reduce the time the lid is open, place the items you need most at the top.
Fruits like apples and grapes, wrapped cheese sticks, crackers, and other grab-and-go foods belong right at the top. They’re the things you’ll reach for at rest stops, so keeping them accessible means less rummaging and a colder cooler overall.
Use a Second Cooler for Drinks
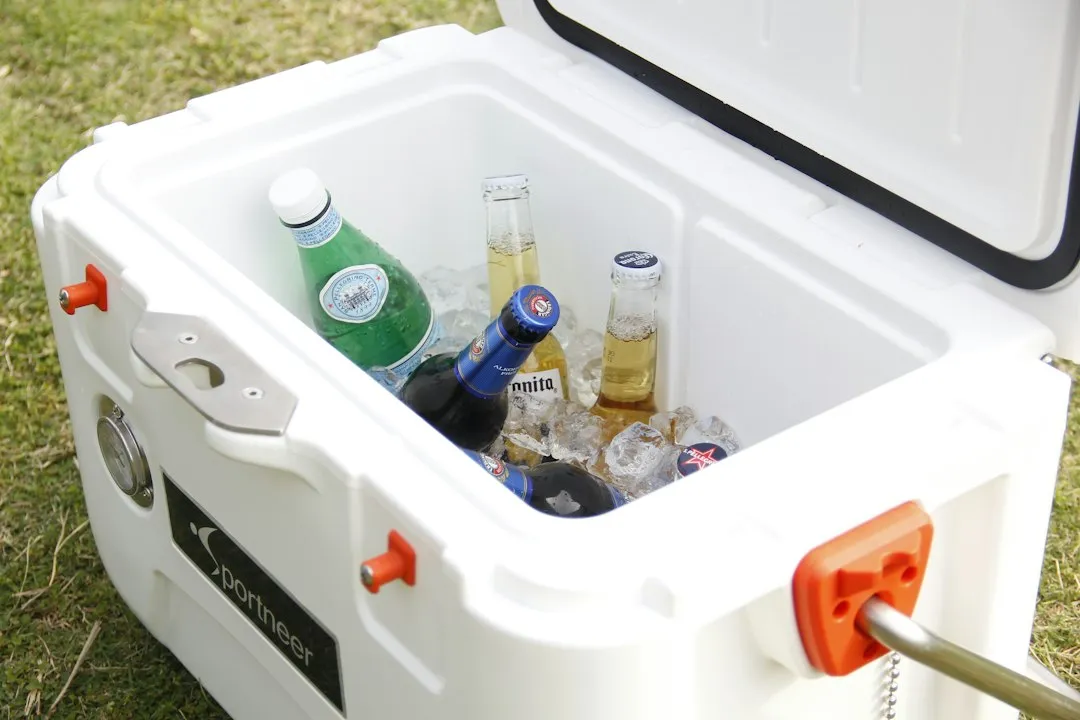
Pack beverages in one cooler and perishable food in another. The beverage cooler may be opened frequently, causing the temperature inside to fluctuate and become unsafe for perishable foods. This is one of the most practical pieces of advice from the USDA’s 2024 summer food safety guidance.
Two coolers are ideal: one for frequent-access snacks and drinks, another for meals and perishables you want to keep colder longer. The drink cooler can be opened freely without compromising your food supply.
If a second cooler isn’t an option, at least position drinks toward one side of the cooler and make a habit of only opening the lid to that side during the drive. It’s a small discipline that makes a real difference over multiple days.
Fill Every Air Gap to Maximize Cold Retention
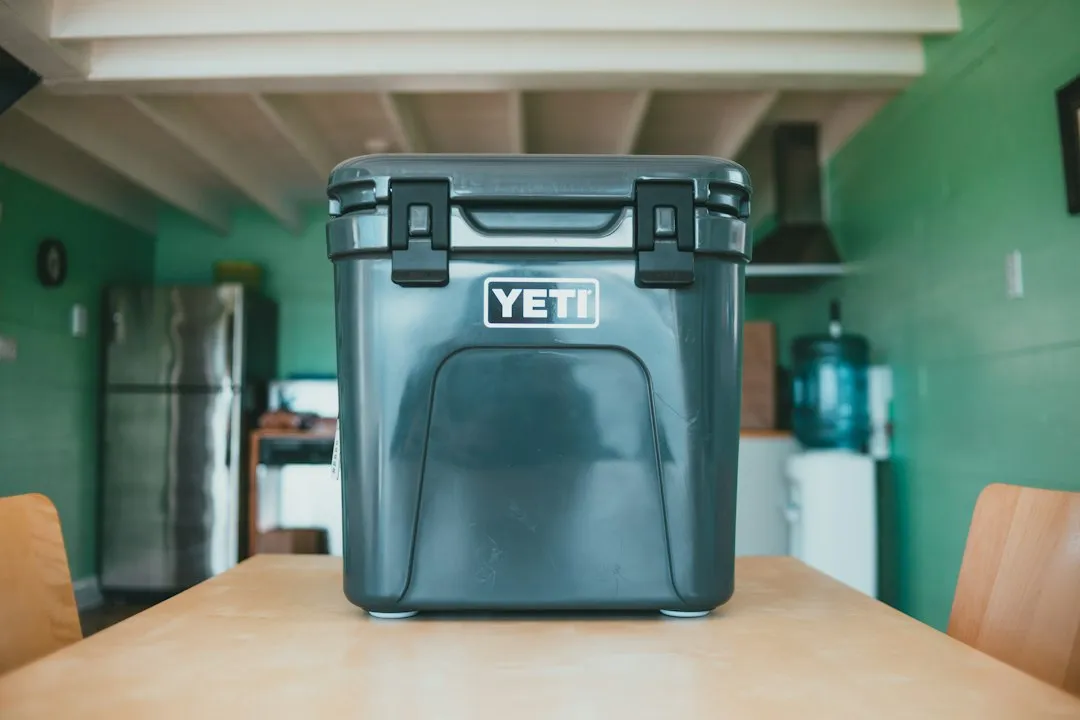
Full coolers or insulated bags will keep your perishable foods cold and safe for much longer than half-full ones. Air pockets are essentially dead space where warm air lingers and accelerates ice melt.
Don’t leave a lot of open spaces. A full cooler is an insulated cooler, so food will stay refrigerated longer. Fill any open spots with ice, frozen water bottles, or chilled drinks.
Use ice, ice packs, or gel packs to fully fill all empty spaces within a cooler. Frozen water bottles serve double duty: they act as slow-melting ice blocks and become drinkable water as the trip progresses.
Keep the Cooler Out of the Sun and Away from the Trunk
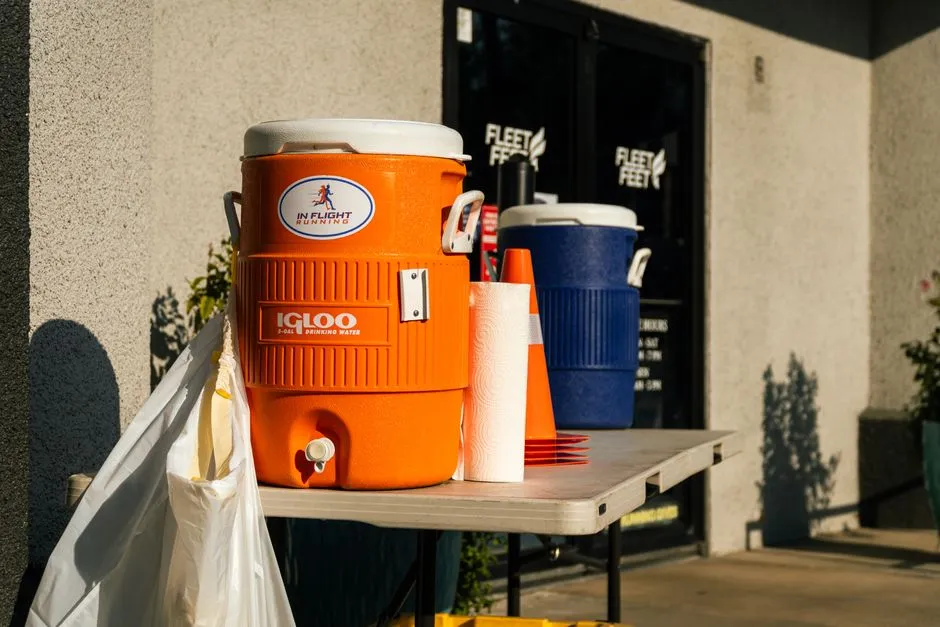
Keep the cooler out of heat: store it in the shade or in an air-conditioned vehicle, not in the trunk. Car trunks can reach extreme temperatures on warm days, turning even a well-packed cooler into a warm box within hours.
Keep coolers and insulated bags out of the sun. Once outside, place them in the shade. At rest stops and campsites, this single habit extends ice life noticeably.
If the back seat is the only option, covering the cooler with a blanket or towel adds a meaningful layer of insulation against ambient heat. It’s not glamorous, but it works.
Monitor Temperature with a Thermometer Inside the Cooler
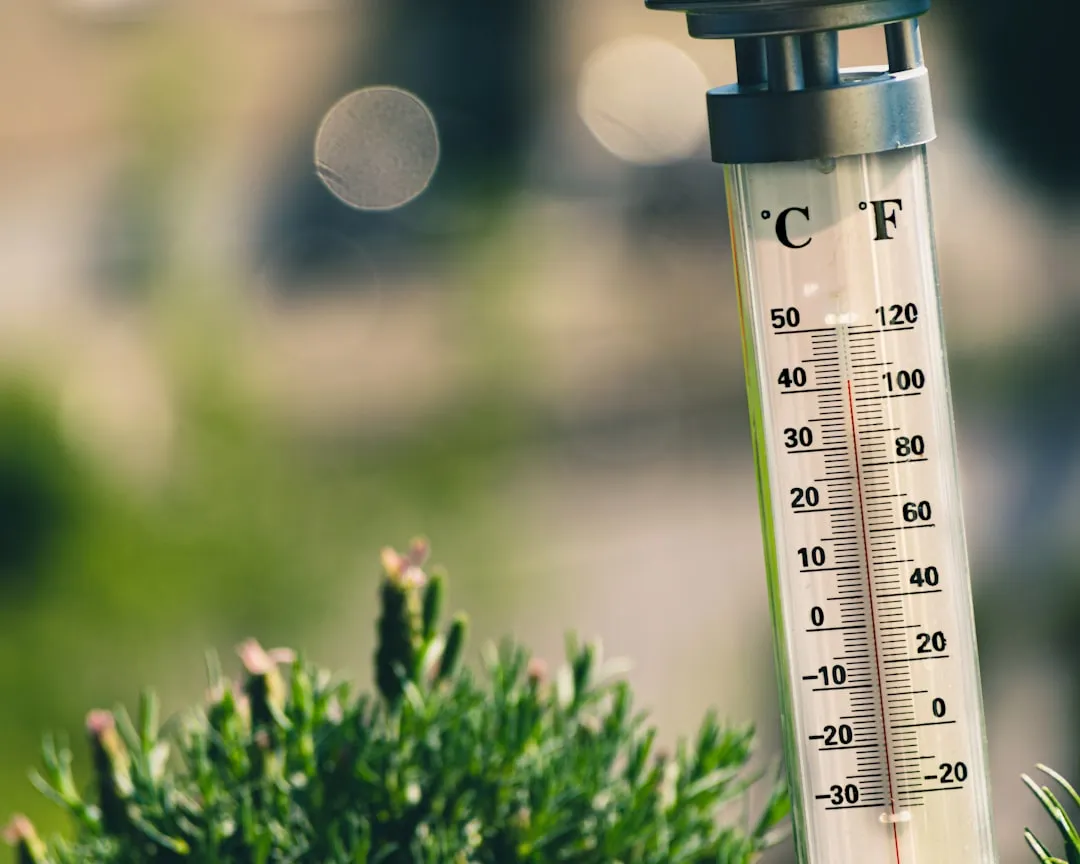
To keep foods safe, temperatures within a cooler should be 41°F or lower. Bacteria grows rapidly when it is in the temperature danger zone between 41°F and 140°F for too long. Foods that need refrigeration should not be held in the temperature danger zone for longer than 2 hours.
To adequately check cooler temperatures, place the thermometer in the warmest part of the cooler, usually near the top under the lid. That’s where you’ll get the most honest read on how your packing is performing.
If outdoor temperatures are above 90°F, return perishable foods to the cooler within 1 hour. If outdoor temperatures are below 90°F, return perishable food to the cooler within 2 hours. These thresholds come directly from food safety research and are worth taking seriously on summer drives.
Know When to Discard Food and Top Up the Ice
Coolers should be drained regularly and topped up with fresh ice packs or ice bags. At each gas stop, it takes about two minutes to check the temperature and add ice if needed. It’s the kind of small habit that keeps a road trip from becoming a medical situation.
If using a cooler, leftover food is safe only if the cooler still has ice in it. Otherwise, discard leftover food. This is a firm line worth respecting, no matter how good the leftovers look.
Throw away all perishable foods that have been left at room temperature for more than 2 hours, or 1 hour if the temperature is over 90°F. When there’s genuine uncertainty, the USDA’s longtime guidance holds: when in doubt, throw it out.
The Takeaway
AI Disclaimer: This article was created with the assistance of AI tools and reviewed by a human editor.