


Why Carry-On Travel Demands a Better Folding Strategy
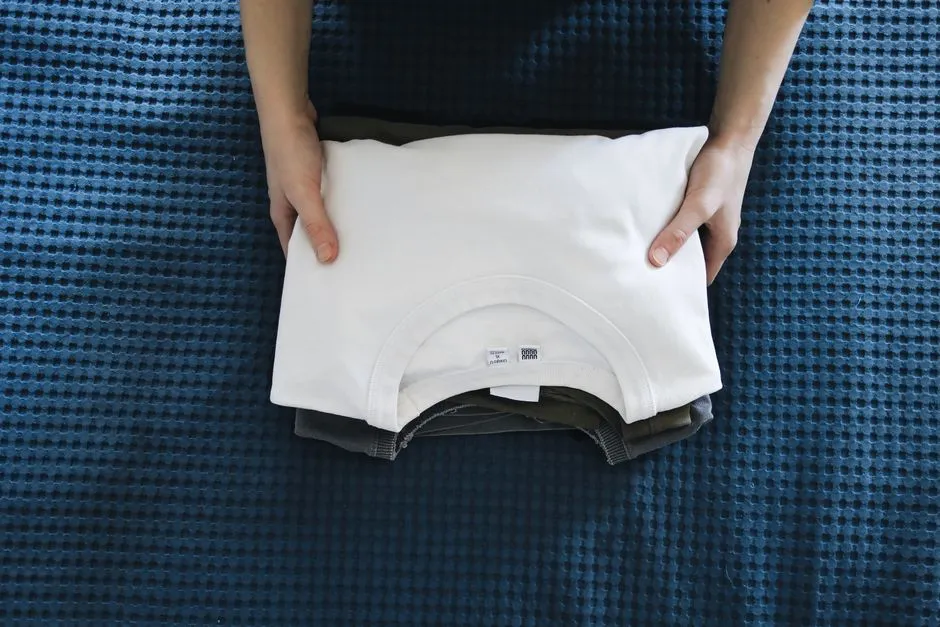
With airlines implementing stricter baggage policies in recent years, there’s a growing preference for compact carry-on luggage that meets size restrictions while offering maximum packing capacity. That shift puts real pressure on how neatly and efficiently you pack each item.
The global carry-on luggage market was valued at USD 5.8 billion in 2024, with demand expected to grow at a compound annual rate of nearly eight percent through 2031, reflecting just how many travelers are now committing to cabin-bag-only trips. Dress shirts are arguably the hardest garment to manage in this format. They’re structured, they crease easily, and they need to look presentable the moment you pull them out.
Start With a Freshly Laundered, Fully Buttoned Shirt
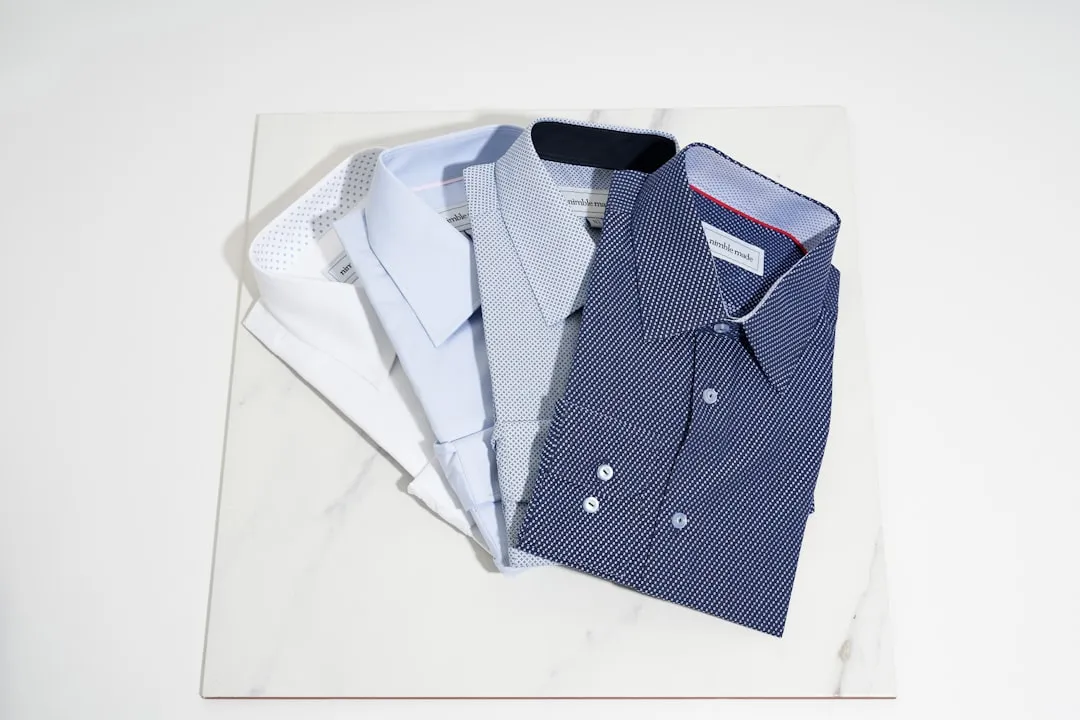
Freshly laundered clothes are less likely to wrinkle during transit. Make sure everything is washed, pressed, and ready to go before packing. Starting with a clean, pressed shirt gives the fabric a stable, smooth baseline before it goes anywhere near a bag.
Fasten the top button and every other button down the front. This helps the shirt keep its shape and prevents fabric from shifting while you fold. Many people skip this step, but it’s genuinely one of the most important details in the whole process. A loose, unbuttoned shirt shifts unpredictably as you work with it, and that movement creates uneven tension in the fabric.
Lay It Face-Down on a Flat, Hard Surface
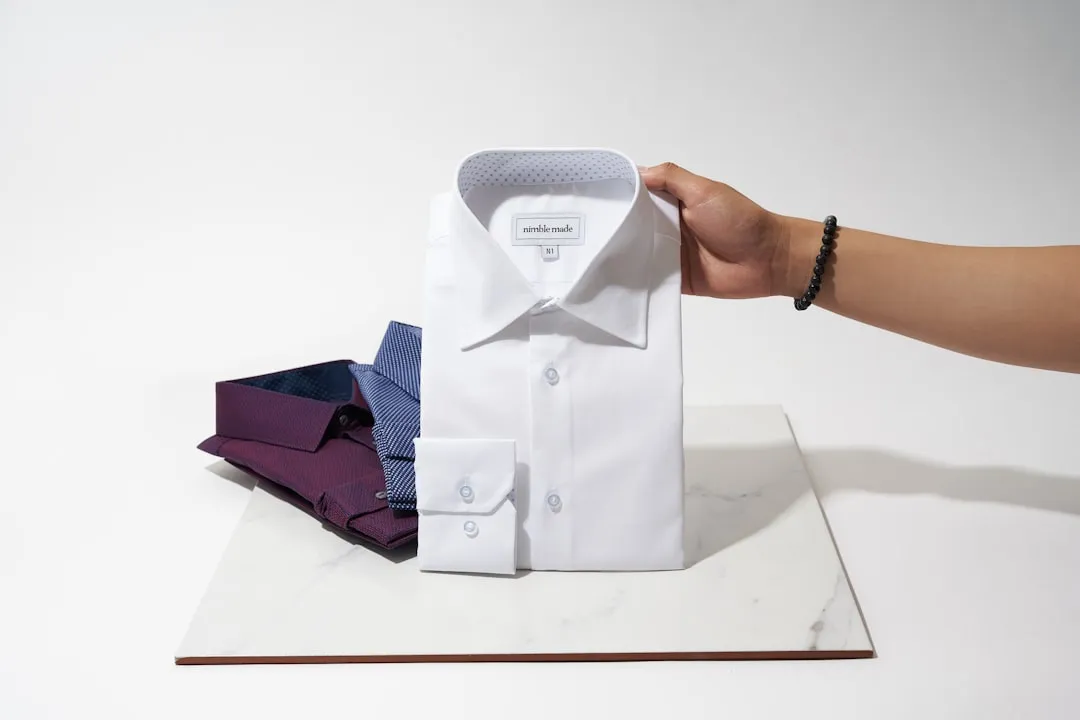
Lay the shirt flat, completely face down, with the sleeves extended. This orientation is important because folding from the back, rather than the front, protects the placket and buttons from getting pressed into awkward positions.
Lay it facedown on a hard, flat surface like a table. A bed is workable in a pinch, but a table or hard floor gives you better control over how evenly the fabric lies. Uneven surfaces lead to uneven folds, and that’s where deep creases begin. Take ten seconds to smooth the shirt out completely before you touch a single sleeve.
Fold the Sides Inward With a Straight Line From Shoulder to Hem
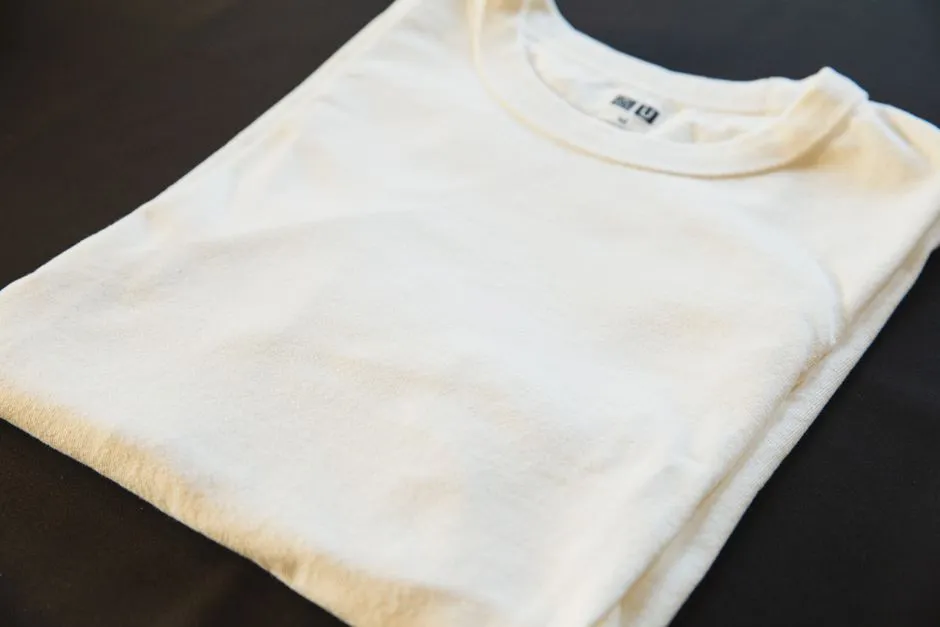
Fold the right-hand side of the shirt inward, creating a straight line from the right shoulder to the bottom edge of the shirt. The key word there is “straight.” A diagonal or curved fold at this stage creates exactly the kind of angled crease that’s nearly impossible to get out later.
Fold in each side about three inches towards the middle of the shirt. If you’re doing it right, you’ll have a “V” pattern at the top of the back of your shirt. That V shape is a reliable visual confirmation that you’re on the right track. This method is the simplest way to tightly pack a dress shirt for travel.
Handle the Sleeves With a Diagonal Tuck
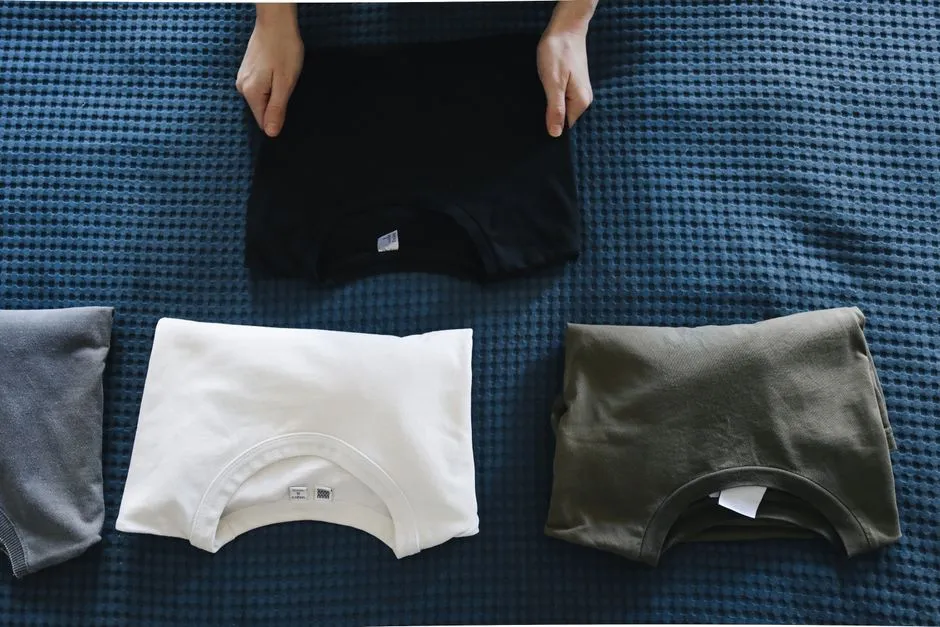
Fold the right arm of the shirt at a diagonal, so that the cuff of the shirt is against the bottom edge of the dress shirt. Repeat this step on the left side. Both sides should be completely even. Sleeves are where most people make mistakes. They either fold them straight across or let them bunch unevenly, and either way, the cuff ends up pressing an ugly crease into the shirt body.
The diagonal tuck keeps the sleeve contained within the shirt’s silhouette rather than extending beyond it. This matters in a carry-on especially, because any fabric that sticks out past the shirt’s edges will be compressed against the bag wall. That compression is exactly what creates deep, stubborn wrinkles.
Add a Dryer Sheet or Tissue Paper for Extra Protection

For extra wrinkle resistance, put a dryer sheet between the folded layers. The sheet provides a form of interstitial suspension so the fabric won’t bunch up once you finish folding it. Your bag will also smell notably fresh. It sounds like a minor trick, but the science behind it is real. The slightly slippery surface between layers reduces the friction that causes fibers to lock into creased positions.
Slipping a sheet of tissue paper inside the shirt before folding also works well for extra wrinkle prevention. Department store staff have used this approach for decades when preparing shirts for display. It’s low-tech, lightweight, and genuinely effective.
Fold From the Bottom Up, Twice

Fold the shirt upwards in half, starting at the bottom, then fold the shirt again in the middle. Your dress shirt should now be compact and wrinkle-free. Two folds from the bottom create a neat rectangular parcel that fits cleanly into most carry-on compartments without needing to be forced or squeezed.
If you’re folding a long dress shirt, aim for two folds, essentially folding it in thirds. The folded dimensions should land at roughly the width of your carry-on’s interior. A shirt that fits without being pressed against the sides stays in far better condition than one that’s crammed in at an angle. A well-folded dress shirt will hold its shape, and that stability is what you’re working toward.
Use a Dry Cleaner Bag to Reduce In-Transit Friction
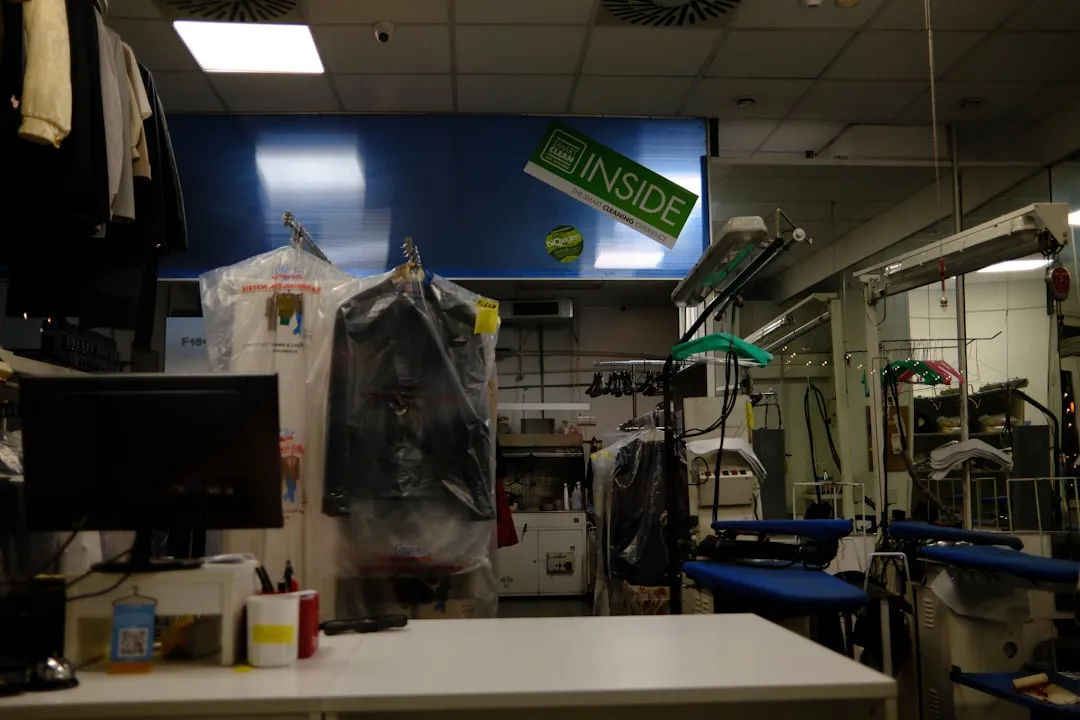
After folding your shirt, slip it into a plastic bag before packing. The slippery surface of the plastic allows the shirt to move slightly within your luggage rather than staying locked in one compressed position. Plastic also provides a moisture barrier if you’re traveling somewhere humid.
Placing the shirt inside a dry cleaner’s plastic bag reduces friction that builds up when garments rub against each other during a flight. It’s a technique that frequent business travelers have quietly relied on for years. The bag adds almost no weight or bulk, and it’s one of the most effective passive wrinkle-prevention tools available.
Where You Place the Shirt Inside the Bag Matters

Always pack dress shirts last, placing them on top of other items. This minimizes the weight pressing down on them during travel. The physics here are simple: more weight on top means more compression, and more compression means more creasing. Shirts placed near the bottom of a carry-on spend the entire flight under the load of everything else you packed.
Create a stable base layer with heavier items like shoes, toiletries, and jeans. These should go on the bottom or in separate compartments. Build up to lighter, more delicate items as you pack upward. The rods that support the handle in many rolling suitcase designs are notorious for leaving deep wrinkle lines, so keep shirts away from that central cavity whenever possible.
Fabric Choice Makes the Whole System Work Better

Shirt fabric is the most important wrinkle prevention factor in dress shirts. The folding and packing techniques in any guide won’t be as effective if the fabric is prone to wrinkling and difficult to care for. A beautifully executed fold applied to a 100 percent cotton broadcloth shirt is still going to struggle compared to the same fold on a travel-optimized fabric.
Merino wool tops the list because it has the best of both worlds: all the luxuriousness of natural fibers and as wrinkle-resistant as common travel fabrics like polyester. Thanks to its microscopic structure and a natural crimp, the Merino fiber fights to return to its shape after bending. Synthetic fabrics like polyester, nylon, and lycra are also made to be wrinkle-resistant and pack extremely well for shorter trips where natural fibers aren’t essential.
What to Do When You Arrive

The right folding approach can help your shirts keep their shape, reduce wrinkle buildup, and save you from reaching for the iron the moment you arrive. Still, some light creasing is inevitable after a long-haul flight, and it’s worth knowing what to do the moment you check in.
At home, hanging dress shirts is often the best option. Hanging allows gravity to release light wrinkles and helps the garment recover its natural shape. The same principle applies in a hotel room. Hang the shirt as soon as you unpack it, ideally in the bathroom while you take a hot shower. The steam works into the fibers and most minor creases disappear within twenty minutes. Less time in a suitcase also means fewer wrinkles, so if you can unpack shortly after arriving, do it.
The Takeaway

Keeping a dress shirt presentable in a carry-on isn’t luck. It’s a sequence of small, deliberate choices: a clean shirt, a flat surface, precise sleeve placement, a dryer sheet between the layers, and smart positioning inside the bag. None of these steps are complicated on their own. Together, they form a system that consistently works.
The broader shift toward carry-on-only travel isn’t slowing down, and the pressure to look polished on arrival will only grow with it. Mastering this fold is a small investment that pays back every single trip, usually in the first thirty seconds after you open your bag.
AI Disclaimer: This article was created with the assistance of AI tools and reviewed by a human editor.