

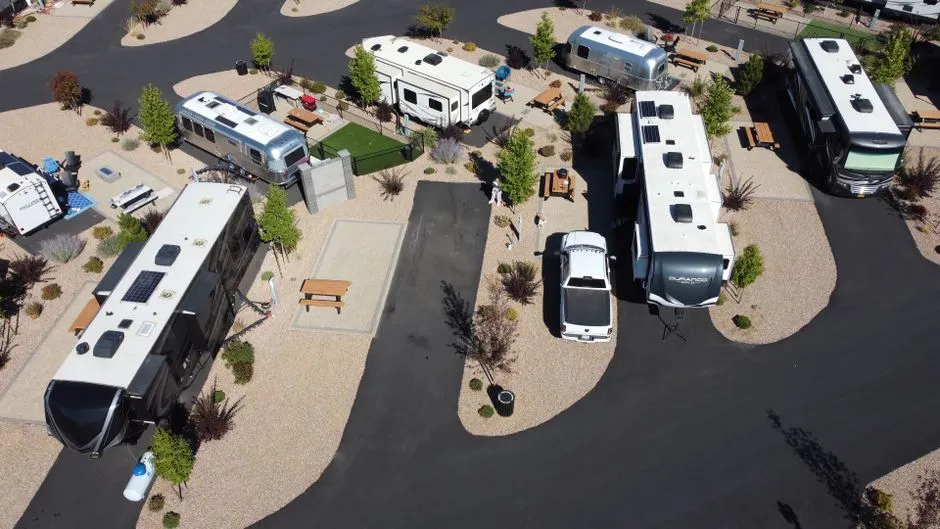
There’s one question that separates a smooth first RV trip from a stressful one, and most beginners don’t even know to ask it: “What type of hookup does my site actually have?” It sounds almost too simple. Yet arriving at a campground without knowing the difference between a full hookup site and a partial one is one of the most common reasons new RVers end up frustrated, under-powered, or standing next to a sewer hose they’re not sure how to use.
If you’re new to RV camping, the hookup listings on campground sites can feel like a foreign language. Terms like 30-amp, 50-amp, full hookup, and dry camping all matter because they affect what gear you need, how long you can stay comfortable, and what you can actually do at the site. Getting familiar with what each of those means before you book your first site is genuinely the thing that changes everything.
What “Hookup” Actually Means at a Campsite
RV hookups are external utility connections at a campsite that supply your rig with electricity, fresh water, and sewer drainage. Instead of relying solely on your RV’s onboard tanks and batteries, hookups let you tap into the campground’s infrastructure in much the same way a house connects to the power grid and municipal water.
There are three hookup types, and a campsite can offer any combination of them. Electric hookups deliver shore power through a pedestal at your site, powering your AC, appliances, and house batteries. Water hookups connect to a spigot that gives you unlimited running water through your fresh water inlet. Sewer hookups connect a drain hose to your RV’s waste tanks, so gray water and black water flow directly out instead of filling your holding tanks.
When a campground lists a site as “W/E,” that means water and electric only. “W/E/S” or “FHU” means all three, a full hookup. Some sites only offer electric, and some offer nothing at all.
Full Hookup vs. Partial Hookup vs. Dry Camping
A full hookup site has water, electricity (usually 30-amp or 50-amp), and a sewer connection. You plug in, hook up your hoses, and live like you’re at home. This is the easiest option for beginners.
Partial hookup sites typically provide electricity and water, but no sewer connection. This means you’ll need to monitor your waste tanks and eventually visit a dump station. These sites are often more affordable and still offer a comfortable stay.
Dry camping, also called boondocking, means no hookups at all. You rely on your fresh water tank, battery power, and potentially solar panels. This is where the freedom really kicks in, but it requires considerably more planning and self-sufficiency. For a first trip, full hookup is the clear recommendation from virtually every experienced RVer out there.
Understanding Amps: The 30 vs. 50 Question
The difference between 30 and 50 amps is the most important thing to understand about RV electrical hookups, and it trips up many first-timers. Knowing which your RV requires before you pull into a site prevents a lot of confusion at the power pedestal.
Most power poles at campgrounds include outlets for both 30-amp and 50-amp rigs, plus 20-amp outlets for smaller devices. To determine which one your RV requires, look at the power plug on the outside of your RV. Three prongs means it’s a 30-amp RV. Four prongs means it’s a 50-amp RV.
A 30-amp plug gives you about 3,600 watts of available power. A 50-amp plug can provide up to 12,000 watts across two legs of 120V. That difference is enormous when you’re running air conditioning, the microwave, and a refrigerator at the same time. Larger rigs with multiple AC units almost always need 50-amp service to operate comfortably.
How to Safely Connect Your Electrical Hookup
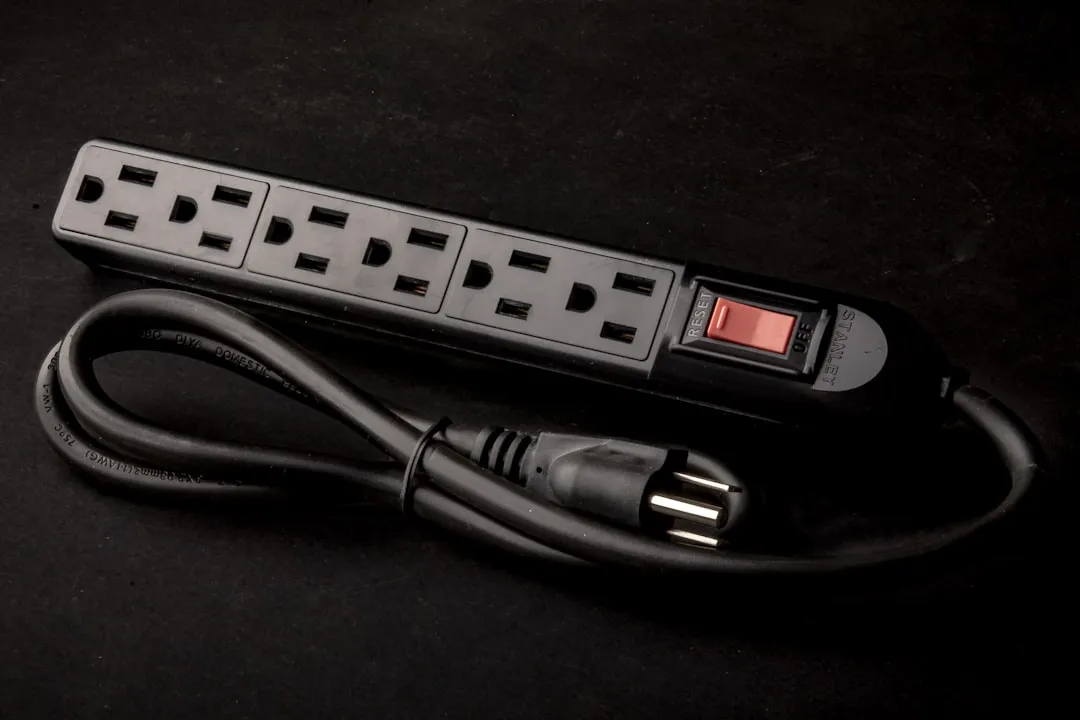
Before plugging in, switch off the circuit breaker on the power pedestal to avoid potential electrical surges. This step is easy to skip when you’re tired from a long drive, but it protects your RV’s systems from an unexpected jolt during connection.
Locate the correct outlet on the pedestal (30-amp or 50-amp) and flip its breaker to the off position. Then plug your surge protector into the outlet and flip the breaker back on. Check the surge protector’s diagnostic display to confirm the outlet is wired correctly and safe to use.
Never skip the surge protector step, even at a campground you’ve used before. Faulty wiring at a pedestal can fry your RV’s electrical system. A quality surge protector is genuinely one of the most important items in your hookup kit, and experienced RVers treat it as non-negotiable.
The Water Hookup: Don’t Grab the Garden Hose
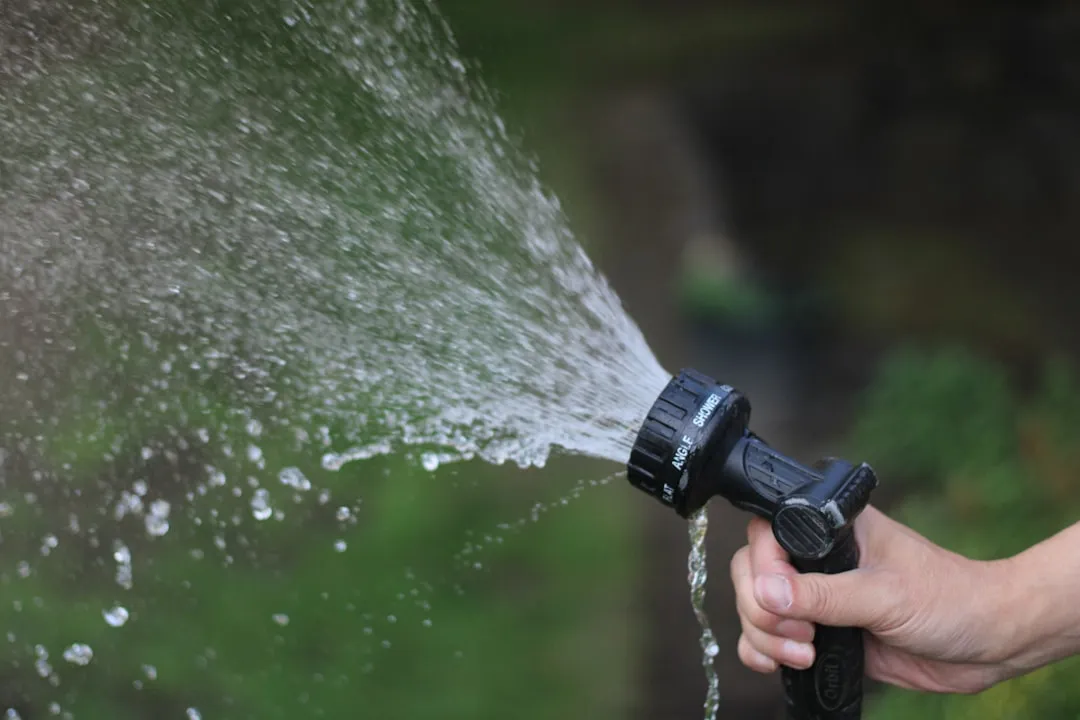
A freshwater hose is made differently from a traditional garden hose and is therefore safer to drink from. These hoses are always white or blue, making them easy to differentiate from green garden hoses and black wastewater hoses. Using a regular garden hose for drinking water is a common first-timer mistake that’s worth avoiding entirely.
Campground water pressure can spike to 80 to 100 PSI, which will blow your RV’s water lines. A pressure regulator keeps incoming water at a safe 40 to 50 PSI. They cost relatively little and save you from expensive plumbing disasters.
Avoid using green garden hoses because they’re not rated for drinking water and can leach harmful chemicals. Run the hose briefly before connecting it to the RV to flush out any debris sitting inside. These two habits together take about thirty extra seconds and protect both you and your plumbing.
Connecting to Sewer: The Part Nobody Wants to Talk About
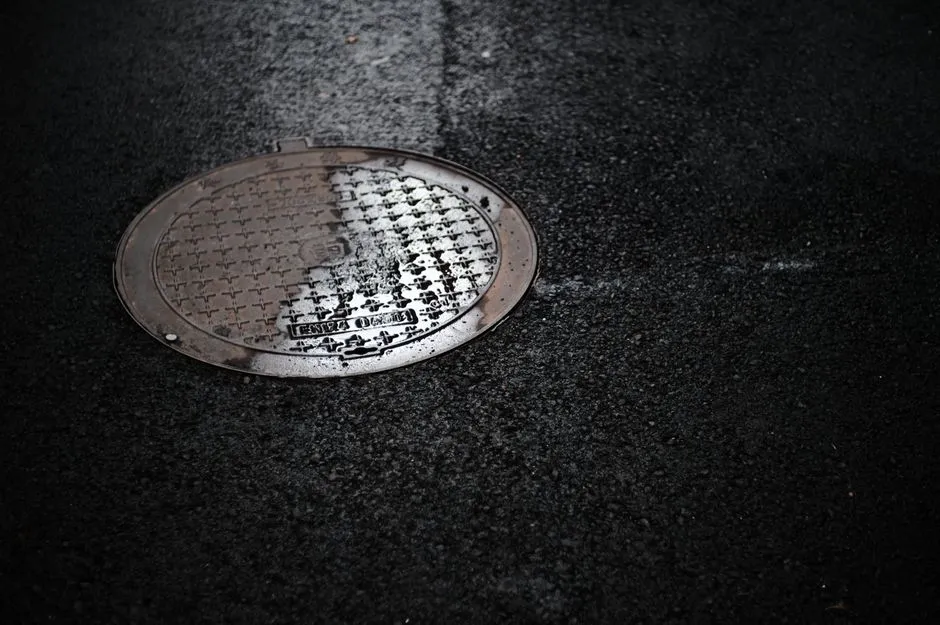
A sewer hookup is a drain pipe in the ground where you connect a hose from your RV’s waste tanks, so gray water from sinks and showers and black water from the toilet flow directly out instead of filling your holding tanks. It sounds intimidating the first time, but it’s a straightforward process once you’ve done it once.
Always wear disposable gloves when handling your sewer hose to maintain hygiene and avoid contact with harmful bacteria. Attach the sewer hose securely to your RV’s waste outlet, ensuring a snug fit, and connect the other end to the campground’s sewer inlet. Use a sewer hose support to maintain a proper slope for efficient drainage.
Never open the black tank valve and leave it open throughout your stay. Always dump black tanks when they’re at least two-thirds full, followed by the gray tank to help flush the hose clean. That sequencing matters and prevents odors from building up in the sewer hose.
When Your Adapters Don’t Match: The Dogbone Solution
If your RV power cord doesn’t match the available outlet at the pedestal, a dogbone adapter can convert the connection safely. For example, if your RV uses 30 amps but the outlet provides 50 amps, the adapter bridges the gap without damaging either system.
If you hook up your 30-amp RV to a 50-amp hookup at a campsite, know that you’re still only going to draw 30 amps. Likewise, if there are only 30-amp hookups available and you’ve got a 50-amp RV, you’re not going to be able to draw more than 30 amps. An adapter changes the physical connection but not the available power ceiling.
Always bring spare hoses, electrical adapters, and other essential accessories in case the campground’s setup doesn’t match your RV’s requirements. Experienced RVers keep a small kit of adapters organized and labeled in a dedicated storage bin so they’re never scrambling at the pedestal in the dark.
Leveling Your Rig Before You Connect Anything
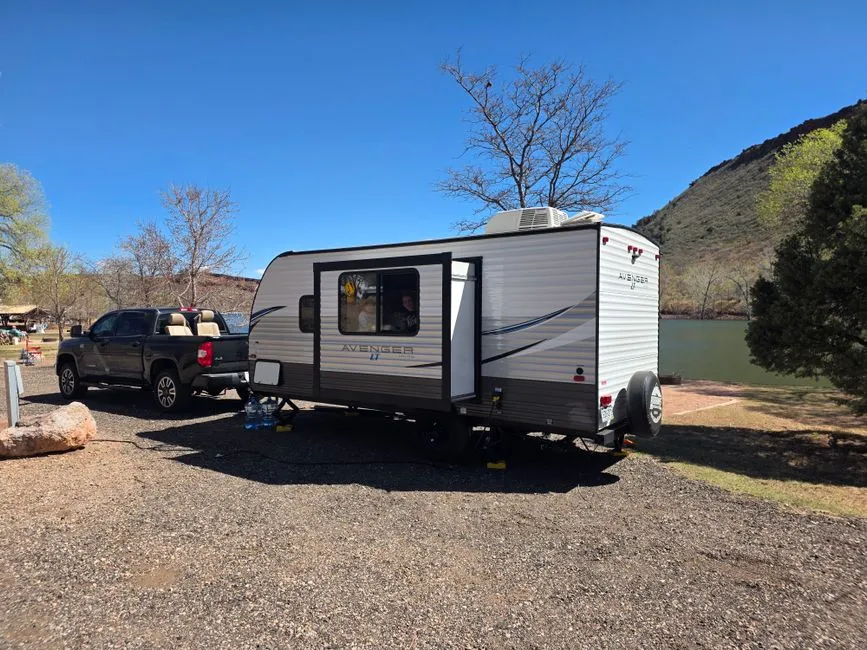
Before connecting anything, get your RV level. Drive onto leveling blocks on the low side, check with a bubble level or the level app on your phone, and deploy your stabilizer jacks. A level RV means your fridge works properly, your doors don’t swing open, and water drains correctly.
Achieving a level RV is essential for comfort and the proper functioning of appliances. Some absorption refrigerators, in particular, can be permanently damaged if operated at a significant angle for an extended period, which makes leveling a functional necessity rather than just a comfort preference.
The order matters too. Level and stabilize first, then connect electric, then water, then sewer. This sequence gives you a stable working platform and means you’re not crawling under a swaying rig trying to thread a sewer hose into a ground fitting.
Managing Power Without Tripping Breakers
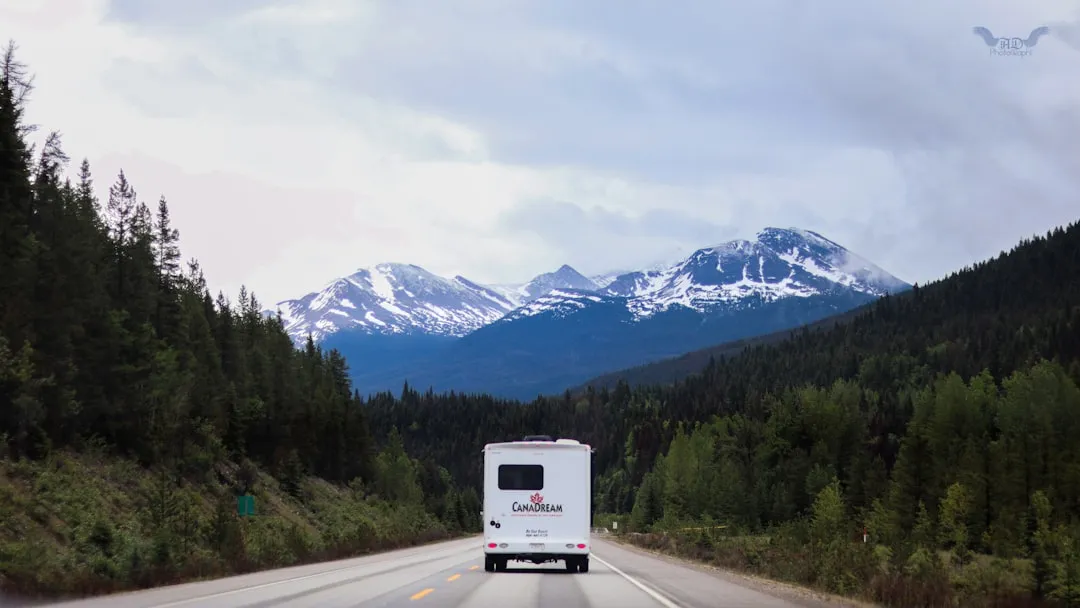
AC units are often the biggest power consumers in an RV. Using them thoughtfully and considering alternative cooling methods like fans when possible helps prevent overloads.
Avoid running your air conditioner, microwave, and hair dryer simultaneously to prevent overloads. When available, use propane for cooking and water heating to reduce electrical load. This kind of staggered appliance use becomes second nature quickly, especially on 30-amp service where the power budget is tighter.
An RV energy management system or smart surge protector with app-based tracking can show how much power each device draws and help prevent overloading circuits. These systems have become more affordable and accessible in recent years, and they’re worth considering for anyone planning to camp frequently.
When There’s No Sewer at Your Site
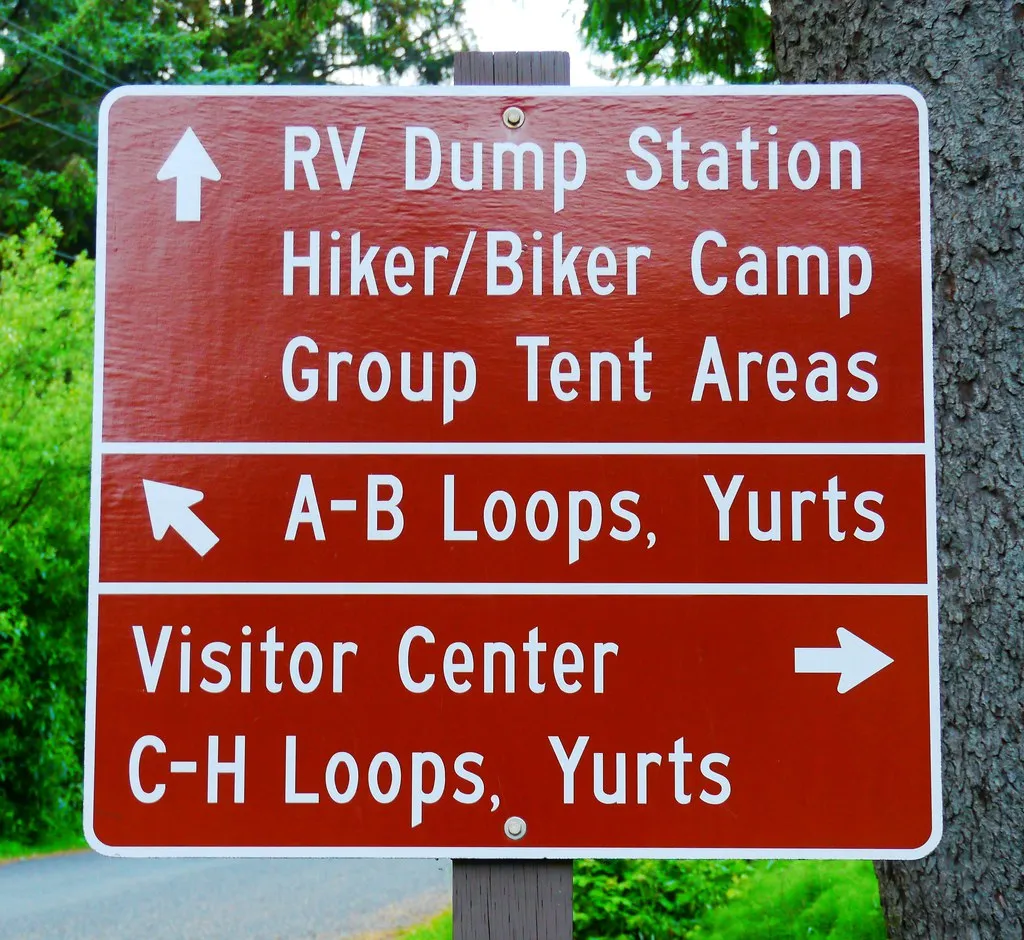
You’ll have a sewer connection the least often out of the three RV hookups. Sometimes instead of having a place to dump at your campsite, a campground or state park will have a dump station on the property where you can empty your tanks. If your campsite doesn’t have a sewer hookup, you’ll have to locate that dump station.
At the end of a trip, or when either tank is near capacity, both tanks should be emptied at a dump station. Many campgrounds have a dump station on-site, and some sites include a direct sewer hookup for draining tanks without moving the rig.
Always carry a portable waste tote for extended stays at campgrounds without sewer hookups. A portable tote lets you drain your tanks without moving the entire rig to a dump station, which is a small convenience that feels enormous after a long day outdoors.
The Gear That Makes Hookups Actually Work
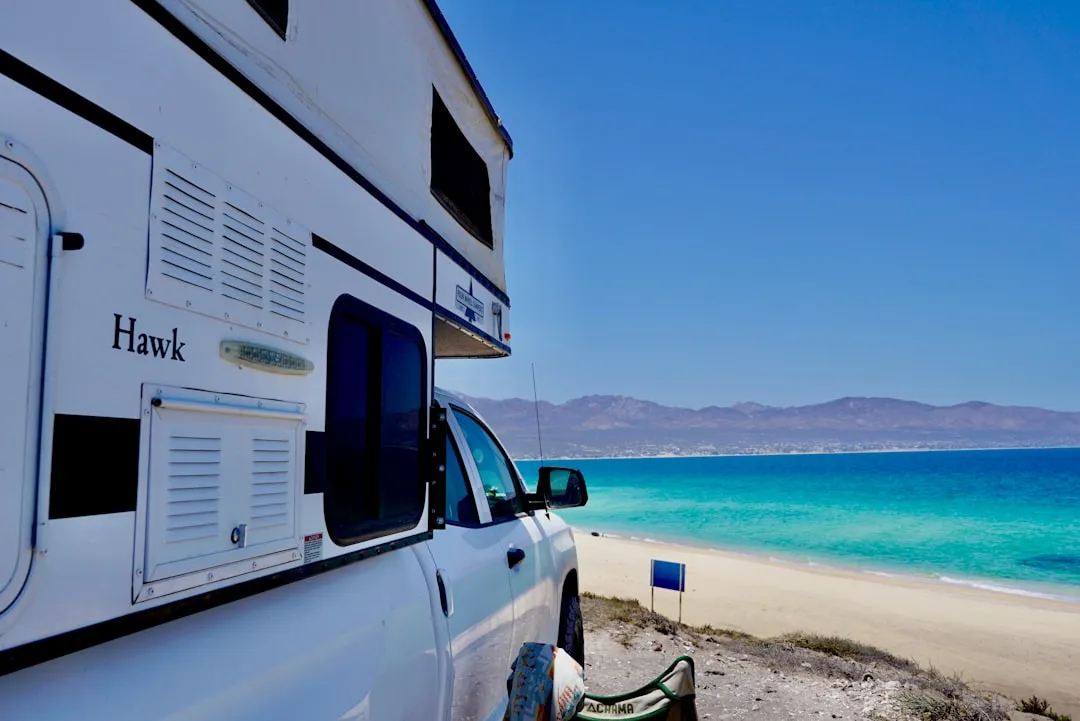
There are a handful of items you’ll definitely need to collect before your first camping trip so you can make use of the RV hookups at your campsite. Having this gear organized and accessible is what separates a confident hookup from a fumbling one.
The core list isn’t long. You need a white or blue potable water hose, a water pressure regulator, a surge protector rated for your amps, a sewer hose with support, and a set of electrical adapters including a dogbone. Check all connections periodically during your stay to ensure there are no leaks or issues. Keep your hoses, cables, and adapters in designated storage bins to ensure quick access and prevent damage.
Label your cords, adapters, and surge protectors, and keep them stored in a dry compartment. A basic understanding of how many amps your appliances use will help prevent tripping breakers. Labeling sounds unnecessary until it’s 9 PM and you’re trying to remember which black cable goes to the 30-amp pedestal.
Final Thoughts
Hookups are the vocabulary of RV camping. Once you speak the language, nothing about pulling into a campsite feels overwhelming anymore. The question of what hookup type a site offers is worth asking every single time you book, because the answer shapes your entire experience from the moment you arrive.
Start with a full hookup site for your first trip, bring the right gear, and follow the connection sequence carefully. The learning curve is genuinely short. Most people find that after two or three nights, what once felt intimidating becomes a satisfying ten-minute ritual at the end of a long drive. That’s when RV camping stops feeling like a project and starts feeling like freedom.
AI Disclaimer: This article was created with the assistance of AI tools and reviewed by a human editor.