
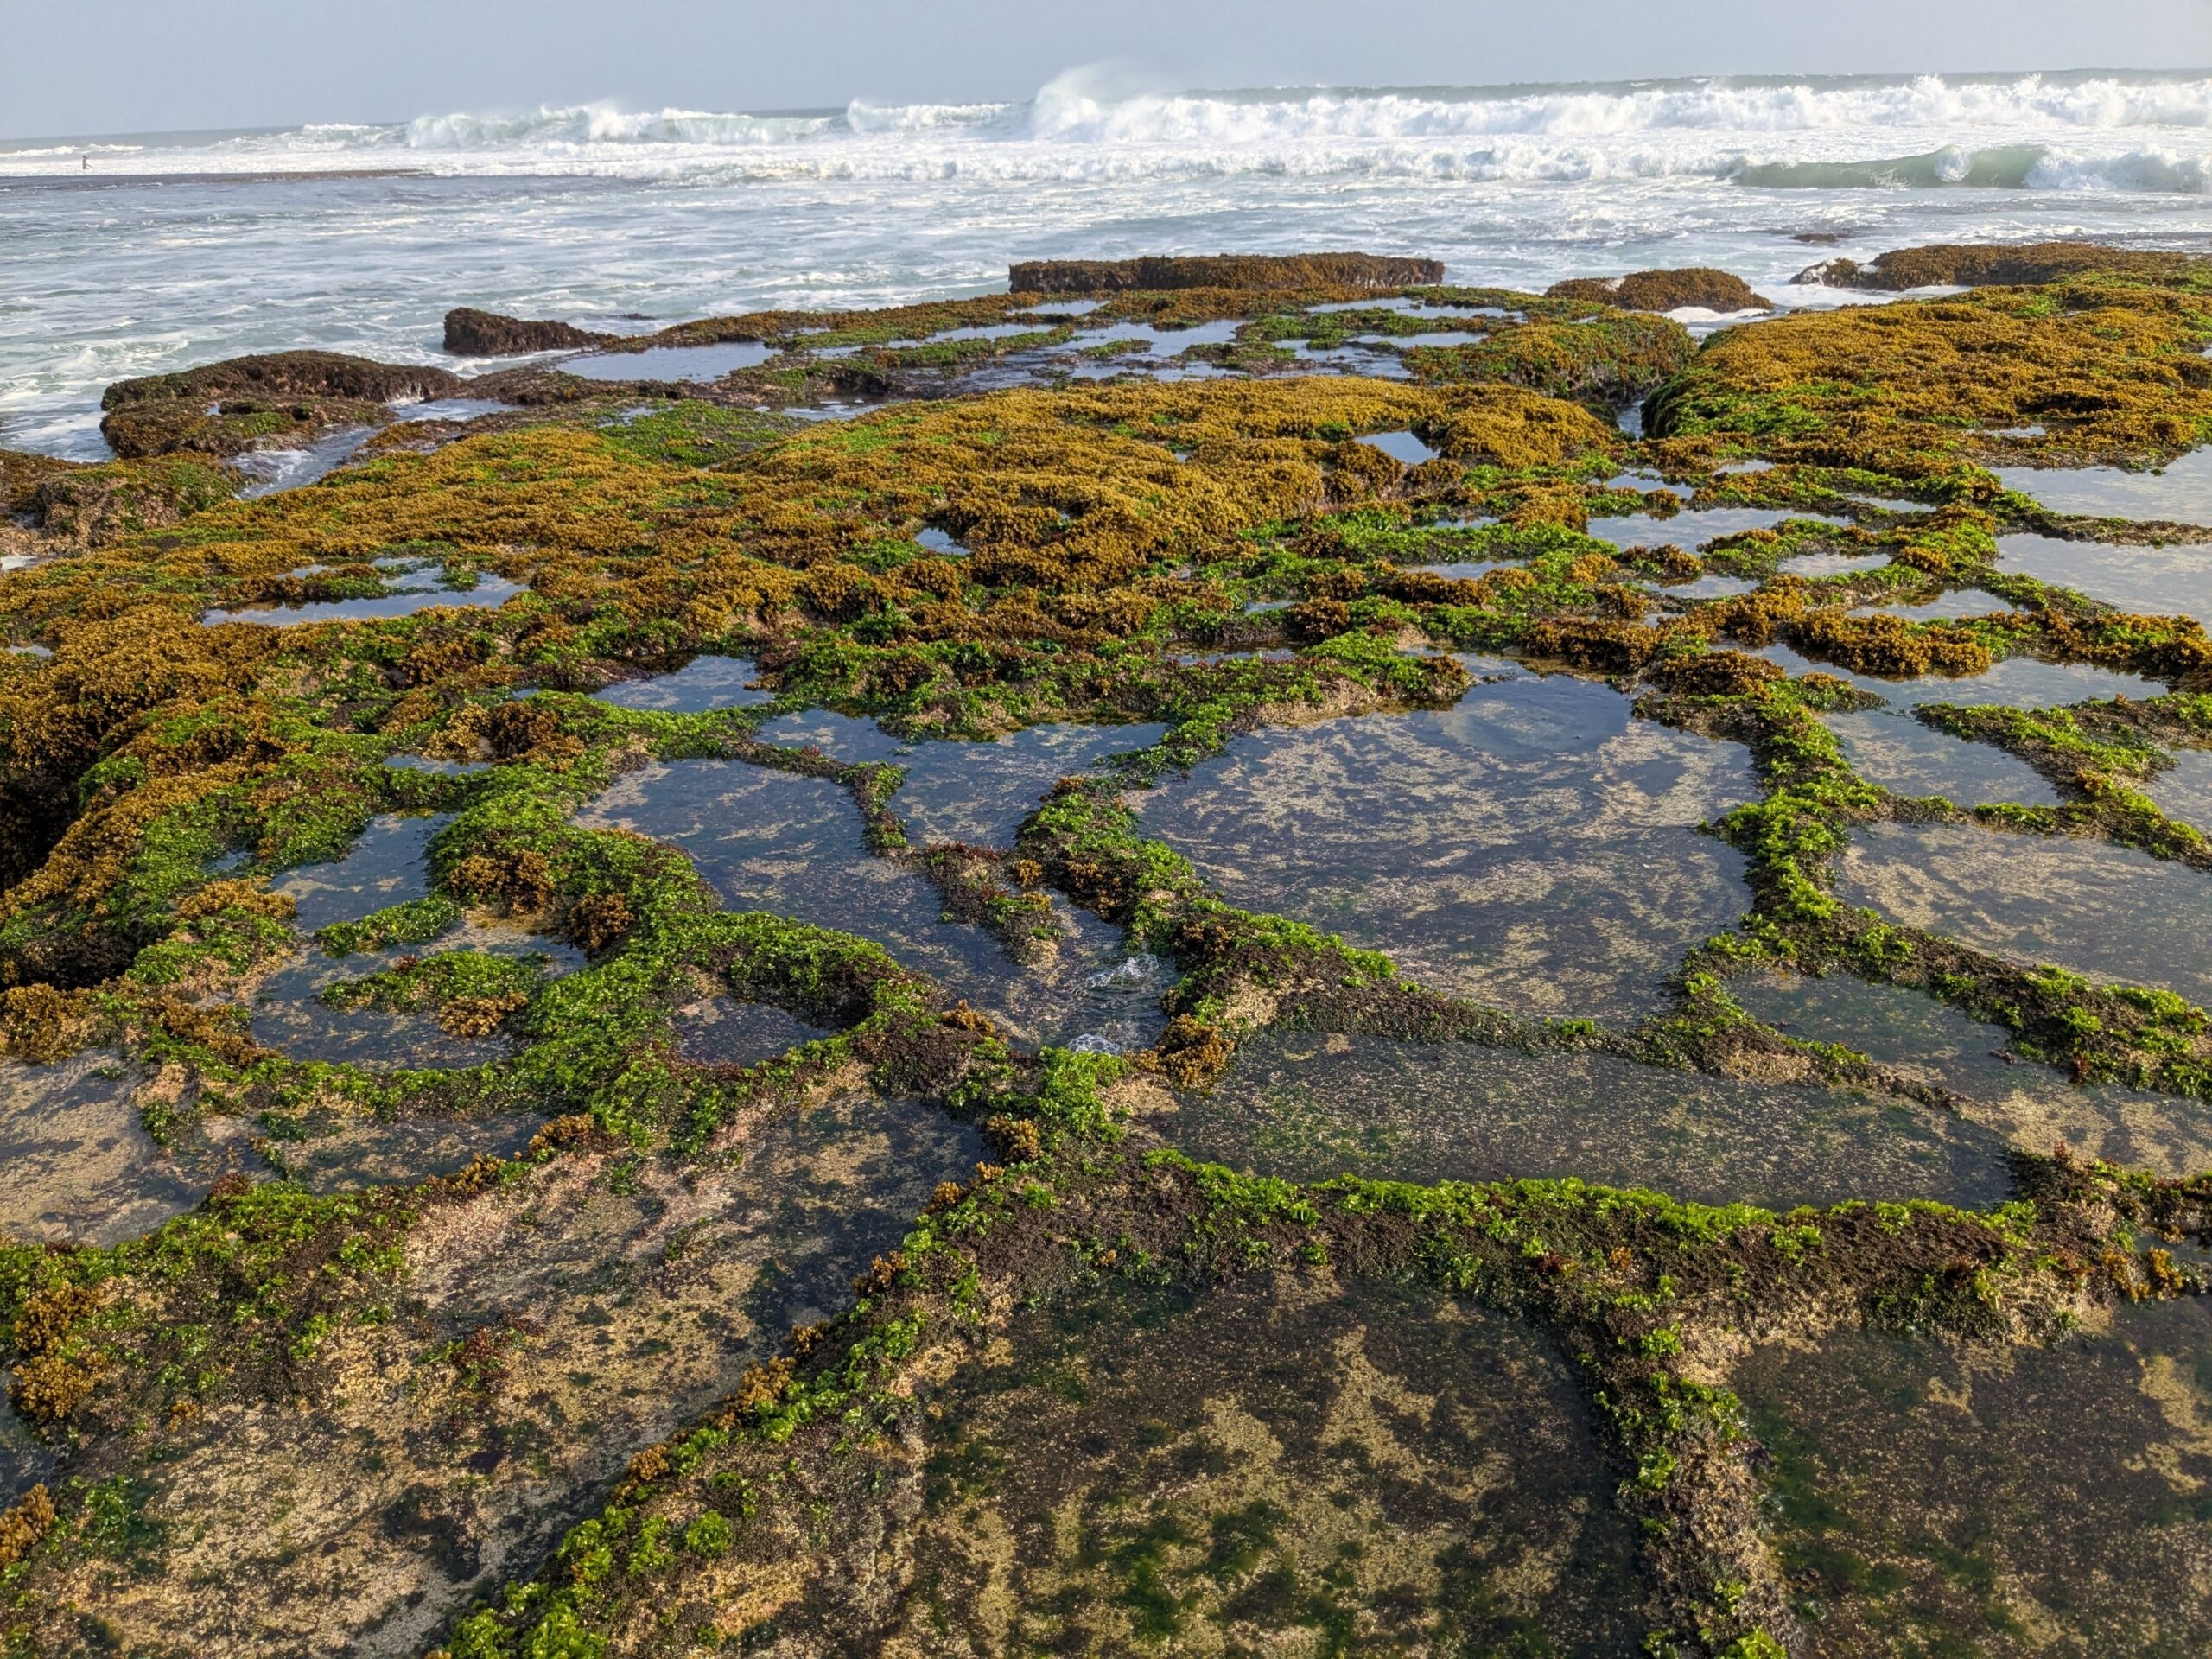

There’s something genuinely unhurried about a morning spent crouched over a rocky pool, watching a hermit crab negotiate its way around a sea anemone. Tide pooling asks very little of you technically, but it rewards preparation generously. The difference between a frustrating scramble and a smooth, memorable morning almost always comes down to what’s in your bag.
Whether you’re heading out for the first time or refining a routine you’ve done a dozen times, this guide covers what you actually need, why each item matters, and how to make smart choices that respect both your safety and the fragile ecosystems you’re visiting.
Know Your Tide Window Before Anything Else
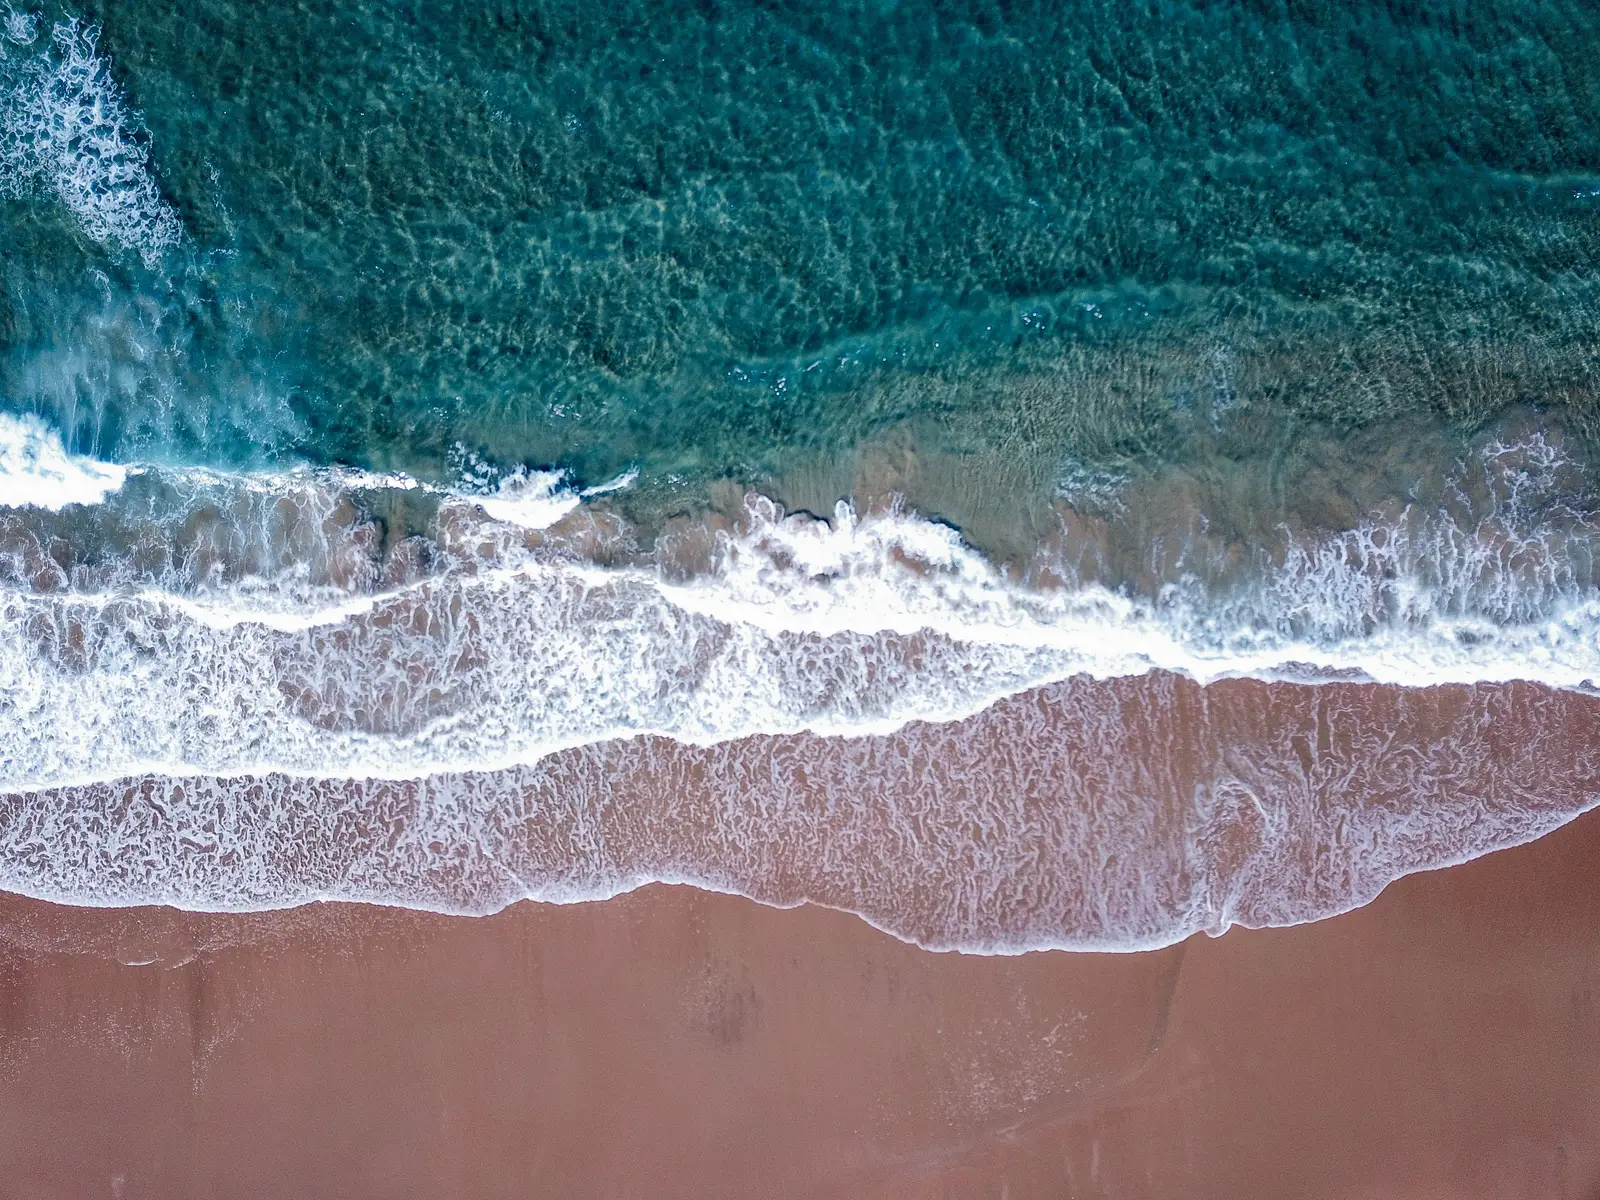
Check a tide chart and plan accordingly. Each day there are two low tides and two high tides. NOAA Tide Predictions is a reliable resource, and you should look for values below one foot – though the best low tides are below zero, known as “minus tides.”
Plan to arrive one to one-and-a-half hours before the lowest point of the tide. This gives you plenty of time to explore safely as the water recedes. A printed or screenshotted tide chart is smarter than relying on your phone signal, since coastal cell coverage is often unreliable.
Check the chart at least three days before your visit and identify which mornings have low tides between 7 a.m. and 11 a.m. Morning light is better for spotting cryptic animals, and weather tends to be calmer before afternoon winds build.
Footwear: The Single Most Important Item in Your Pack
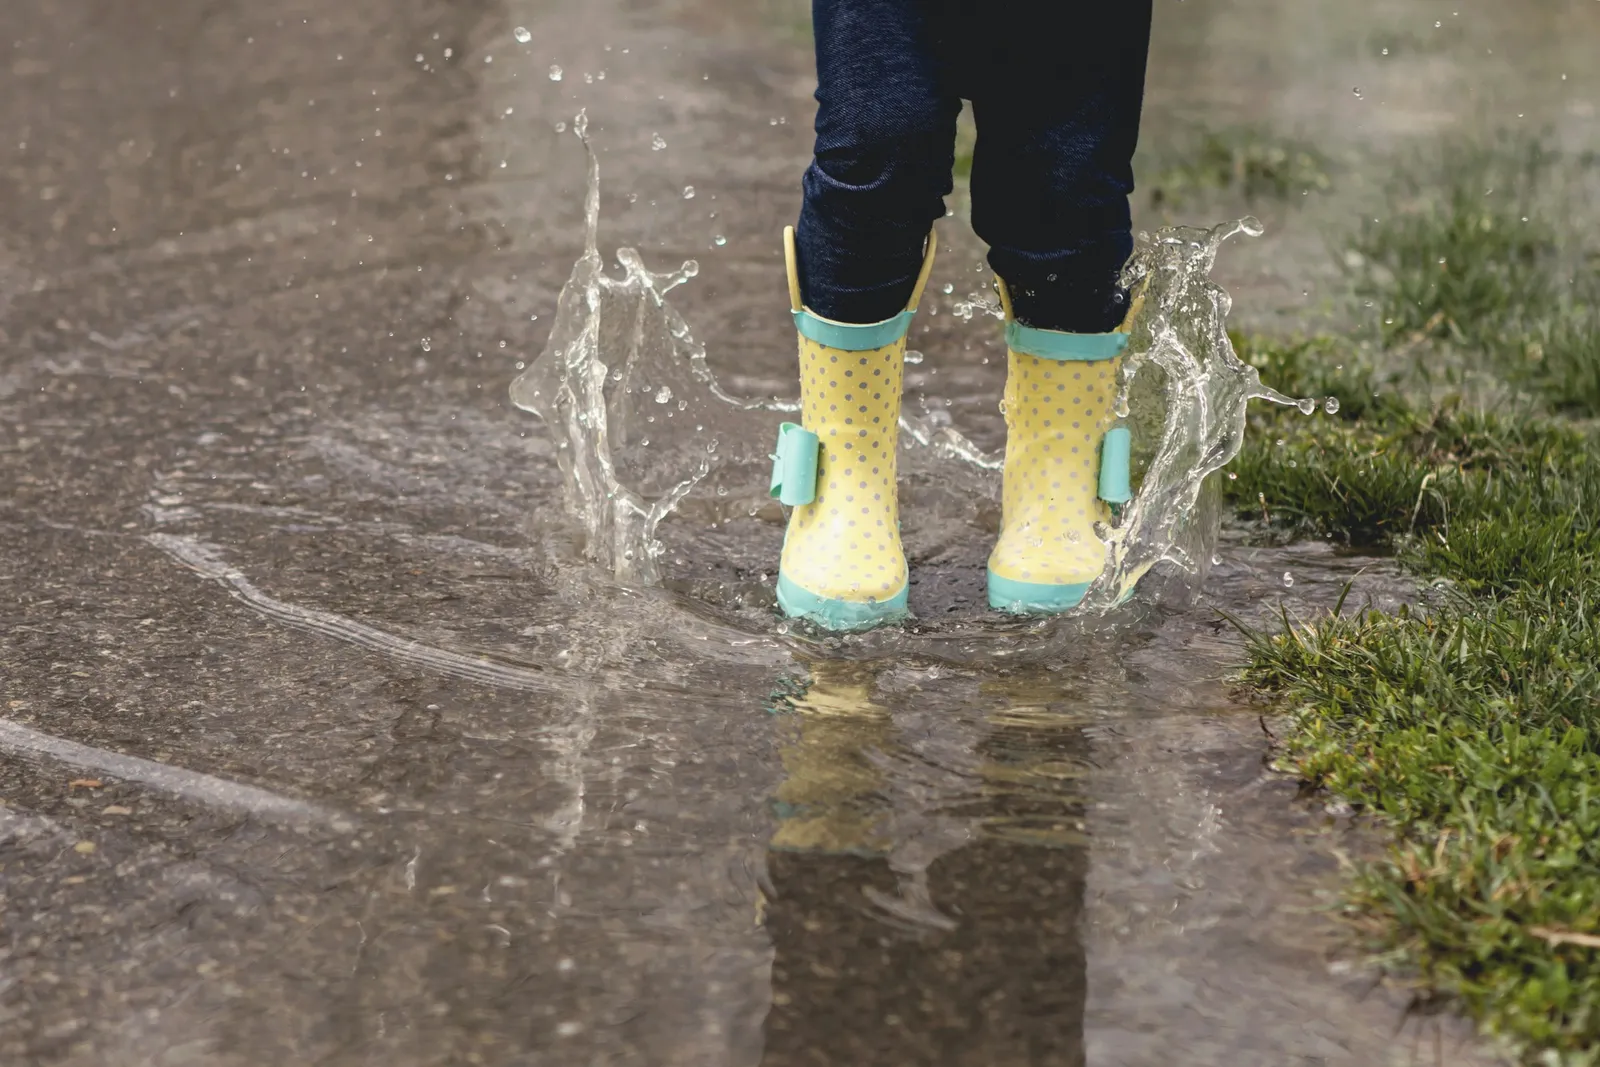
Waterproof rubber boots are the best choice and will allow you to navigate the tide pools with ease. Other sturdy shoes with good tread that you don’t mind getting wet will also work. Flip-flops are much too slippery and should never be worn.
Rain boots, waterproof hiking boots, and closed-toe water shoes all work well for tide pooling. Since tide pools are in rocky areas, never go barefoot or wear sandals. The rocky intertidal zone is covered in barnacles, sharp shells, and slick seaweed that can cut through thin soles in seconds.
Closed-toe reef and water shoes give the most puncture protection, making them a sensible choice for most conditions. If you pool in colder climates, neoprene socks and dive booties give the best warmth and ankle coverage.
Layered Clothing for Unpredictable Coastal Weather
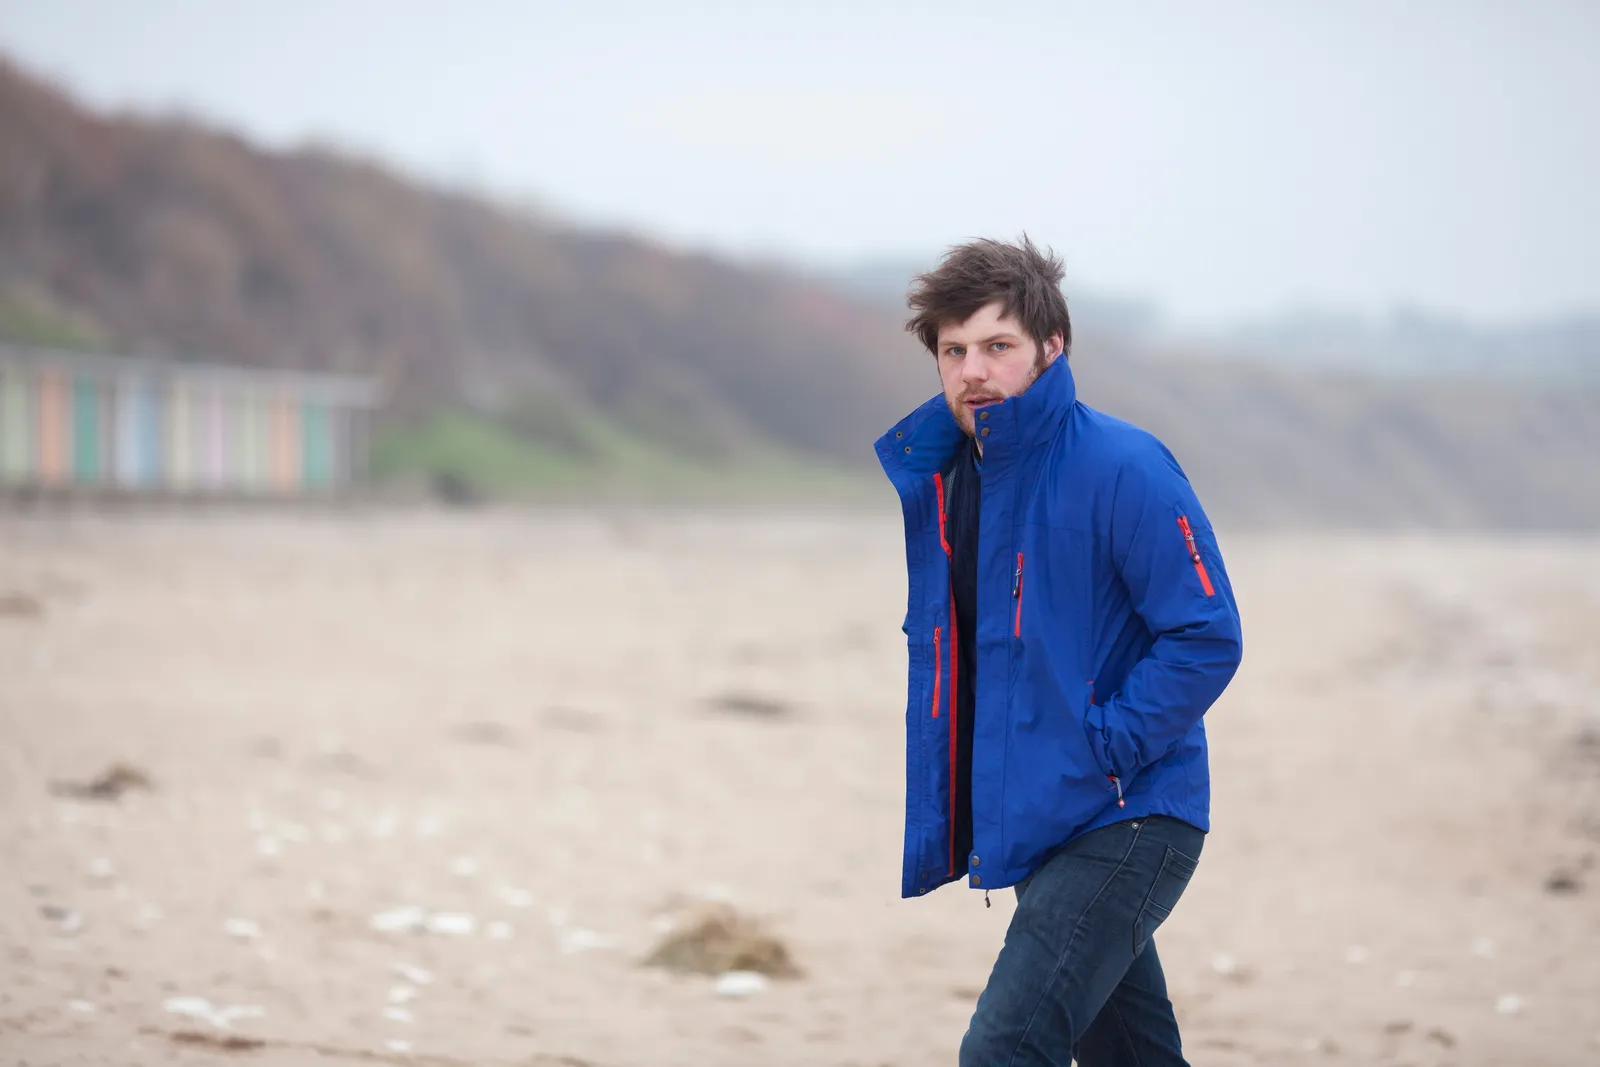
It’s best to wear layers since coastal areas are notoriously breezy and temperatures can drop quickly, so bring a windproof, water-resistant jacket. Even on a bright morning, the wind off the water can cut through a light shirt within minutes of arriving at the shore.
Layer up and bring sunscreen. Coastal weather can be unpredictable so it’s better to be prepared for cold and warm temperatures and windy conditions. A fleece or a thin base layer underneath your windbreaker gives you options without adding bulk to your pack.
Bring a change of socks and shoes for the drive home. Wet feet inside cold boots for an hour on the road is an entirely avoidable misery, and fresh dry socks are worth every inch of bag space they take up.
Mineral Sunscreen and a Wide-Brimmed Hat

Sun protection is essential – a hat, mineral sunscreen, and sunglasses are all important. Reflected light off water and wet rock doubles UV exposure. Most people underestimate how intense coastal UV can be, especially in the morning when the sun is low and glaring directly off wet surfaces.
Chemical sunscreens can harm tide pool organisms. Use mineral sunscreen containing zinc oxide or titanium dioxide, or wear sun-protective clothing instead. This isn’t a minor point. The intertidal zone is a living ecosystem, and what washes off your skin enters directly into it.
Opt for broad-spectrum SPF 30 or higher for everyday coastal exposure, and SPF 50 if fair-skinned or in direct sun. Reapply every two hours or after 40 to 80 minutes in water.
A Waterproof Case for Your Phone or Camera
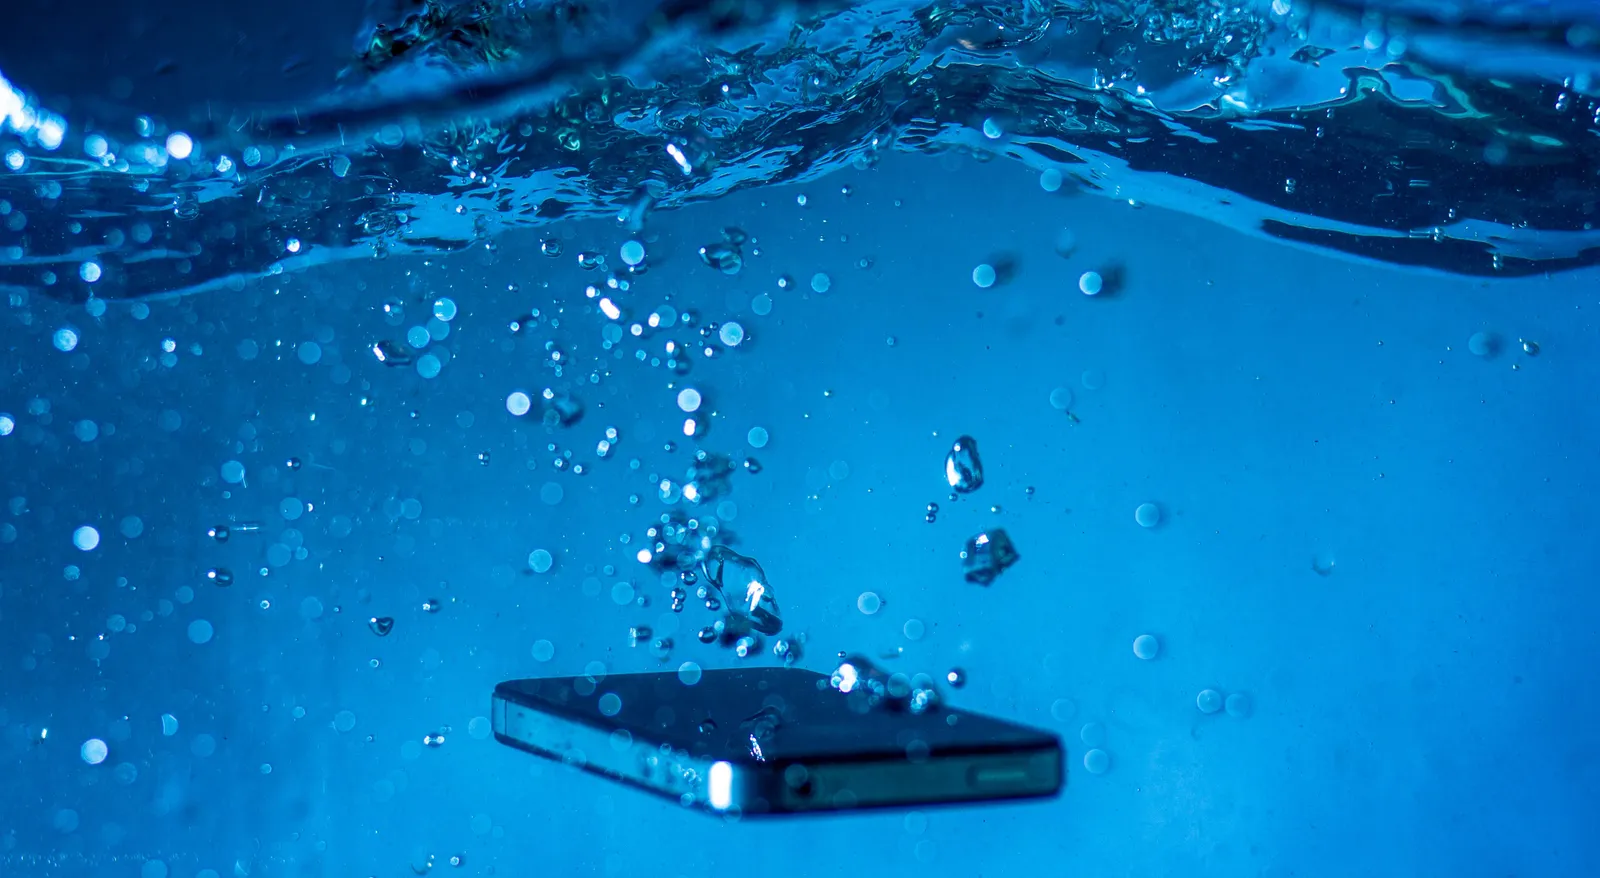
A waterproof camera or phone case is essential since splashes are inevitable at the tide pools. Protect your electronics from the start. Even a seemingly calm pool can send a surprising wave of spray across the rocks, and salt water is not forgiving to exposed electronics.
A waterproof case for your phone or camera lets you photograph creatures in the water without risking your equipment, while sunscreen, a hat, and plenty of water are essential since tide pooling happens on exposed shorelines during peak sun hours.
Consider bringing a small, lightweight tripod if you plan on close-up photography. The rocky, uneven surface makes hand-holding a camera at odd angles tiring over a long morning, and even a modest stabilizer improves results significantly.
A Field Guide or Species ID App
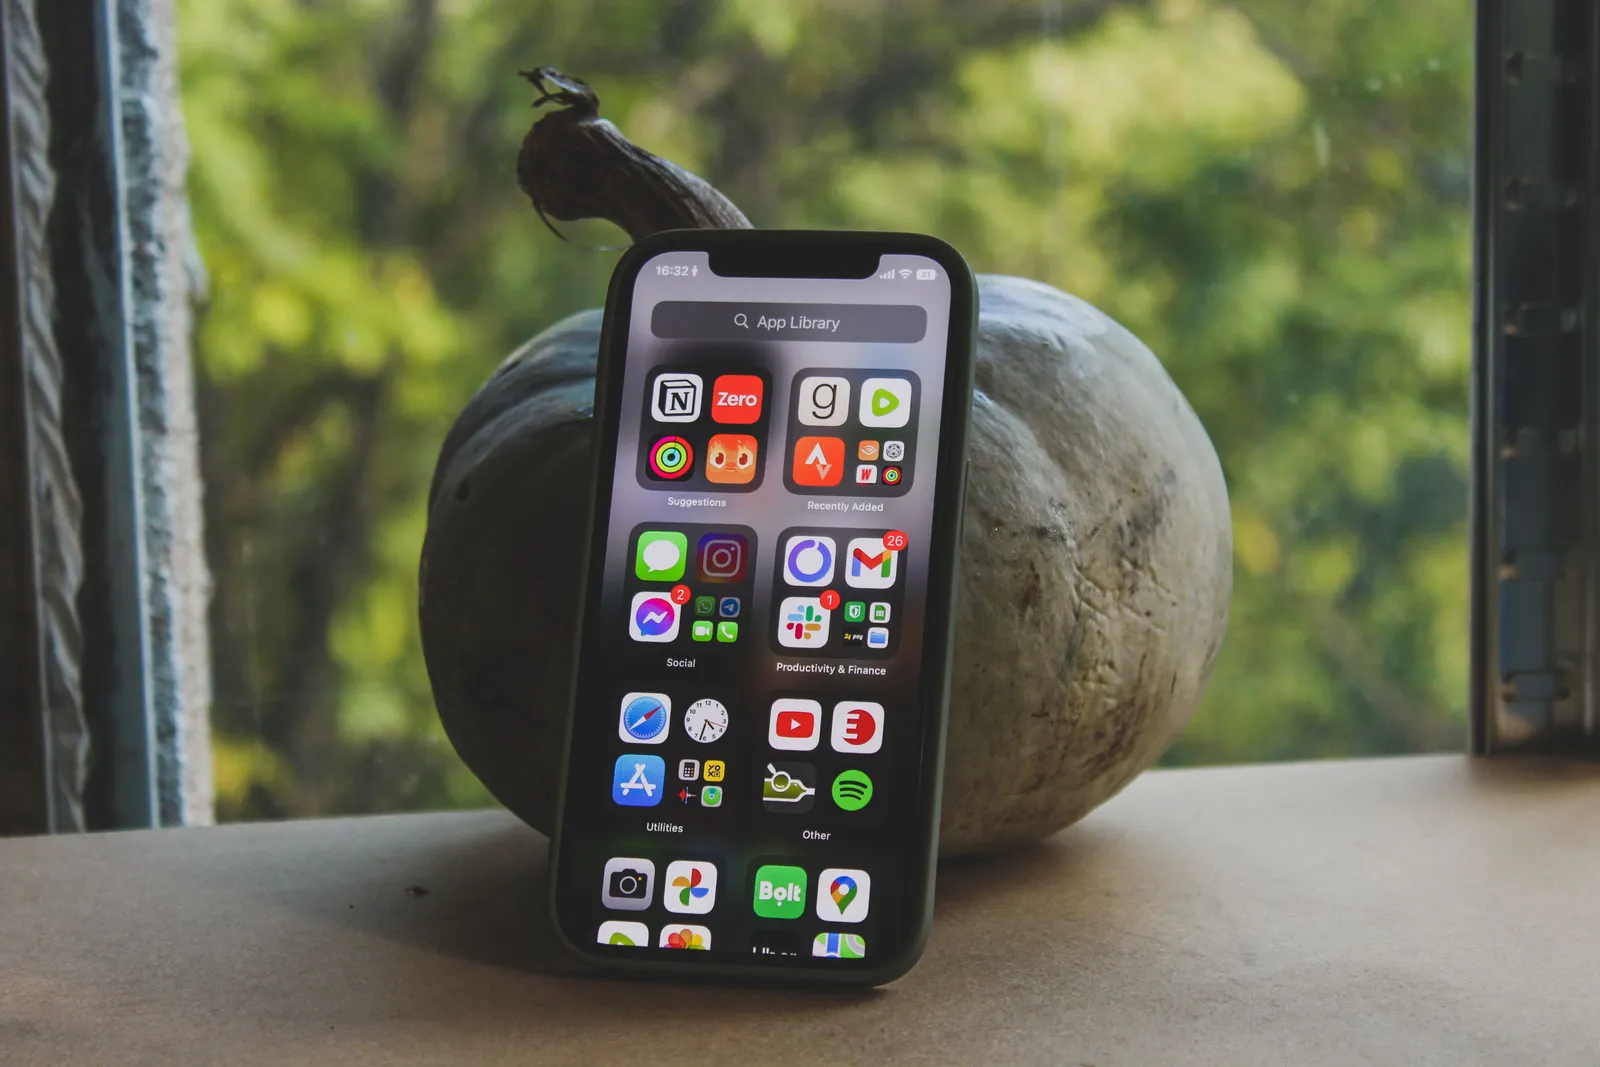
Using the iNaturalist or Seek app on your smartphone is one of the best ways to identify and share the species you see. These apps use a computer vision model to automatically identify the species in your photos. The experience of naming a creature you’ve never seen before adds a layer of engagement that makes the outing genuinely memorable.
A regional intertidal life field guide also helps you identify what you’re seeing and gives useful context about behavior and habitat zone. A printed guide has the obvious advantage of working without cell signal, which is a real consideration along many stretches of remote coastline.
Download offline maps before you go, as cell service is inconsistent along the coast. A quick download takes two minutes at home and saves real frustration once you’re standing on a rocky headland with no bars.
A Small First Aid Kit
A first aid kit with bandages for scrapes on barnacles and rocks covers the most common tide pool injury. Barnacle cuts are small but notably sharp, and they often bleed more than you’d expect for their size. A few adhesive bandages, antiseptic wipes, and waterproof tape take up very little space.
A first aid kit is recommended for minor injuries, as lifeguards are not available at all tidepool locations year-round. Many of the best tide pools sit well beyond the range of any staffed beach facility, so self-sufficiency matters.
Tweezers are worth adding if you’re heading somewhere known for sea urchins. Urchin spines that break off in skin need to come out carefully, and a pair of fine-point tweezers is far more effective than improvised alternatives.
Water, Snacks, and a Dry Bag
Water is available at all restroom locations, but not all tidepool locations have restrooms nearby. Carry more than you think you’ll need. A morning at the pools passes quickly, and the wind and sun dehydrate you faster than you notice.
Clothes and shoes may get wet and sandy. Bring a towel to dry or brush off, water to rinse sandy items and feet, extra clothes and shoes to stay dry and comfortable, and a bag to place wet clothes and shoes in for the journey home. A simple dry bag or large zip-lock bags work perfectly for keeping wet gear separate from dry items.
Light, easy snacks like trail mix or fruit are ideal. You won’t want to stop exploring to fumble with complicated food packaging, and you’ll be grateful for the energy boost halfway through a longer outing.
A Magnifying Glass for Closer Observation

A small magnifying glass reveals incredible detail in anemone tentacles, snail shells, and tiny organisms that are barely visible to the naked eye. The intertidal world operates at a miniature scale, and a hand lens shifts your perspective in a way that’s genuinely surprising, even for adults.
Children will enjoy using a magnifying glass to get a closer look at tiny creatures without touching them. It encourages curiosity and careful observation without any risk of harm to the animals being examined. It’s a small item that earns its place every single time.
Look for a simple 5x to 10x pocket magnifier rather than anything elaborate. Optically it’s more than sufficient, it won’t fog up with sea spray the way complex optics do, and it costs very little to replace if it takes an unexpected dip.
Leave No Trace Essentials: What Not to Take
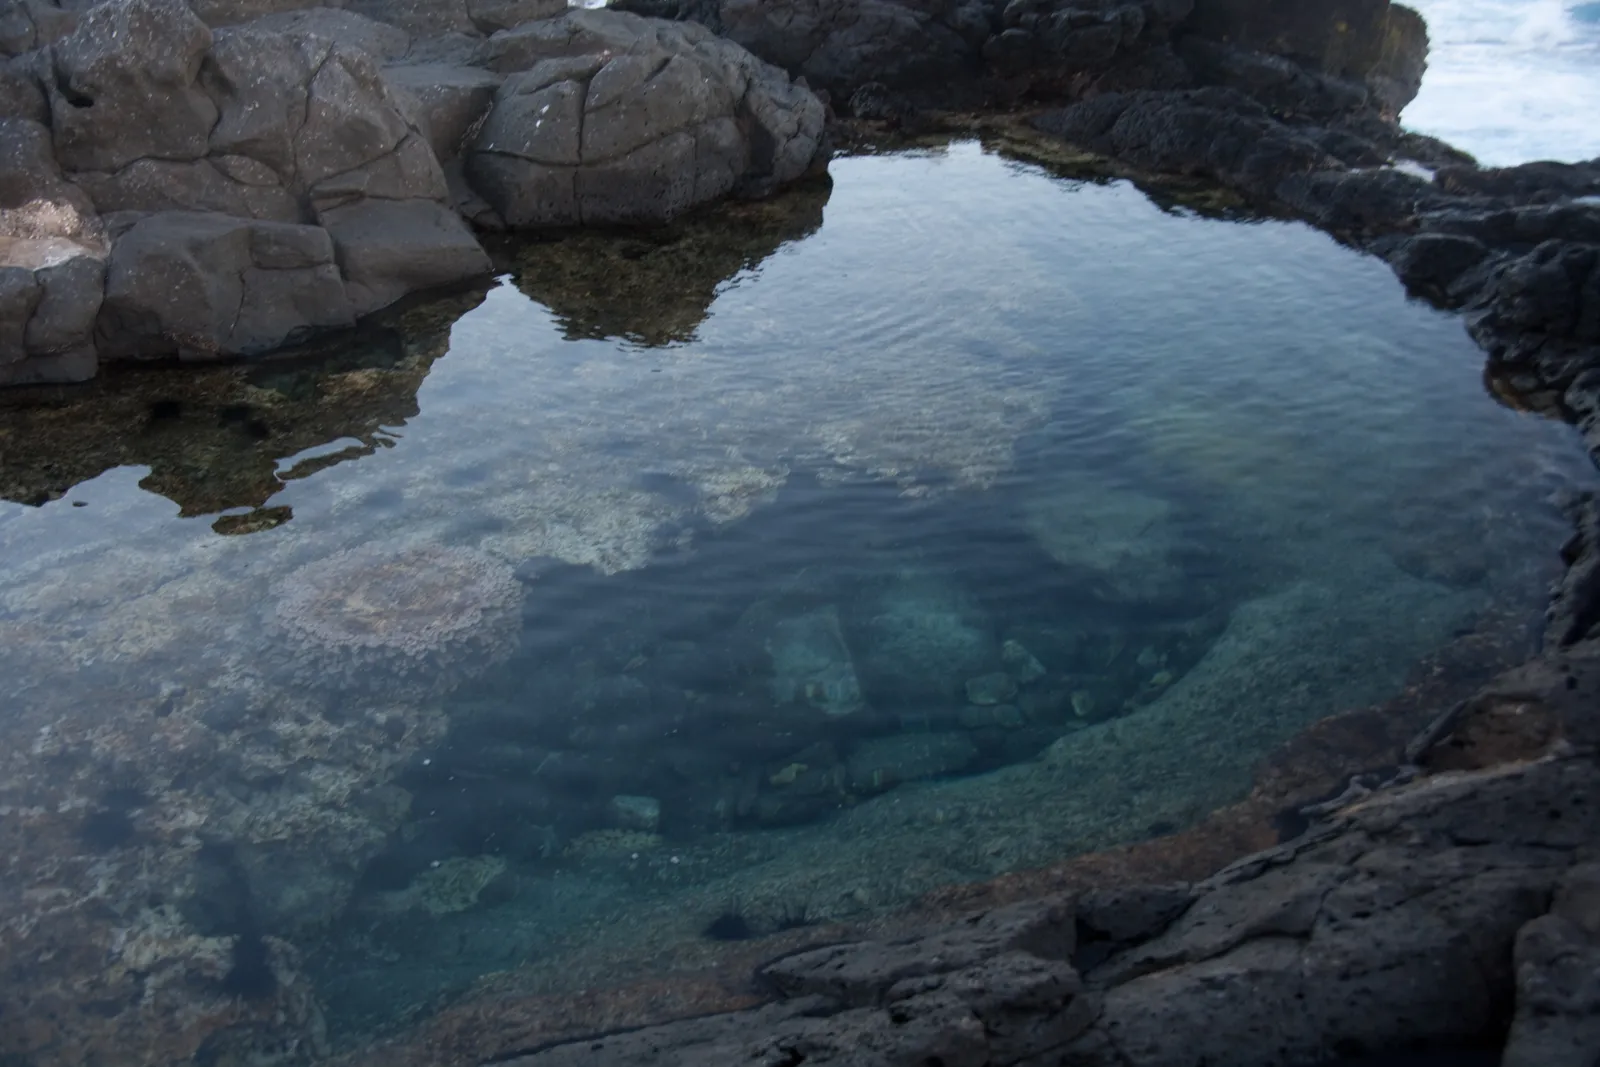
Tide pools are a fragile environment. Practice a strict “look but don’t touch” policy. Prying animals like sea stars or limpets off rocks can fatally tear their tissue. Never collect shells that have life inside, and always leave rocks exactly as you found them to protect delicate species from the sun and predators.
Many coastal areas are designated Marine Protected Areas with heavy fines for collecting. Before you visit, it takes only a few minutes to check whether your destination has specific rules, and it’s worth doing. Ignorance of protected status is rarely accepted as a defense.
The intertidal zone is a marine habitat, so wet your hands with seawater before handling any creatures to avoid transferring chemicals or oils from your skin. Some intertidal animals are very delicate, so always touch them gently. If in doubt, the easiest rule is simply to observe without contact at all.
Where the Morning Really Begins
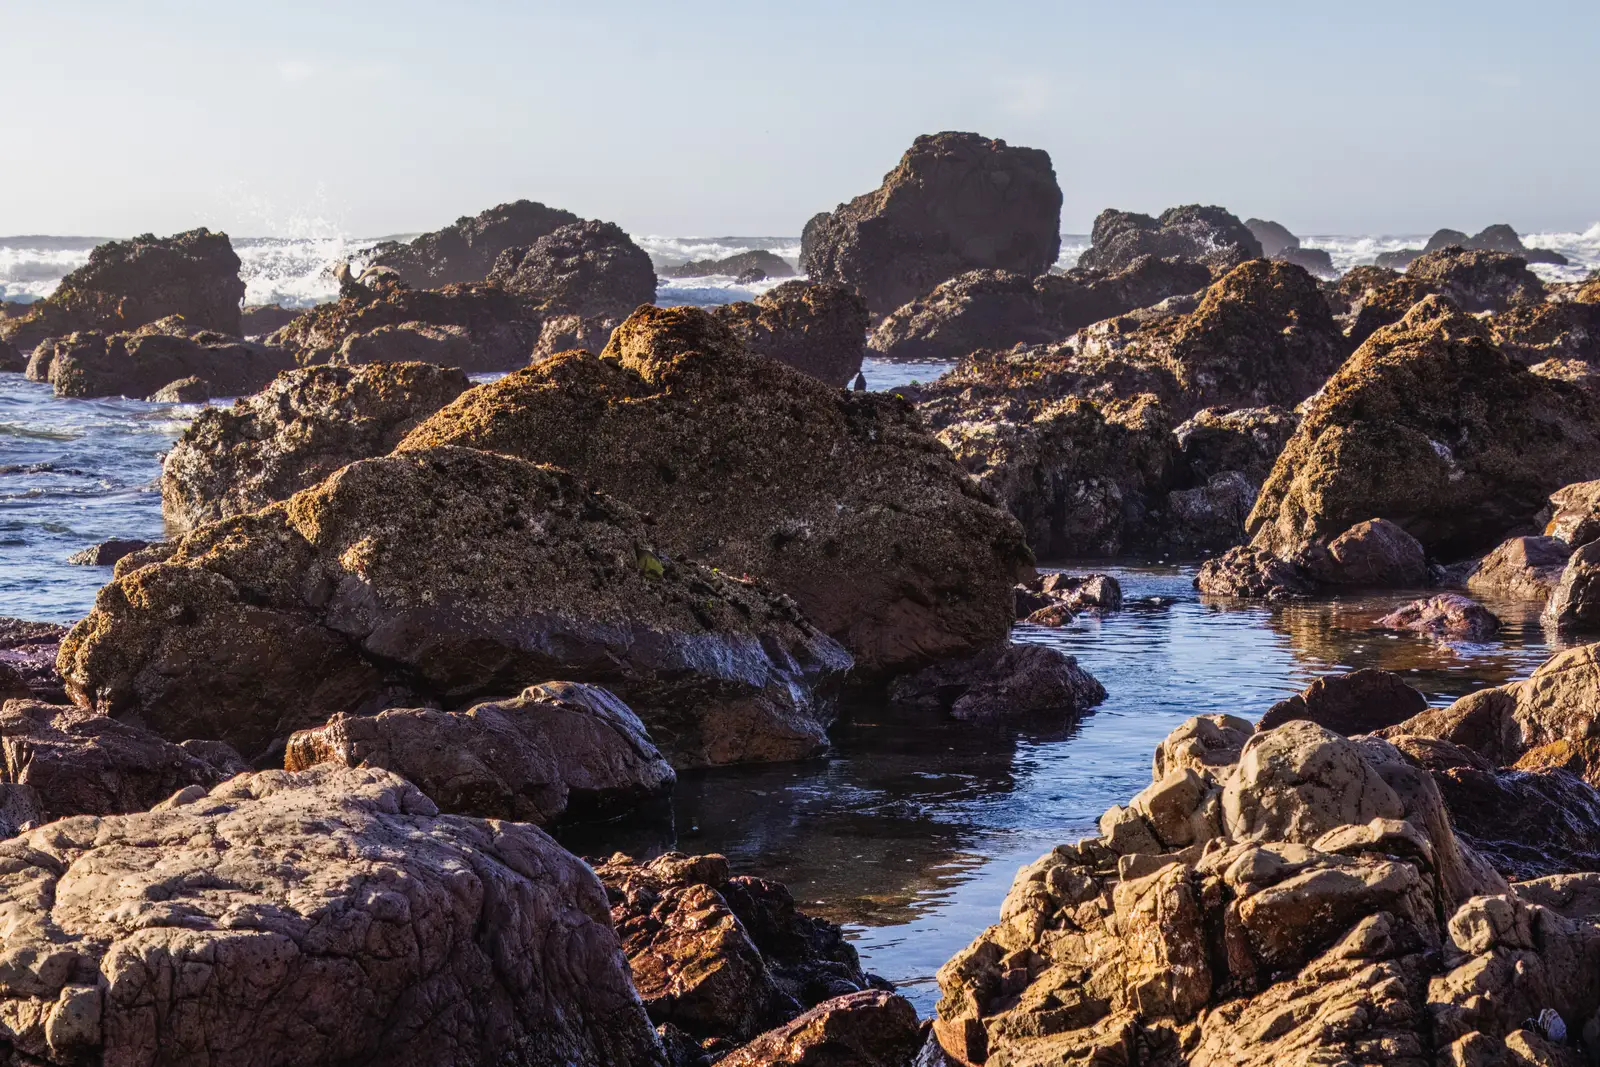
Good preparation for a tide pool morning isn’t about packing as much as possible. It’s about packing thoughtfully and arriving with enough awareness to stay safe, move carefully, and leave the pools exactly as you found them.
The rocky intertidal zone is one of the most productive and ecologically complex habitats on Earth, compressed into a strip of shore that most people cross in a few steps. The right gear doesn’t just protect you. It gives you the patience and comfort to slow down, look closely, and actually notice what’s there.
That extra bit of preparation, the tide chart checked the night before, the mineral sunscreen in your bag, the sturdy shoes laced up before you leave the car, is what turns a rushed visit into a genuinely absorbing morning. The pools reward the unhurried.
AI Disclaimer: This article was created with the assistance of AI tools and reviewed by a human editor.